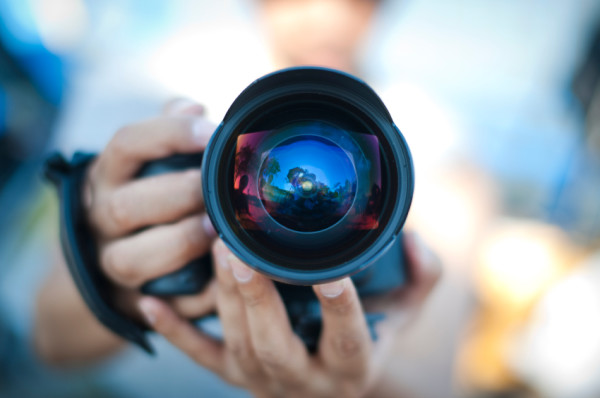
As a visual Artist you will have to show a lot of images (on your website, social media, proposals, blog…). If there is one skill you need to master, it is how to take good pictures of your art, edit them and understand image sizes and resolution. What people will see online is not your actual Art, it is pictures of your Art. They need to be as good and as detailed and as close to the real thing as possible.
There aren’t many ways around it, you could pay someone to take good pictures of your Art. If you can spare a bit of time to understand your digital cameras and picture imaging software, you will save a lot of time and money. You also won’t be dependent on someone else’ schedule, which is always a good thing.
I have seen many artists’ websites with bad looking pictures. As a visual Artist you do not want to look amateurish.
If there is one thing you need to put time and effort in, it is really good quality pictures.
Time for some tough love.
It is not good enough and you won’t be taken seriously if:
Your pictures are showing a glare
You didn’t balance the white of your camera and the pictures are all looking too blue or too yellow
The picture is showing more than just the Art – no one wants to see the wall or the fireplace
The frame is showing
The resolution is too low (blurry) or too high (takes too much time to download)
The perspective is wrong and the image is skewed
The lighting is wrong and the image is too dark or too light
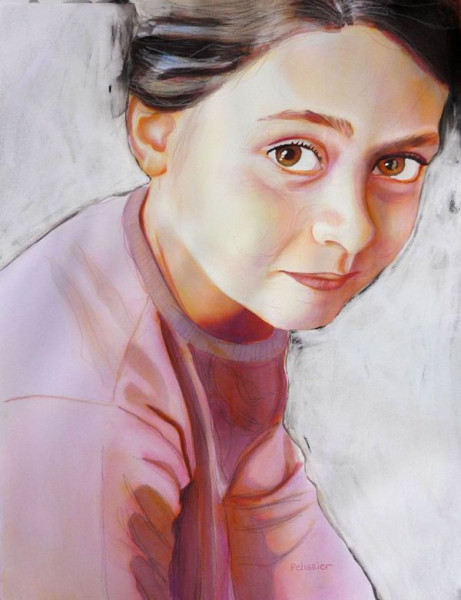
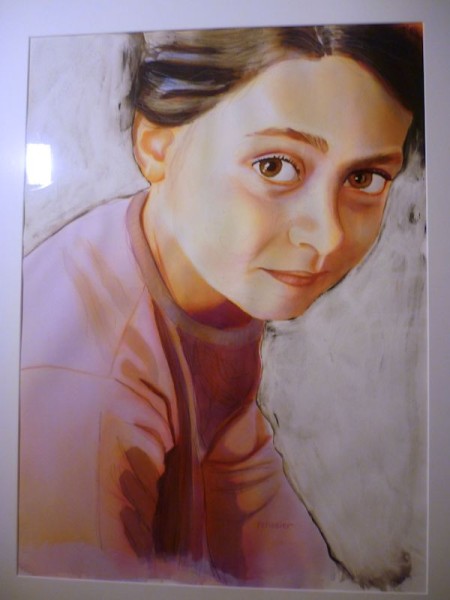
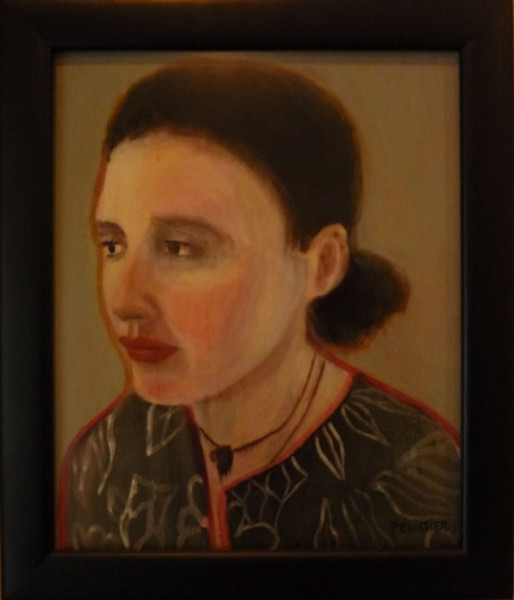
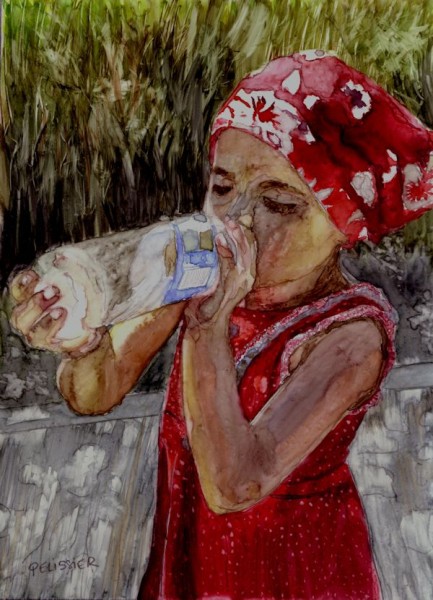
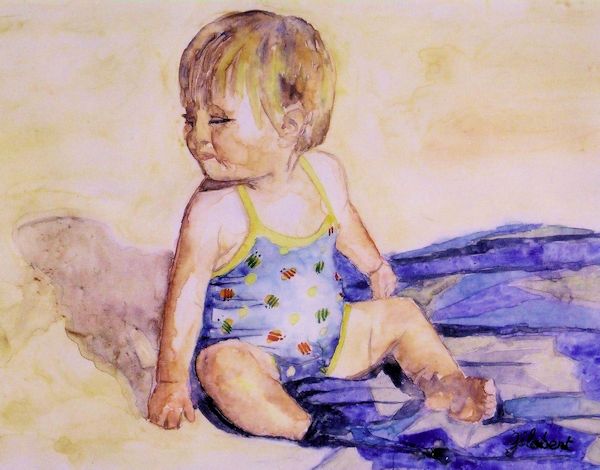
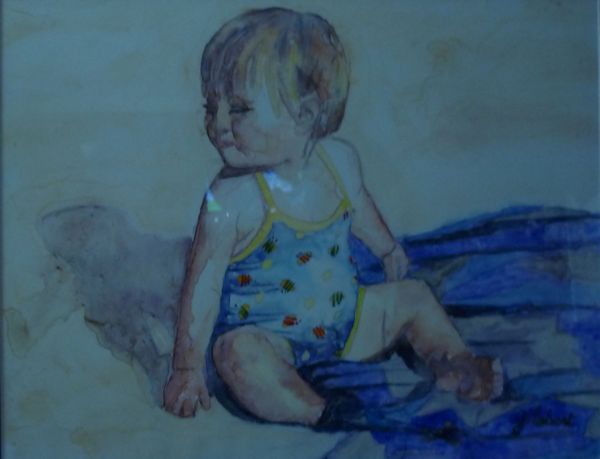
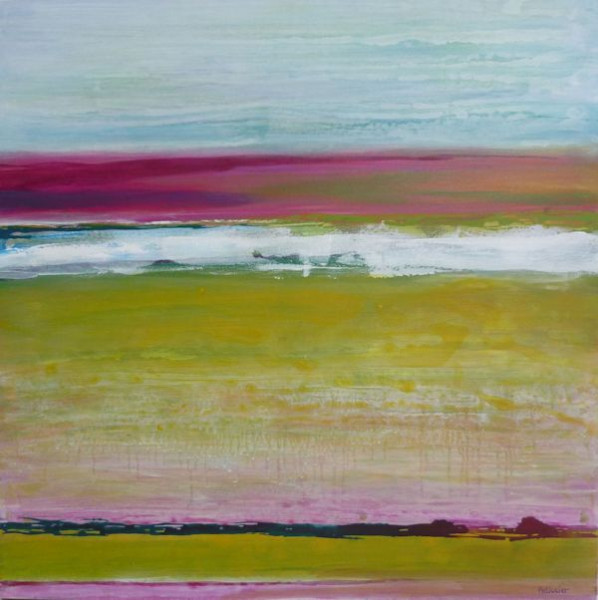
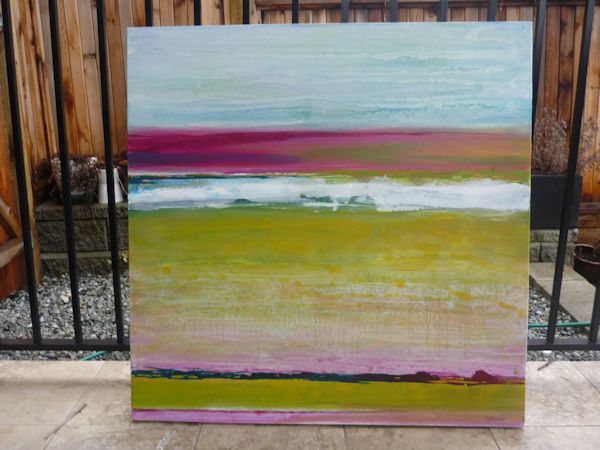
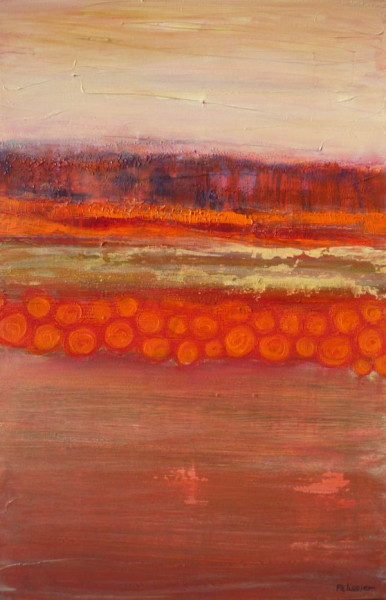
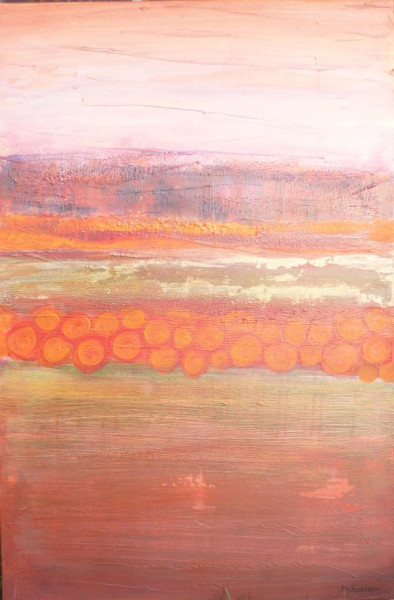
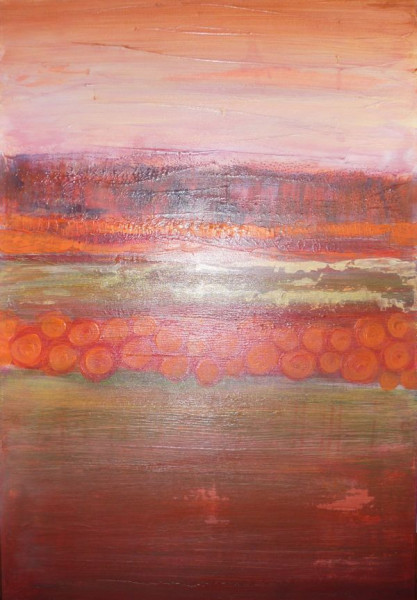
What not to do: The flash did make a glare and the mat is showing.What to do: The picture has been retaken with proper lighting and white balance settings, the frame has been cropped.What not to do: Image is too yellow, this is a problem with the white balance of your camera and the frame is showing.What to do: The picture has been scanned.What not to do: There wasn’t enough light, the picture is too dark.What to do: The picture has been retaken with the proper white balance setting.What not to do: The image is too blue, this is a problem with the white balance of your camera.What to do: The picture has been retaken with sides of the painting parrallel to the sides of the picture and croppedWhat not to do: The sides of the picture are not parallel to the sides of the picture. What to do: The picture has been retaken with a diffuse light.What not to do: The light was too strong and the picture is too light and lacks the contrast of the original.What not to do: A glare is showing.What to do: The picture has been retaken straight on, and with the proper resolution.What not to do: The resolution is too low resulting in a blurry image.What not to do: The sides are not parallel to the picture and the picture is not cropped.
Here is what you can do to take good pictures.
Use a scanner instead of a camera.
If your picture is small enough to fit on your scanner bed, try scanning it instead of taking a picture with your camera. You will get a higher resolution and usually colors turn out pretty well on a scan.
Learn how to setup your camera
You don’t need to learn all the settings in details. What you need to know is how to set up the white balance and how to set up the resolution of the image or image size. Always use the setting for the largest image file. If you understand white balance and image resolution – you are on your way to take good pictures!
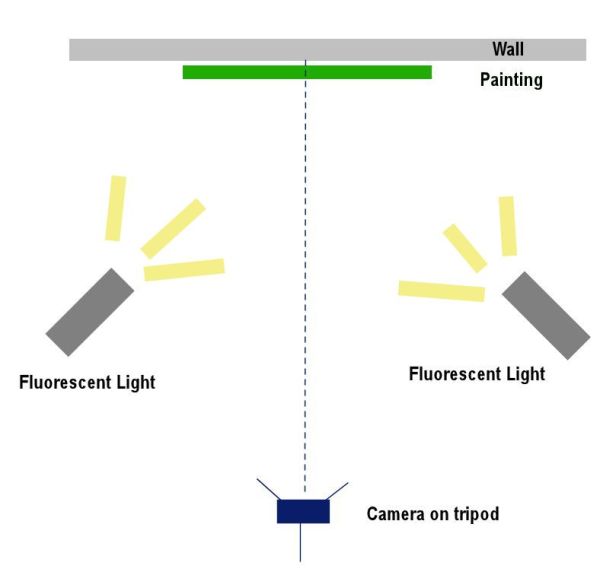
Use a proper lighting
Once your camera is set up, you need a proper lighting. That is one of the most important factors to make a good picture. The ideal setting is to have two fluorescent lights at a 45 degrees angle as shown below.
The next best thing is to shoot on an overcast day, outside.
Don’t use a flashlight, it will show on the painting. Don’t use regular light bulbs lighting, it will modify the colors.
If you are shooting an artwork that is framed under glass and get some reflections on the picture – take the painting off the frame.
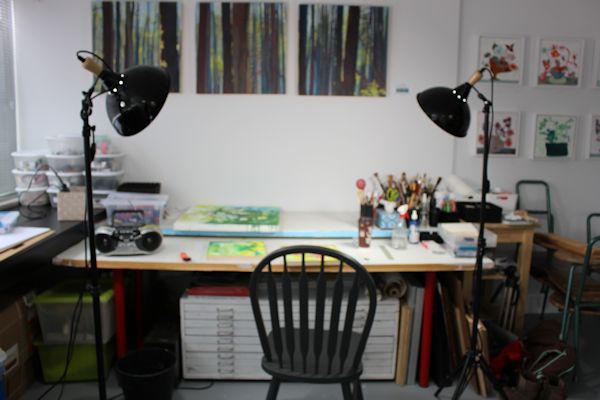
Use a tripod if you have one
If you don’t, just try to be steady as possible.
The best setting is with two fluorescent lights each at a 45 degrees angle.
Try to have the painting fill as much as the picture as you can without cutting out any part. Just the painting, you don’t want the frame in the picture.
Shoot straight on, so you have less editing to do afterwards.
The 45 degrees light setting can also be used for taking pictures of your work in progress, see below:
Time for your first assignment 🙂
Look at the pictures you already have and see if they fit the quality requirements, if not take new ones. When they are ready, go to the next unit to learn how to edit them.
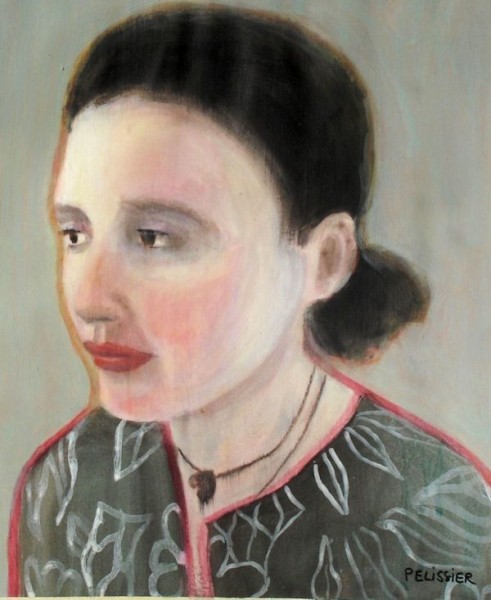
Originally from France, I have been living in North Vancouver, Canada for the past 20 years.
My work has been collected and exhibited extensively in Canada and internationally. I am also part of the Art Rentals and sales program of the Vancouver Art Gallery.
Many of my paintings have been published in Art books and magazines (Artist Magazine, Watercolor Artist Magazine, Acrylic Magazine, International Artist Magazine). I wrote 2 art instruction books with North Light/F+W Books.
I have been writing for the last 5 years for my blog: paintingdemos.com, that has a mailing list of about 10 000 subscribers and about 20 000 visitors per month.
I am an active member in the community, as a co-founder of the North Shore Art crawl, a co-founder of a weekly life drawing group, a board member of the North Vancouver Arts Council, and have been invited as a juror for public art, art grants and juried exhibitions. You can read more about my collaborations here.
Thank you Sandrine for this article…very helpful for me. I have older camera, but still working and I’ve started using tripod… I’ve been using iPhone for quick image but sometimes it is o.k.
Jean Jenkins
So glad to have found you again. I used to receive (enjoyed and found useful) regular email from Sandrine; that stopped for some reason. Looking forward to more informative pieces like this current one.
Thanks Jean, I updated my subscribers system and it will work better now. I am happy that you find the emails informative 🙂
Suzanne Phillips
Thank you for your very pertinent feedback Sandrine. I am now learning to use my scanning technology.It is complicated at the moment but I will get there! Also learning to use my camera.
Mary Ellen Koser
You are a good teacher; everything was concise and filled with relevant facts with visual examples. Thanks.
Thanks June, I am glad this post was helpful to you 🙂
Deborah Page
thanks for these tips, Sandrine…..any suggestions on a beginner camera that is not too expensive? I’ve been using my iPhone but I really don’t think it’s adequate. thank you, Deborah


Comments (10)
Evelyn
Thank you Sandrine for this article…very helpful for me. I have older camera, but still working and I’ve started using tripod… I’ve been using iPhone for quick image but sometimes it is o.k.
Jean Jenkins
So glad to have found you again. I used to receive (enjoyed and found useful) regular email from Sandrine; that stopped for some reason. Looking forward to more informative pieces like this current one.
Sandrine Pelissier
Thanks Jean, I updated my subscribers system and it will work better now. I am happy that you find the emails informative 🙂
Suzanne Phillips
Thank you for your very pertinent feedback Sandrine. I am now learning to use my scanning technology.It is complicated at the moment but I will get there! Also learning to use my camera.
Mary Ellen Koser
You are a good teacher; everything was concise and filled with relevant facts with visual examples. Thanks.
Sandrine Pelissier
Thanks Mary Ellen Koser !
June Finlayson
This was the most interesting pin and helped me enormously with how to takes great pictures of my paintings. Thank you.
Sandrine Pelissier
Thanks June, I am glad this post was helpful to you 🙂
Deborah Page
thanks for these tips, Sandrine…..any suggestions on a beginner camera that is not too expensive? I’ve been using my iPhone but I really don’t think it’s adequate. thank you, Deborah
Sandrine Pelissier
You’re welcome Deborah:) there are many good point and shoot digital cameras that are not too expensive, I used to have a canon.