When relief printing with multiple colors, you basically have 2 options:
Carve a plate for each color
Use the same plate that you carve and print with each color.
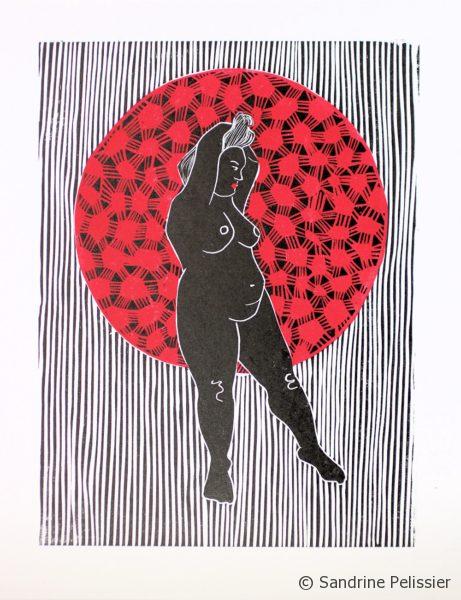
I have done multiple plates-multiples colors prints like this one:
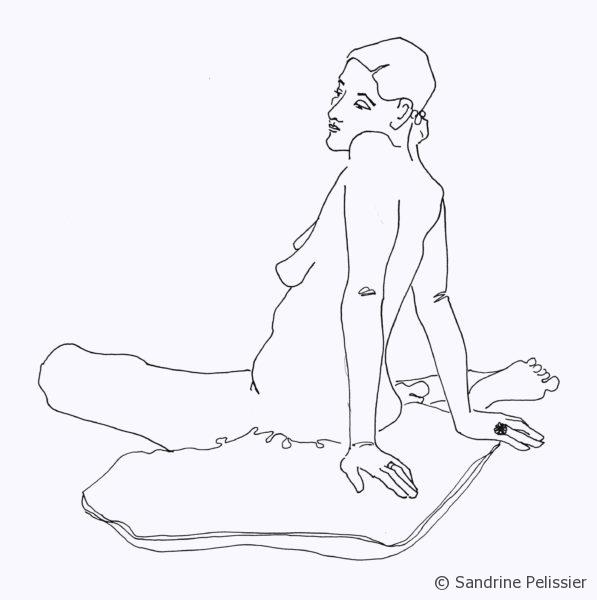
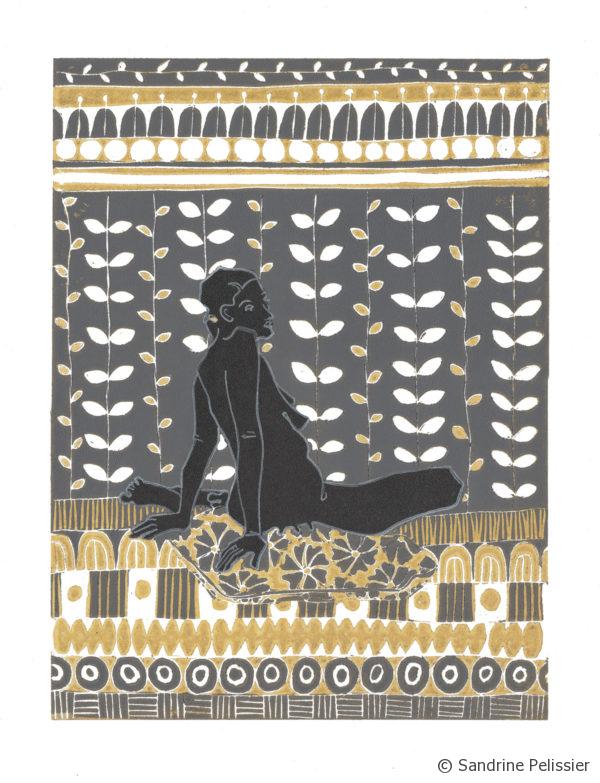
but wanted to try a reduction print. I started with a 3 colors print, inspired by this drawing made in life drawing class.
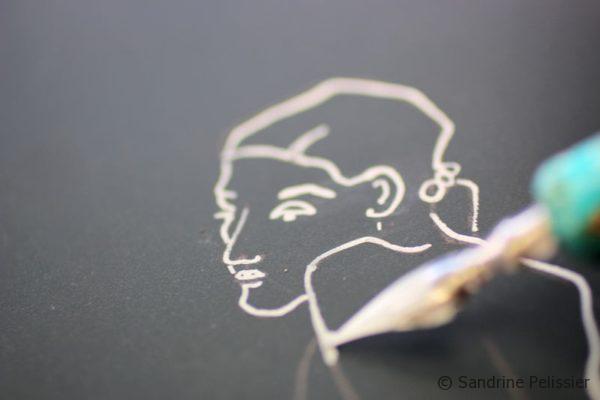
I started by making an outline of my drawing with a dipping pen and Golden high flow acrylic in white.
I am a Blick Art Materials affiliate and I receive a small compensation for sales. That does not effect in any way the cost of the purchaser’s order but it helps me keeping the content of this blog free.
Incredibly flexible, Golden High Flow Acrylics have an ink-like consistency that lends itself to a wide range of techniques painting, drawing, staining, glazing, inking, hand-lettering, airbrushing, and more. – High Flow Colors, Set of 10
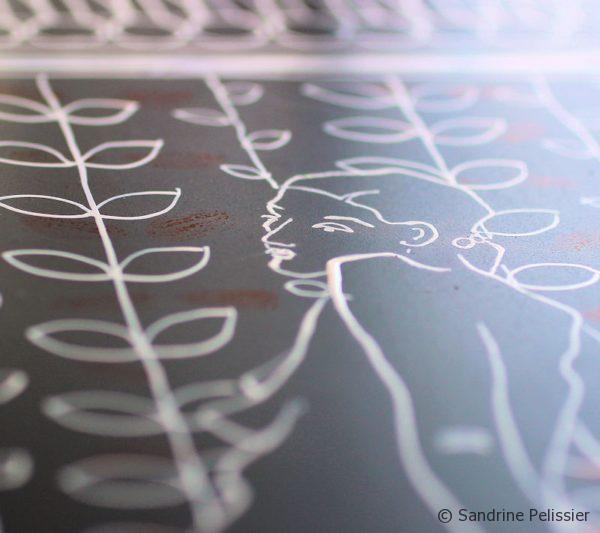
It worked really well because my lines were still visible after printing and cleaning the plate multiple times.
The finished drawing.
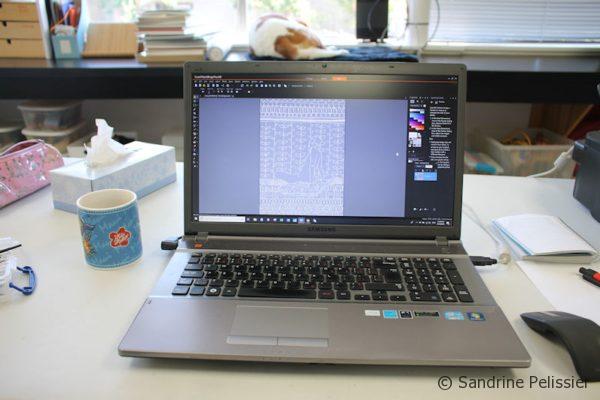
I used a photo editing software to make a simulation of how the 3 colors would be located in the print as it was a lot of parameters to think about.
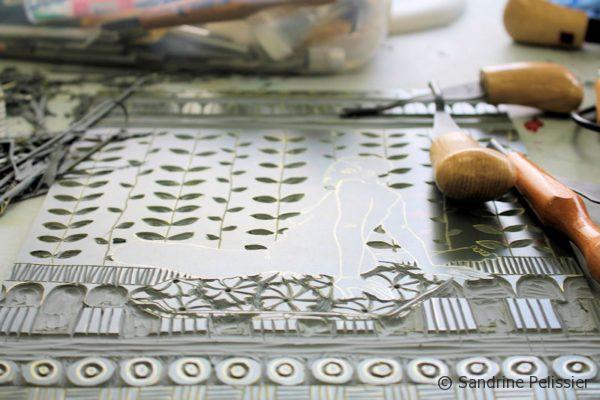
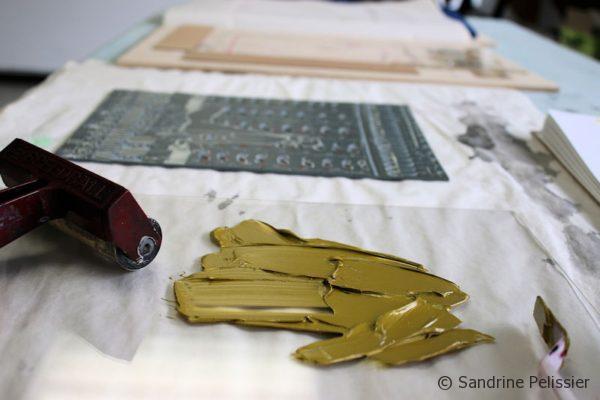
I started carving the plate for the first layer, which is going to be gold
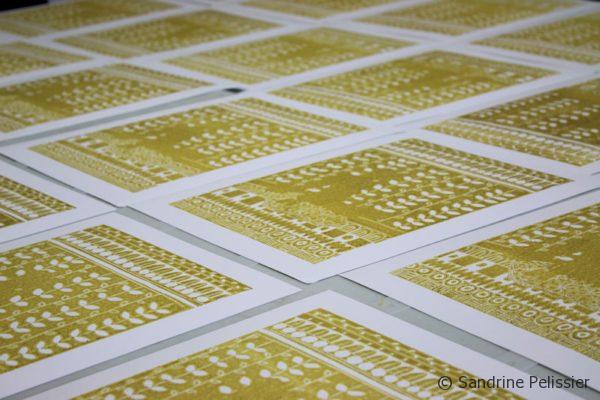
Printing the first layer. I used a water based gold ink for this one, it has the advantage of drying fast.
I am a Blick Art Materials affiliate and I receive a small compensation for sales. That does not effect in any way the cost of the purchaser’s order but it helps me keeping the content of this blog free.
A hard synthetic rubber roller (80 durometer) makes these brayers ideal for light carving or gluing applications, and excellent for rolling down print surfaces. – Deluxe Brayers
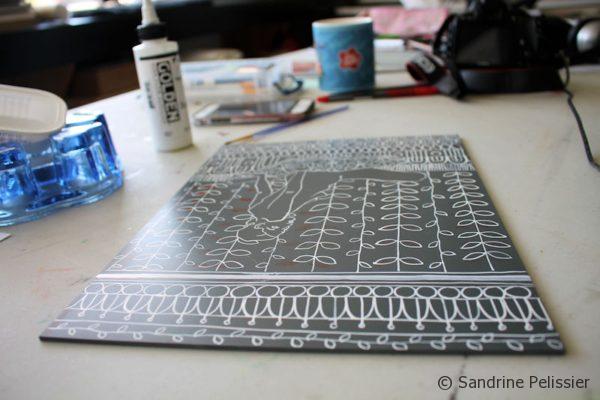
This is the first layer drying.
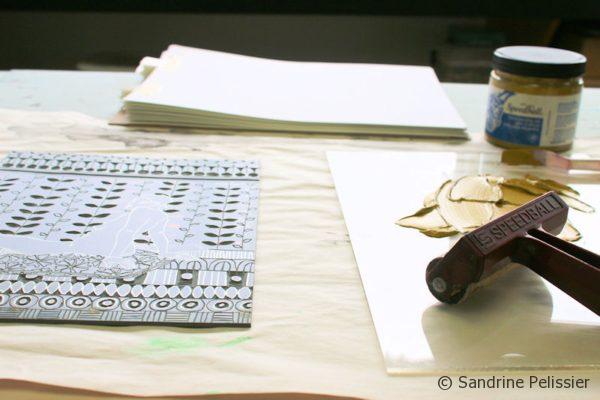
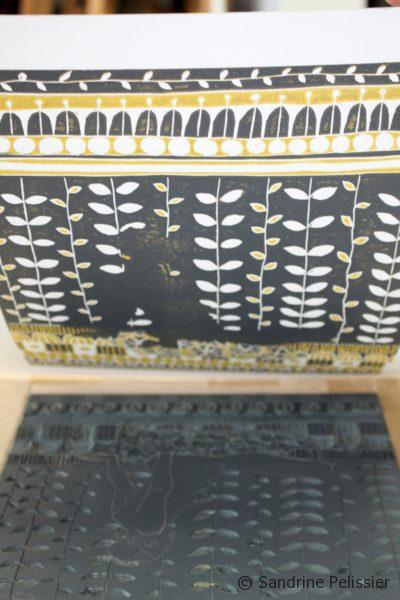
Then I started carving the same plate so I could print the second layer, in medium grey.
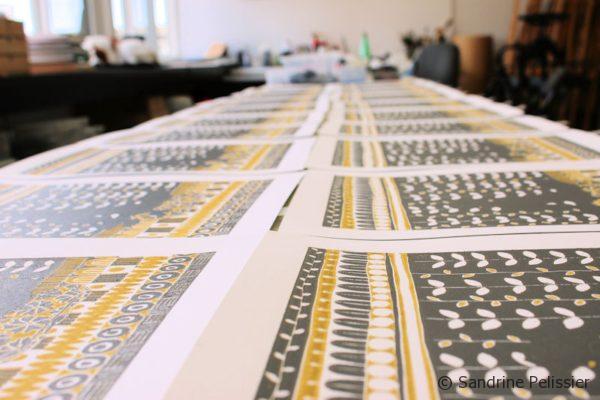
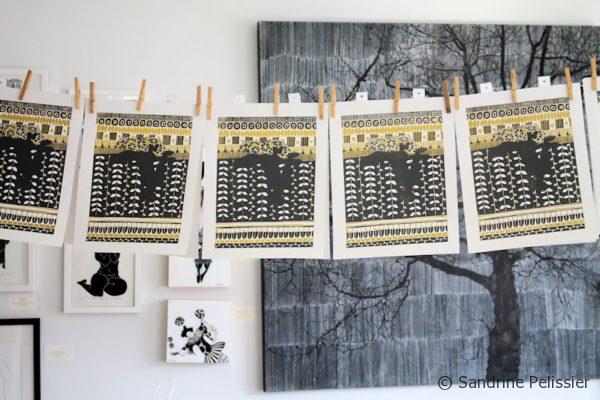
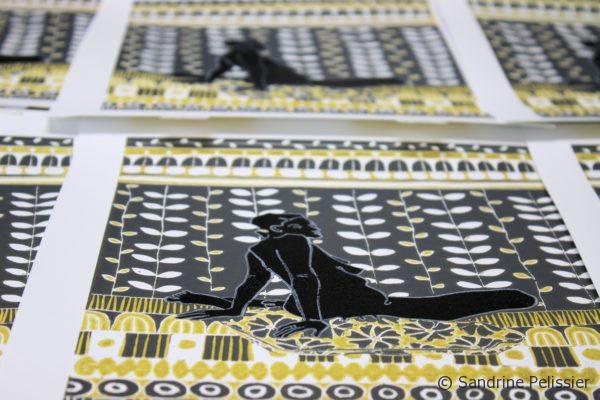
I made a bout 25 prints and so far, I think I will be able to keep about 20 that are looking good for a limited edition.
Then I needed to wait until the second layer was dry. It took a bit longer as I used an oil based ink for the medium grey.
I carved the plate one last time, leaving only the figure this time.
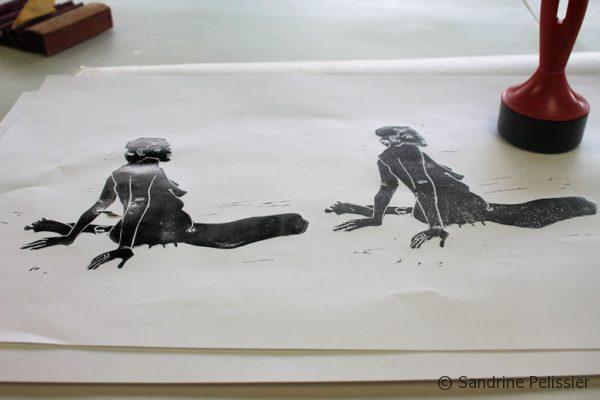
Test printing the last layer.
This is a short video of me printing the last layer:
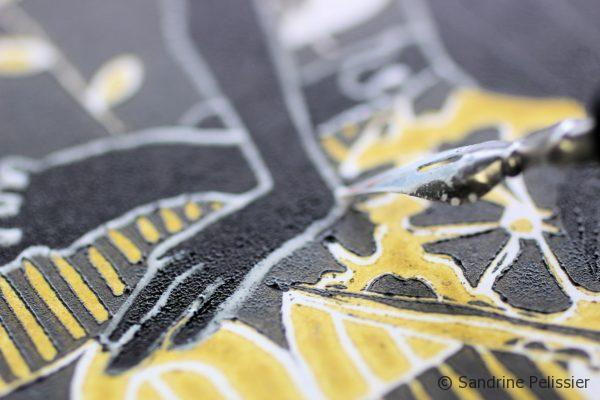
I did find the contrast a bit too low on the figure edges, so I am adding a line of fluid acrylic. The print is now print and mixed media but I like it better that way.
Originally from France, I have been living in North Vancouver, Canada for the past 20 years.
My work has been collected and exhibited extensively in Canada and internationally. I am also part of the Art Rentals and sales program of the Vancouver Art Gallery.
Many of my paintings have been published in Art books and magazines (Artist Magazine, Watercolor Artist Magazine, Acrylic Magazine, International Artist Magazine). I wrote 2 art instruction books with North Light/F+W Books.
I have been writing for the last 5 years for my blog: paintingdemos.com, that has a mailing list of about 10 000 subscribers and about 20 000 visitors per month.
I am an active member in the community, as a co-founder of the North Shore Art crawl, a co-founder of a weekly life drawing group, a board member of the North Vancouver Arts Council, and have been invited as a juror for public art, art grants and juried exhibitions. You can read more about my collaborations here.