Painting trees and leaves with watercolor : On either side of the river
April 16, 2013 2022-02-22 10:29Painting trees and leaves with watercolor : On either side of the river
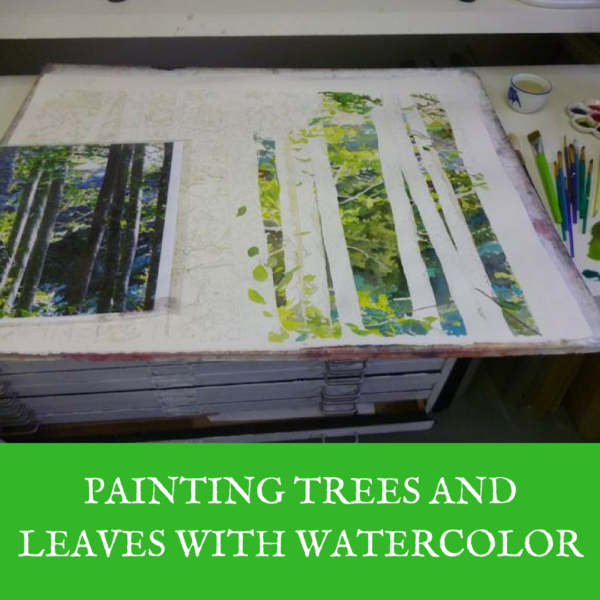
Painting trees and leaves with watercolor : On either side of the river
I did this painting for the watercolor biennale coming up at the Federation of Canadian Artists in Granville Island ( Vancouver ). I had a few guidelines to follow : the size had to be 19 x 27 which is the size of the IKEA Ribba frame, most artists will use that frame so the exhibition looks more uniform. The painting had to be framed, these days I really like to mount my watercolors on board and varnish them but well, most watercolor societies and exhibitions won’t accept varnished or mounted watercolors.
Supplies to paint trees and leaves with watercolor:

I am using a limited palette, Yellow Lemon and Yellow Ocher, Burnt Umber, Viridian green, Ultramarine blue, Cobalt Turquoise light, Permanent Alazarin Crimson and Payne’s grey. With those colors I can mix an array of green, blue, and brown tones that will make most of the picture.

My favorite brush is an angular flat brush as I find it very versatile. I will also use a small brush for details like tiny branches, a large flat brush for larger washes like the trees trunk first layer of painting.
Finally I will use my old stiff brush for scrubbing off paint, it is a flat brush that I did cut closer to the ferrule to make it very stiff.
Start by stretching your paper on a board so it won’t buckle once you start painting.
You will also need to transfer your drawing. If your drawings is very detailed, you might want to consider using a lightbox.
You might also be interested in: How to make your own lightbox for tracing on watercolor paper
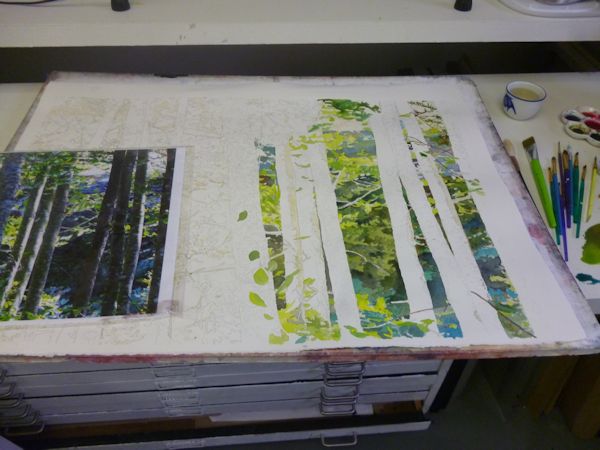
Once I have my drawing on the paper ( Arches 140 lb, hot press), I start by reserving a few whites with masking fluid, and then I wait for the masking fluid to air dry.
I then start painting the background around the trees, starting from light yellow to darker greens. I also paint the few leaves in front of the trunks. I am looking at my reference picture, trying to reproduce the sequence of colors I see on the picture
I am a Blick Art Materials affiliate and I receive a small compensation for sales. That does not effect in any way the cost of the purchaser’s order but it helps me keeping the content of this blog free.

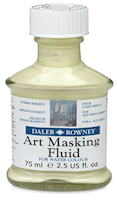 |
Daler-Rowney Masking FluidThis fluid is used to create striking white highlights or to mask areas for overpainting at a later stage. It forms a fast-drying, water-resistant film on watercolor paper and board, and is easily removed when dry. |

Working one section at a time I paint the background looking at my reference picture reproducing the tones of yellow, green, browns and the blue. I am also paying attention to the quality of edges trying to paint a variety of soft and hard edges as I see them on my reference picture.
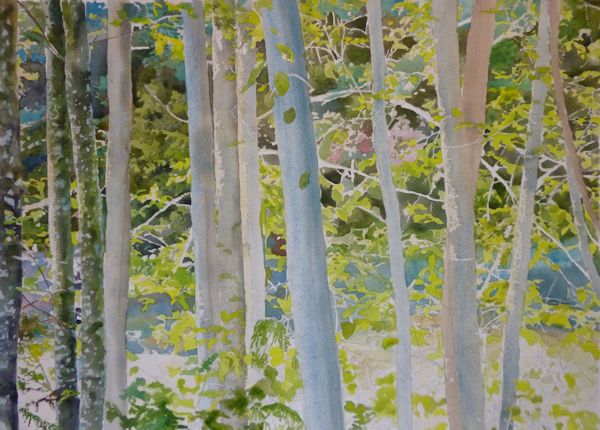
For the next step, I apply liquid frisquet on the leaves I painted that are located in front of the tree trunks. Then I am applying a first light wash on the trees trunks. I let that wash dry, before painting another watercolor layer on top, wet on dry, to build the bark texture.
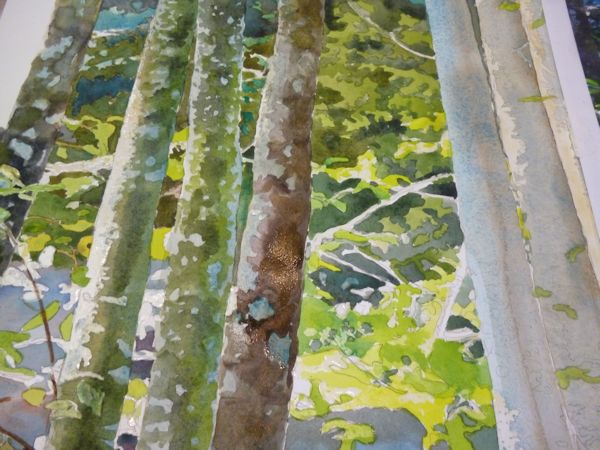
I then work on the bark of the trees, rendering the textures by scrumbling the paint wet on dry.
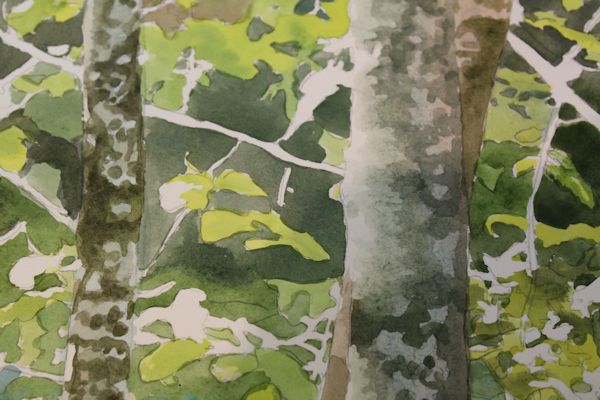
I am taking off the masking fluid, and will now paint the tiny branches
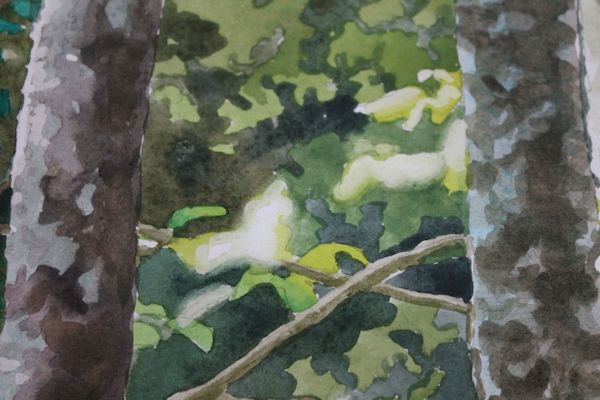
The next step for me is to soften the edges that were around the liquid frisket areas. Those areas will often have very hard unnatural edges. I soften most of those edges with my stiff brush and a bit of water
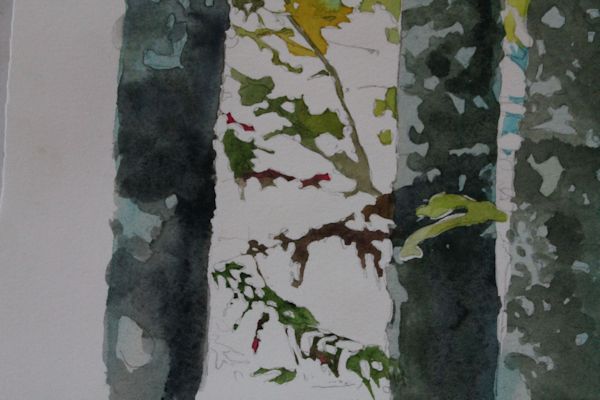
I am keeping some edges very sharp on the lower part of the painting to represent the light shining on the river water.
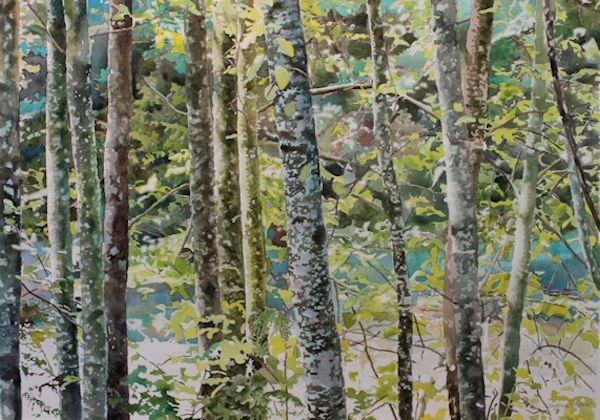
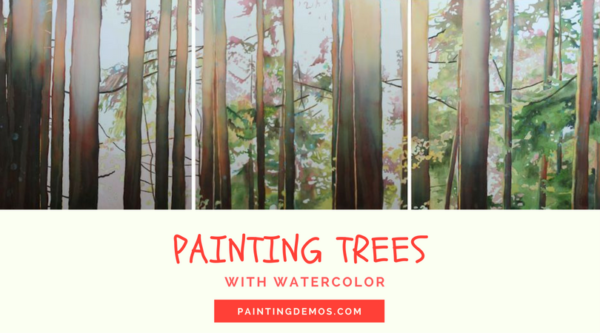
On either side of the river, watercolor on paper
Watch the whole process on this time lapse video, in about 3 minutes.









Comments (21)
Drayton Hamilton
Dear Ms. Pelissier,
Many thanks for these demonstration videos; I think that with practice I will find them very helpful in getting away from trees with foliage that looks like vari-colored, flat and textureless cardboard cutout sheets of greens and yellows .
I have three related questions regarding frisket in your applications here as well as in others.
1. Can you suggest an alternative liquid to water as a medium for thinning frisket? I find that
if I want sharp, precise coverage when depicting small objects, especially with detailed outlines, frisket right out of the bottle often results in too imprecise and “blob”-like masks for my needs, and that frisket diluted with water is only marginally better in these respects, but at the same time is more likely to fail to resist the brushed over watercolor paint. 2. Is the alternative frisket- thinner that I wish for water resistant (to the water in the watercolor paint to be applied to it) enough to really do the trick even though it is — I hope — not nearly as thick on the paper as undiluted or water-diluted frisket? 3. If there is in fact such a thing as this non-water diluting and thin liquid for frisket, does one using it ever encounter chemical resistance problems in the mingling of the new diluter and the water of watercolor painting? For example, does the non-water frisket thinner dissolve, as may be imagined, into particles that spread in unwanted places on the paper? (Of course, this is not supposed to happen, but does it, anyway?) ///Thanks sincerely in advance for you knowledgeable responses to my questions. /// Drayton Hamilton, Montgomery, AL
Valerie
I really like your work and how you blend in the watercolors on the last
painting above, also enjoy the tutorials.
Sandrine Pelissier
Thanks Valerie 🙂
painting leaves and trees with watercolor, free step by step tutorial
[…] This is my latest watercolor on paper mounted on board, it is actually a new version of a painting I made a few months ago:“On either side of the River” […]
The Trees Place : Watercolor triptych painting tutorial
[…] On either side of the riverstep by step painting tutorial […]
Painting trees and leaves with watercolor and mixed media: Stick Figures
[…] On either side of the riverstep by step painting tutorial […]
Painting lily pads with watercolors : Lily pads on One Mile Lake
[…] On either side of the riverstep by step painting tutorial […]
Step by step tutorial : Painting a tree and leaves with watercolor
[…] On either side of the riverstep by step painting tutorial […]
Painting a forest with watercolor: Step by step painting tutorial
[…] On either side of the riverstep by step painting tutorial […]
Black and white forest mixed media painting tutorial
[…] On either side of the riverstep by step painting tutorial […]
Neeti Hegde
This looks so real and beautiful, you make it seem so simple!
Sandrine Pelissier
Thanks Neeti 🙂
Liz
Your videos are so inspirational. I really appreciate your generosity in sharing your talent and techniques. Thank you!
Marthie Scholer
Your demos are soooo incredible good – I just started to paint and I’m so grateful I get your posts regularly, it is a great help and open for me ‘ideas’ or ‘dreams’ what I want to try out!!!
Sandrine Pelissier
Hello Marthie, it is very rewarding for me to get nice comments like yours 🙂 thanks!
Elizabeth Carr
Where did you find that music for your video? Perfect! I so enjoy watching your demos.
Sandrine Pelissier
Thanks Elizabeth, the music is from jewelbeat.com
Gloria Sharber
Beautiful artwork, I just LOVE IT…THANKS FOR SHARING!
You are my inspiration.
Cheers, Gloria
Sandrine Pelissier
Thanks Gloria, I am happy to hear that 🙂
Pauline
Hi, just caught your latest painting On the other side. Congraulations and good luck with it!Really lovely work! delightful you give us so much help and so many ideas
Thank you, Cheers Pauline
Sandrine Pelissier
Thanks Pauline!