How to paint trees and leaves with watercolor
May 7, 2013 2022-02-22 10:29How to paint trees and leaves with watercolor
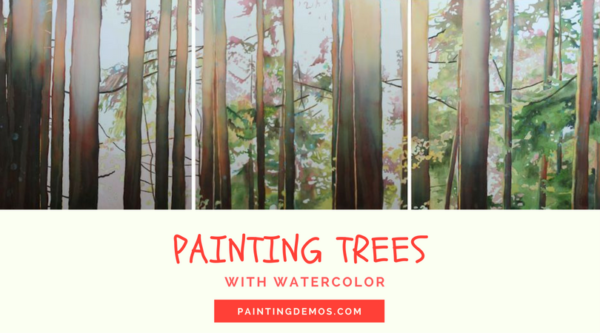
How to paint trees and leaves with watercolor
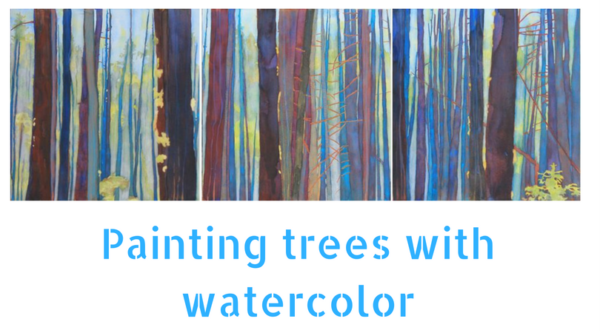
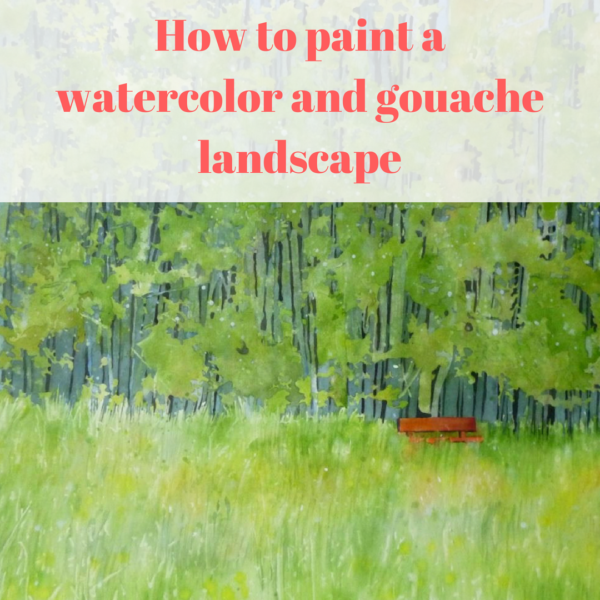
This is a watercolor and mixed media landscape, I wanted to try painting a bigger sized watercolor but was limited by the size of my paper and the boards I had available so I thought painting a triptych was a way to paint bigger while keeping my process of mounting paper on board manageable. I also thought the interruption introduced by the 3 boards would add some rhythm to the existing rhythm of the tree trunks. For this painting I decided to use two different techniques : I painted the leaves directly, mixing the colors wet into wet for interesting effects and bright colors and I used a layering technique for the trunks to have more control on color and tone variation.
Here are the steps you can take to paint a forest scene with watercolor

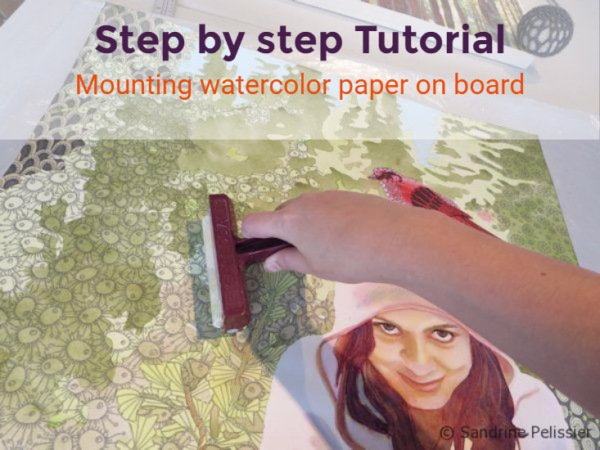
I started by mounting my paper on board, to see a step by step tutorial of this process, click here: Mounting watercolor paper on board
Once the paper was dry on the board, I transferred my drawing with a grid system.
You might be interested in: Scaling your drawing: The grid method
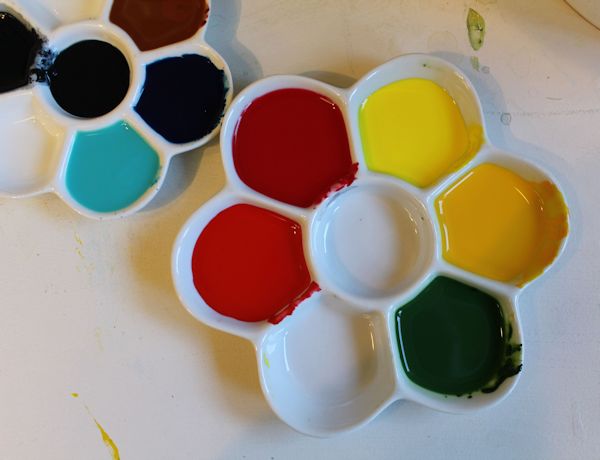
I will use a limited palette for this landscape
Painting the background foliage wet into wet
I am a Blick Art Materials affiliate and I receive a small compensation for sales. That does not effect in any way the cost of the purchaser’s order but it helps me keeping the content of this blog free.

 |
Da Vinci Artists’ Permanent Watercolors, 292 Yellow Ochre, 15 mlDa Vinci paints are exciting, intense, and rated among the best in the world for quality. The paints are permanent, with the highest tinting strength and pigment concentration available, and a creamy consistency for smooth, easy dispersion with water. |

Holbein: cobalt turquoise light, permanent red,
Daniel Smith : Burnt Sienna
Da Vinci Prussian blue, Cadmium Lemon Yellow and Viridian Green
Rembrandt : Medium yellow,
Van Gogh: Madder Lake Light
Reeves Payne Grey

I start by painting very light washes on the background, painting around the tree trunks areas. I did not protect the trees trunks with masking fluid as it is relatively easy to paint around the straight lines of the tree trunks.
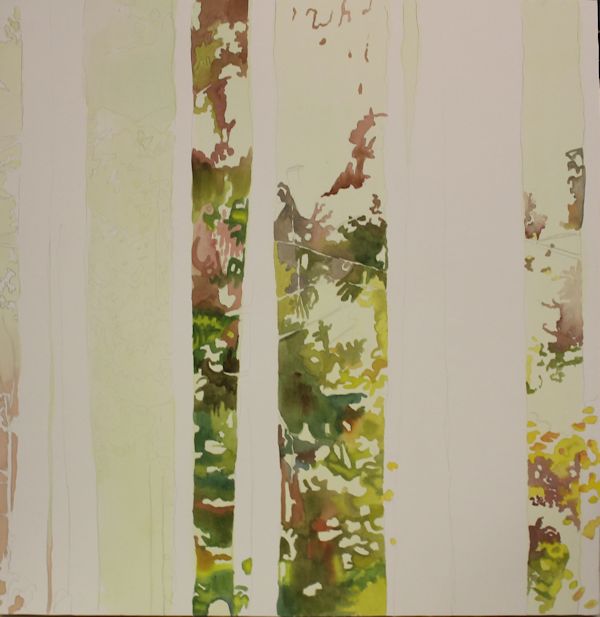
I paint the background leaves, mixing colors wet in wet so the colors are mixing on the paper rather than on my palette and are producing nice textures and changes of color.
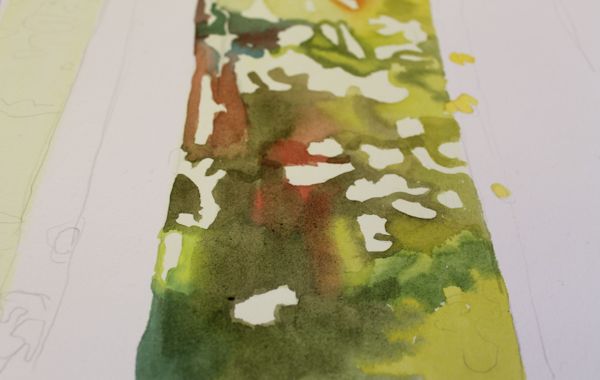
Here is a close up of the leaves area, with the colors mixing wet into wet.
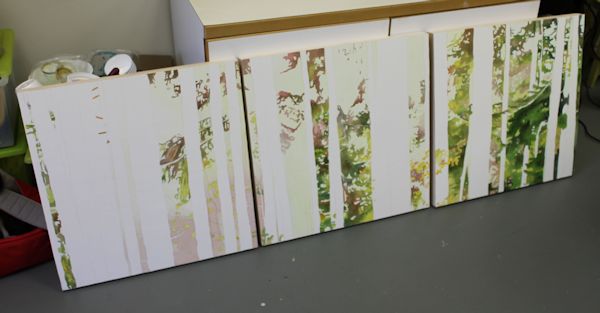
Here is the triptych with all the background and foliage painted
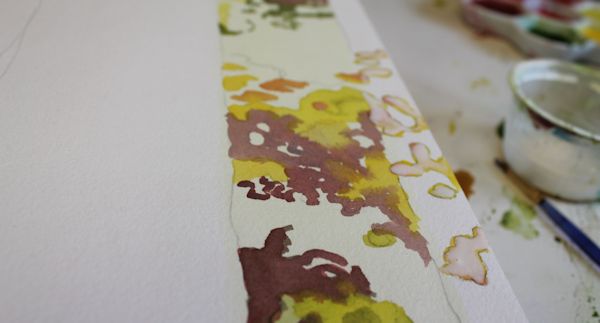
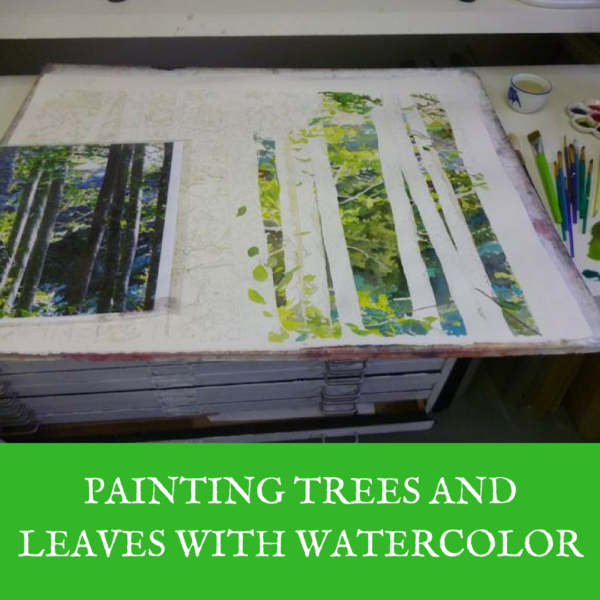
Before painting the trunks I need to protect the few areas where leaves are in front of the trunks, as it would take too much time to paint around.I paint over those leaves with masking fluid. I am also masking a few lines in between trees.
Let the masking fluid air dry as using an hair dryer would cause the masking fluid to adhere too much to the paper and make it difficult to take off.
Layering watercolor washes to paint the tree trunks
I am a Blick Art Materials affiliate and I receive a small compensation for sales. That does not effect in any way the cost of the purchaser’s order but it helps me keeping the content of this blog free.

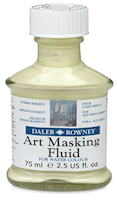 |
Daler-Rowney Masking FluidThis fluid is used to create striking white highlights or to mask areas for overpainting at a later stage. It forms a fast-drying, water-resistant film on watercolor paper and board, and is easily removed when dry. |
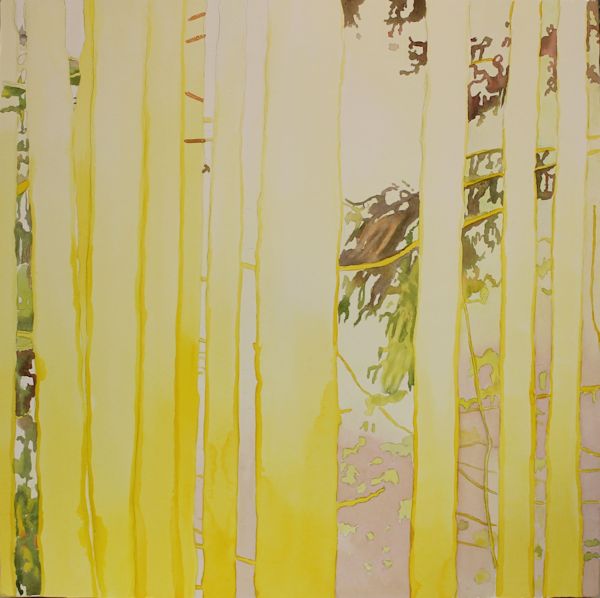
Then I can start painting the first layer of yellow. When layering watercolor, it is always a good idea to start with yellow as it is the less transparent color I am going to use.
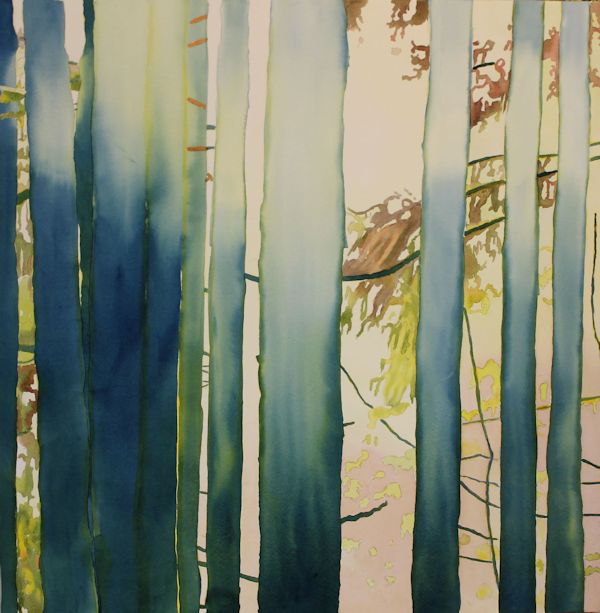
Once it is totally dry I continue layering the primary colors, painting now a blue layer ( Prussian Blue).
It is important to let color dry completely when layering watercolors as you will get a glowing effect that way.
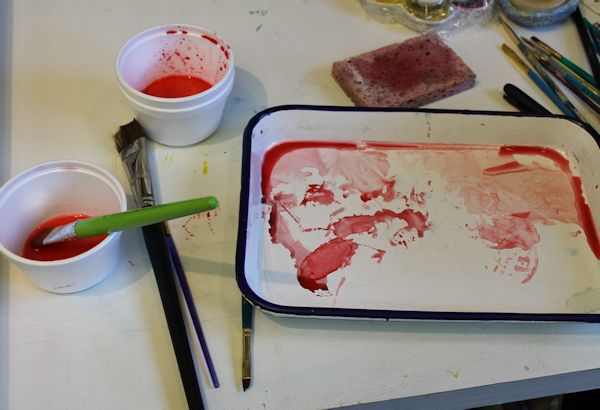
Then I paint a layer of red, using the Holbein Permanent red.
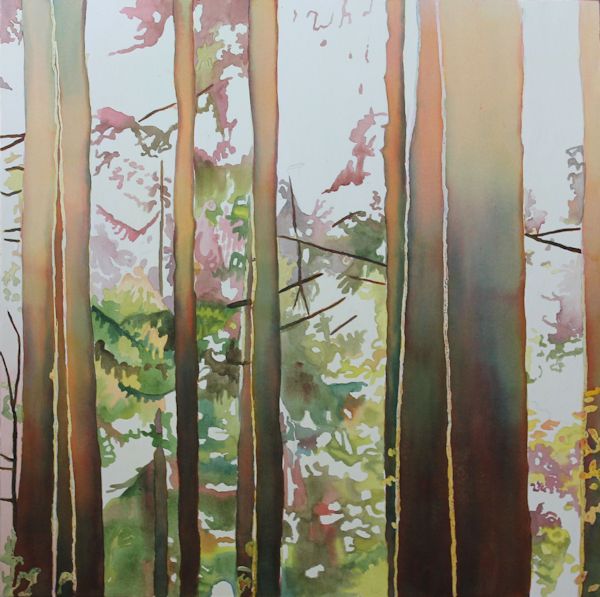
The next step is to paint more layers to adjust the colors until I am satisfied with the final color. I added many successive layers, always waiting in between for the previous layer to be thoroughly dried, so the colors stay vibrant.
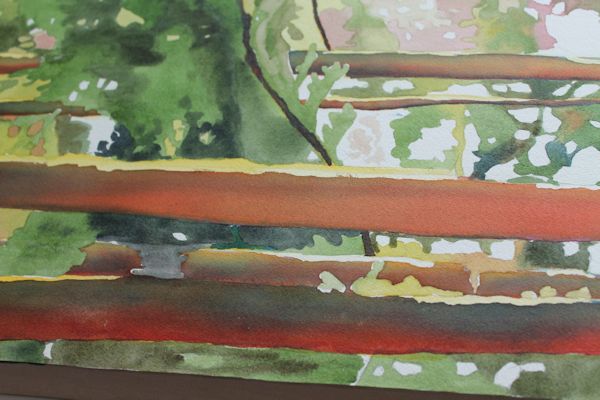
I the take off the masking fluid on all the paintings, it is leaving very hard edges that would look unnatural if left as is.

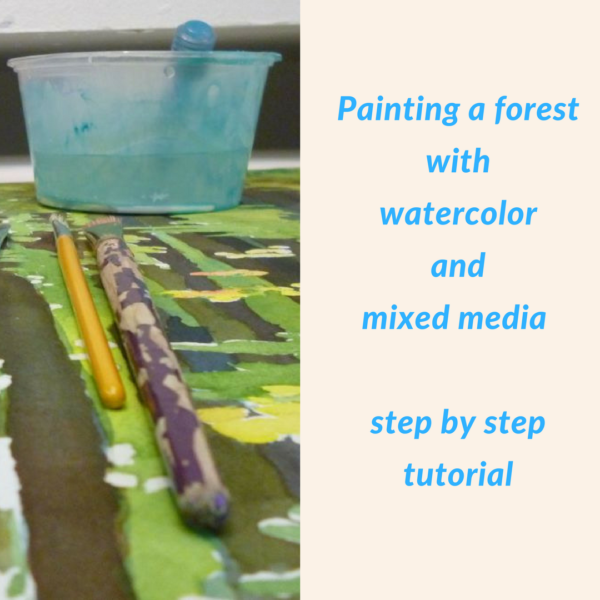
To soften those hard edges left by the masking fluid, I will use a very stiff brush and a bit of water. This is an old brush that I did cut closer to the ferrule so it stays very stiff.
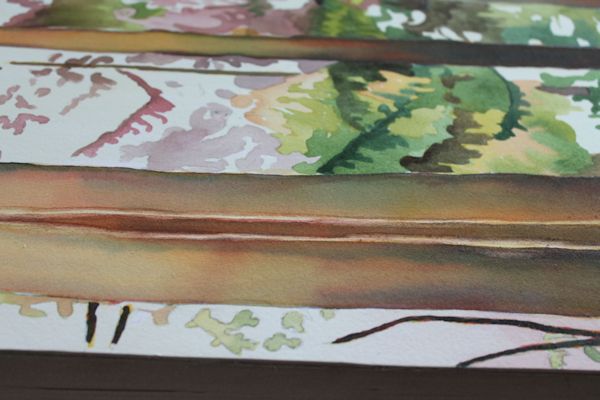
Once I did soften a few hard edges, I let the painting dry before going to the next step.
Splashing and splattering with watercolor washes.

Finally, the last step is to splash the watercolor and add some drips, the fun part!
I am using a wash of yellow and red and some of the cobalt blue mixed with China white (gouache) as I like the milky appearance it is adding to that blue. Some of those colors will mix on the paper.
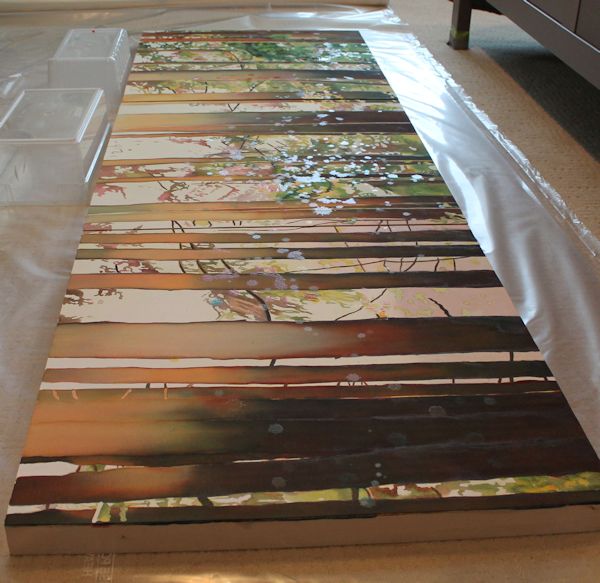
To achieve an even and continuous splashing effect, I lay the triptych panels side by side on the floor and start splashing. I will also lay the panels at a 30 degrees angle and add some drips along the trunks.
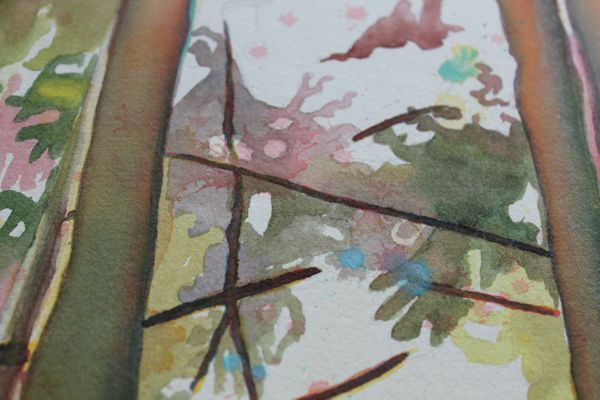
Here are a few close ups of the drips and textures.

Close up

Close up

Stick Figures, watercolor on paper











Comments (11)
mercedes
Thank you. I’m passionated about your tutorials. They are very clear and the step by step photos make them very affordable for beginners.
Mercedes
How have you protected the three watercolors of the triptych? with either a glass, or varnish, or wax?
Sandrine Pelissier
For this triptych I did finish with varnish, sometimes I will also use wax.
Sandrine Pelissier
Thanks Mercedes, I am very happy to hear that 🙂
Lee Simmons
Oh my! What beauty! Why didn’t I find you online when we lived in West Van?! Would have loved to take some classes from you. Is your studio open every Sunday or only by invitation? We sometimes get down to Vancouver and would love to meet you.
Lee
now residing in Keremeos
Sandrine Pelissier
Hello Lee,
Let me know if you pass by North Vancouver, our studio is open by appointment every week day from 10 am to 2 pm, I would be happy to show you the place.
We also have the ART4U Thursdays where artists can join us to paint : http://silentpoetryartstudio.wordpress.com/
I am also scheduling a workshop every one to two months, if you subscribe to my newsletter you will be updated on all that : http://list-manage2.us4.list-manage.com/subscribe?u=25f6bf83edc708667a4a39478&id=bf7827ceab
The Trees Place : Watercolor triptych painting tutorial
[…] Stick FiguresWatercolor and mixed media […]
Sonia
Another stunning demo Sandrine – they just get better. A considerable amount of work, and you have managed to keep the continuity between the three pieces beautifully.
Sandrine Pelissier
Thanks Sonia, I am very pleased you liked it 🙂
Vicki S
Hi Sandra,
I love your demos!
Do you teach classes?
I live in Vancouver, and would be very interested.
Thanks,
Vicki
Sandrine Pelissier
Hello Vicky,
Thanks for your comment 🙂
yes I teach individual classes on Monday mornings, between 10am and 1pm:
http://silentpoetry.simplybook.me/sheduler/manage/event/3/unit/6/
and we have also a mentoring program on Thursday mornings 10am to 2pm:
ART4U Thursdays: http://silentpoetry.simplybook.me/index/units
If none of this times works, e-mail me at [email protected] with times that would work for you.
Here are a few pictures of the studio, it is located in North Vancouver, one block West of Capilano mall, you are welcome to join us for our Sunday brunch as well:
http://silentpoetryartstudio.wordpress.com/2013/05/07/sunday-brunch-at-silent-poetry/