How to paint a watercolor tree step by step
May 21, 2013 2025-02-09 18:19How to paint a watercolor tree step by step

How to paint a watercolor tree step by step
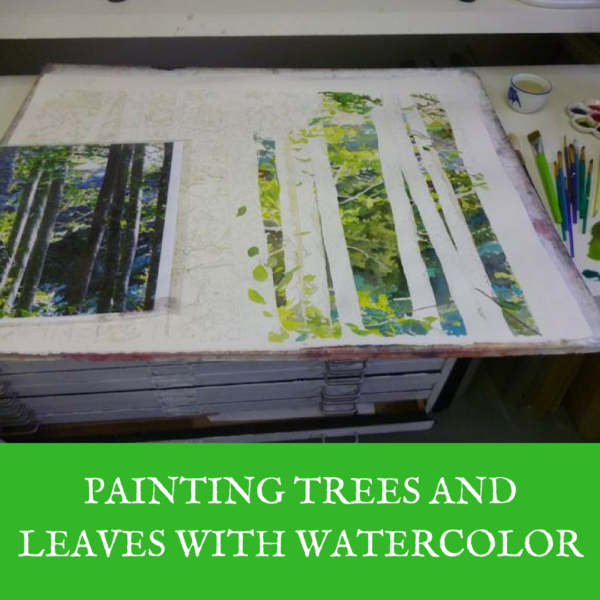
Painting watercolor trees and leaves can be tricky, you have to decide what level of detail you want to achieve. When painting a tree from a distance, artists will usually look for areas of the same color. In this particular case I wanted individual leaves to be discernible. I didn’t paint every leaf, but did start with a very detailed drawing and stayed as close as I could to my reference picture.
To paint a watercolor tree, you will need:
- Watercolor paints, I used:
- Daniel Smith Burnt Sienna,
- Reeves Payne’s grey,
- Holbein Cobalt Turquoise,
- Da Vinci Prussian blue, sap green, and cadmium lemon,
- Van Gogh Madder Lake Light.
- I also used a bit of black from my Yarka watercolor pan set
- Watercolor paper ( I used Arches hot press)
- A system to stretch your paper
- Masking fluid also called liquid frisket ( I used Da Vinci masking fluid)
- a selection of various brushes as well as a silicon brush for masking fluid
Painting a watercolor tree step by step

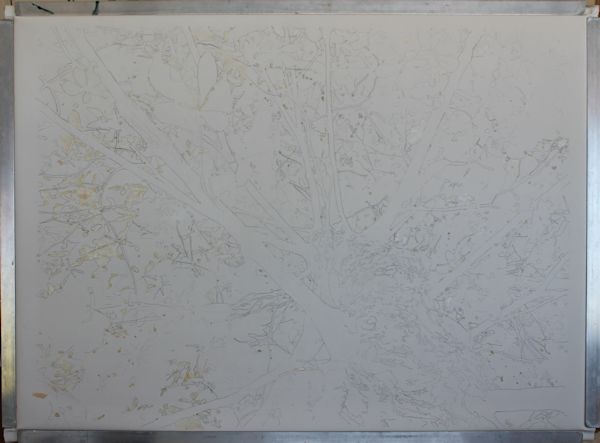
Once your drawing has been transferred onto your paper, stretch it with your favorite stretching system. Here I used a stretching board. Wetting the paper carefully won’t remove the graphite. Let your paper dry.

Start painting the leaves, mixing different shades of green from sap green, adding yellow, blue or red, and mixing some of the colors wet in wet. Look carefully at your reference picture to paint the different types of green you see.

Painting a big very detailed painting can be intimidating but very manageable if you paint it one section at a time, making your way across the painting.

Once you are done with one element of the painting, it can be helpful to stop for a while and assess what you have done. Here I like the result but find I am missing a bit of contrast to get the effect of the light showing through the leaves. I decide to apply a darker wash of green on some of the leaves to increase contrast.
I am a Blick Art Materials affiliate and I receive a small compensation for sales. That does not effect in any way the cost of the purchaser’s order but it helps me keeping the content of this blog free.

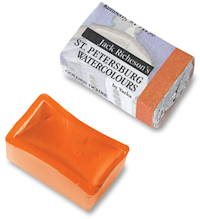 |
Yarka St. Petersburg Professional Watercolor PansSame palette of traditional colors the great masters used a century ago. Liquid-poured means semi-moist pans respond instantly to a wet brush. 24 pans in plastic case. Also individual pans. – Master Set |

Mixing sap green and madder lake will give you a very dark green, I am applying it as a glaze on some of the leaves I want a bit darker.

Here is the painting after I did darken some areas on the leaves.
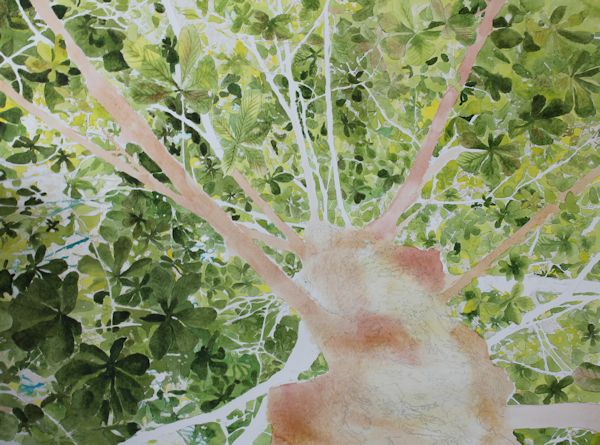
To paint the trunk, start by painting light brown washes, that correspond to the lighter color you can see on the trunk on your reference picture. This is the basis layer from which you will start building up your texture.
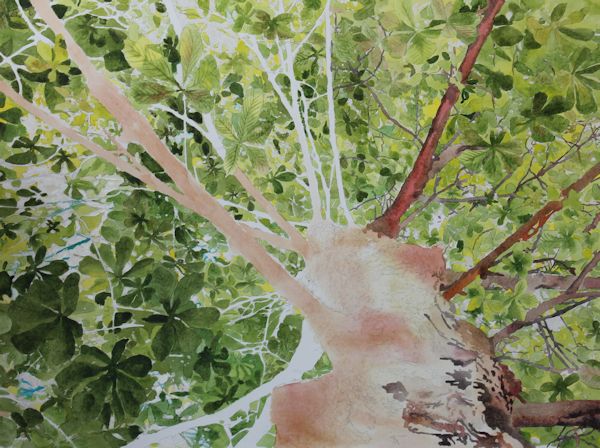
Working one section at a time, paint darker washes adding texture to the trunk.
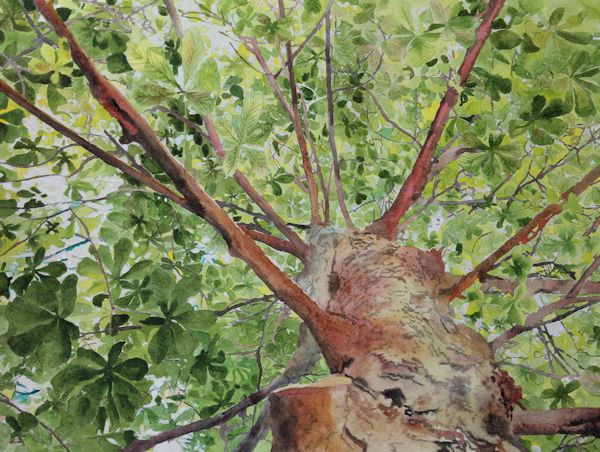
Keep adding layers of texture until you are satisfied with the result.
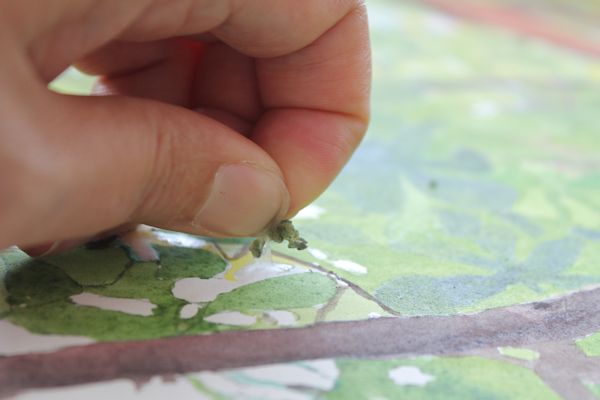
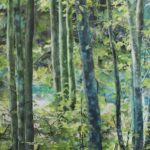
When the painting had time to dry, remove the masking fluid. I usually recommend to soften the edges after masking fluid has been removed and paint a light wash on the white areas but for this particular painting I want to keep the white areas very crisp to add to the effect of light shinning through the leaves.

Here is a close up of an area with the masking fluid removed.
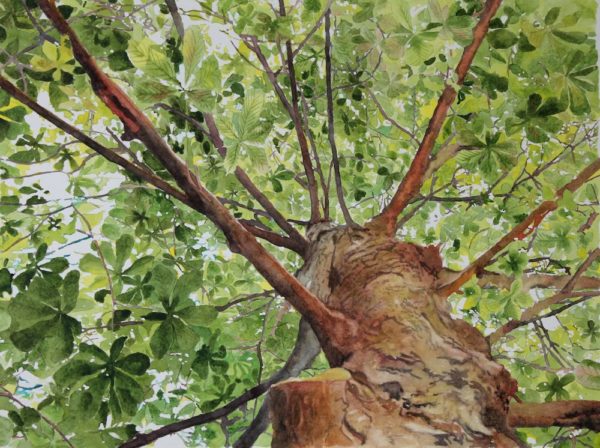
Leaves Lace,
watercolor on paper,
19.5 x 27 inches
Prints available on Fine Art America







Comments (18)
Puangtip
Thanks for ur generous sharings. It is very helpful and inspiring on the beginner like me.
Sandrine Pelissier
Thanks Puangtip! Good luck on your artistic journey 🙂
Puangtip
Thanks for all ur generous sharings .it is very helpful and inspiring on the beginner like me.
Reema
Thank you for the instructions. Its a beautiful work of art. I tried it myself today. And although it felt tedious in the beginning, your suggestion of working in sections made it quite enjoyable.
Sandrine Pelissier
Thanks Reema!
How to apply a wax finish to a watercolor painting on paper mounted on board.
[…] Leaves Lace, watercolor on paper step by step painting tutorial […]
jhon012
I really enjoy your work and am so impressed with your methods and how generous you are in sharing them.
Sandrine Pelissier
Thanks !!
Susan
Thanks so much for sharing. I’m pretty new to watercolor and I greatly appreciate your willingness to share. The step by step techniques are so helpful and your work is very inspiring!
Sandrine Pelissier
Thanks Susan, I really appreciate it:)
mercedes
magnífica demostración. gracias. Phantastic demos.. Thankyou
Sandrine Pelissier
Gracias Mercedes 🙂
Muru
Thanks for the demo.
The reference – is it a photo printed on big paper?
Sandrine Pelissier
Thanks Muru, yes it is I printed a reference picture on super B size paper.
Christine Holzschuh
I love your work and am so impressed with your methods and how generous you are in sharing them…I learn something every time I look at your work…I don’t even paint in watercolors!
Sandrine Pelissier
Thanks Christine 🙂 I am glad you liked the demos!
Meredith
Love the perspective of this painting.
Sandrine Pelissier
Thanks Meredith!