Nymph Echo : Painting lily pads and reflections on water with watercolor
June 4, 2013 2022-02-22 10:29Nymph Echo : Painting lily pads and reflections on water with watercolor
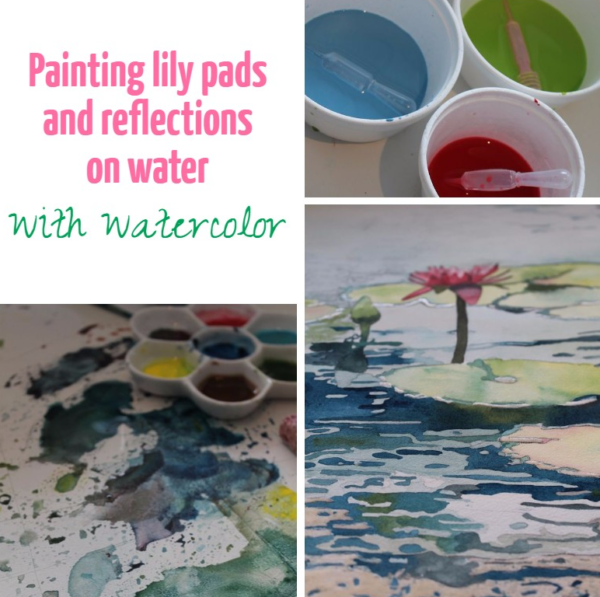
Nymph Echo : Painting lily pads and reflections on water with watercolor
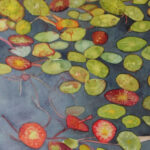
Watercolor is such a great medium to render reflections on water and paint beautiful scenes with lily pads.
One of the trick to render a water scene is to pay attention to the quality of your edges and see from your reference picture which edges are soft (blurry) and which edges are hard (well defined).
Here are the steps you can take to paint a water scene with lily pads.
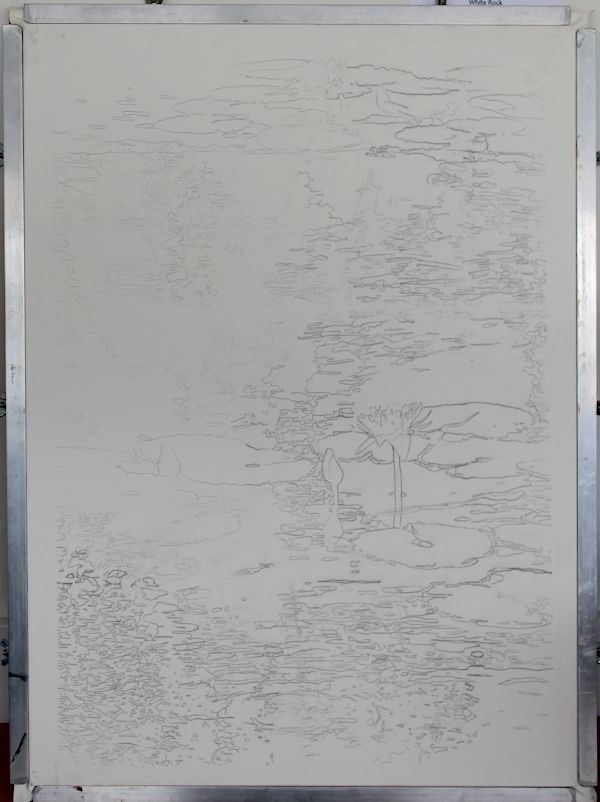
Start by stretching your paper, here I am using a board and stretcher bars. Then transfer a detailed drawing on your paper. I used Arches hot press 140 lb. To transfer your drawing you could use a grid system or a light box.
You might also like: How to make your own lightbox for tracing on watercolor paper

Here is my color palette
Holbein: cobalt turquoise light,
Daniel Smith : Burnt Sienna
Da Vinci Prussian blue, Cadmium Lemon Yellow and Sap Green
Van Gogh: Madder Lake Light
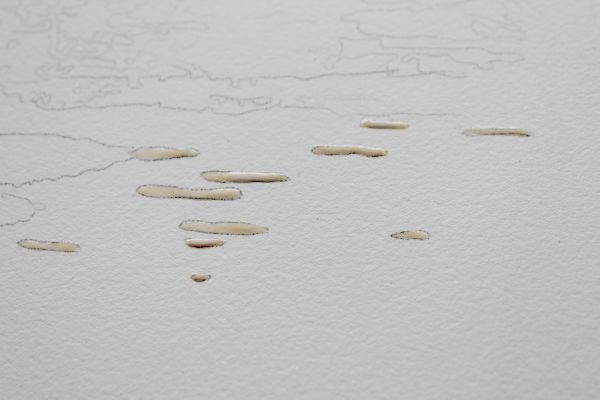
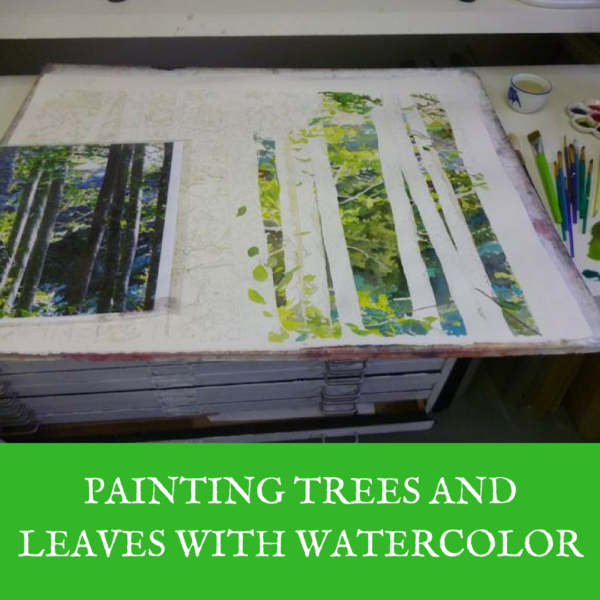
With watercolor, the first step is often to preserve some white areas on the paper with masking fluid, so you can paint around freely.
Look at your reference picture and see where you want to leave the paper unpainted. Apply masking fluid on those areas.
With masking fluid, you have to wait for the liquid to air dry as if you use a hairdryer, it will bind the masking fluid to the paper and make it very difficult to take it off.
I am a Blick Art Materials affiliate and I receive a small compensation for sales. That does not effect in any way the cost of the purchaser’s order but it helps me keeping the content of this blog free.

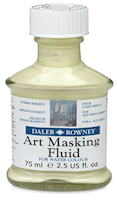 |
Daler-Rowney Masking FluidThis fluid is used to create striking white highlights or to mask areas for overpainting at a later stage. It forms a fast-drying, water-resistant film on watercolor paper and board, and is easily removed when dry. |
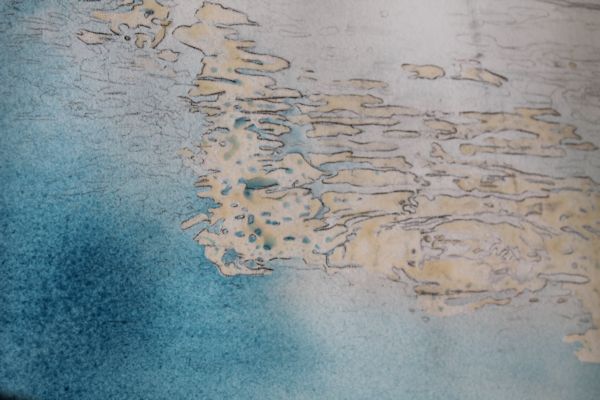
I am starting by a gradated wash of Prussian Blue on the lower corners of the painting. Painting a gradated wash will allow some color variation with only soft edges.
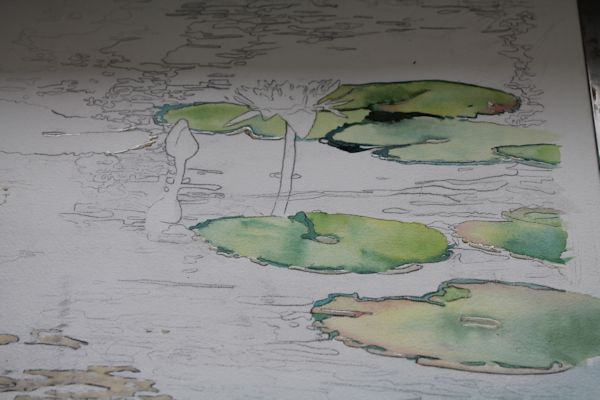
I then start painting the Lilly pads leaves, mixing colors wet into wet inside the leaves and painting a darker outline wet on dry around the leaves, on the part where they touch the water.
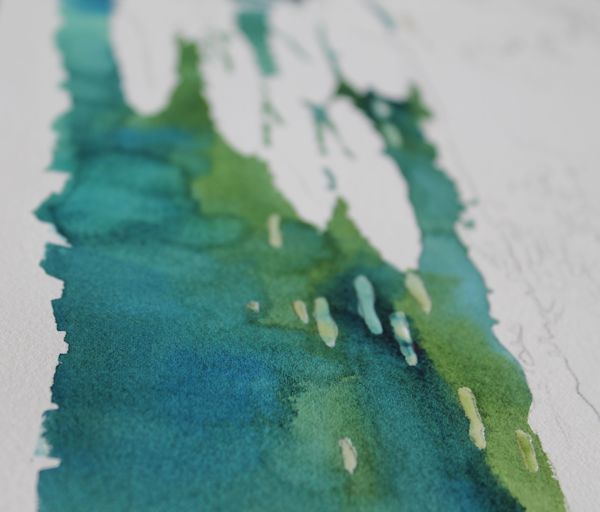
I am also painting the upper section, mixing different tones of Prussian blue and sap green wet into wet.
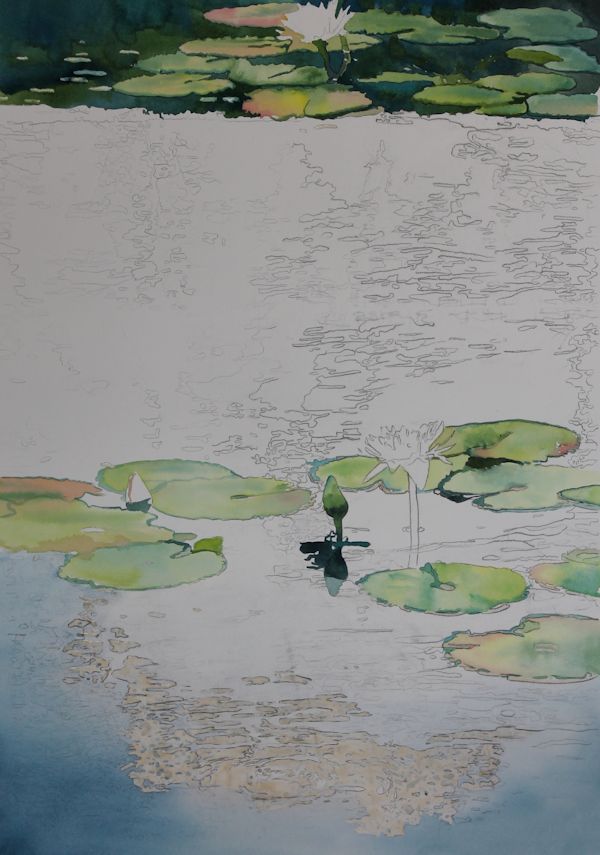
I work on the painting one section at a time, here starting to work on the water reflections under the Lilly pads.
To paint a complex scene, I often find that just painting section by section will make it more manageable and less overwhelming.
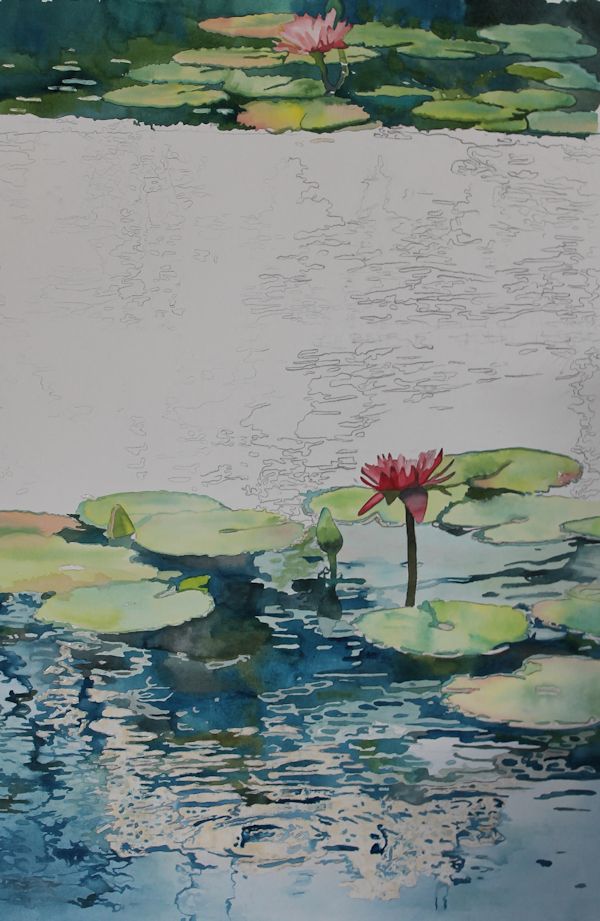
For the middle section of the painting, I start by applying a light blue wash and then will paint the many colors of the water reflections, just looking at my reference picture and trying to reproduce the colors I see there.
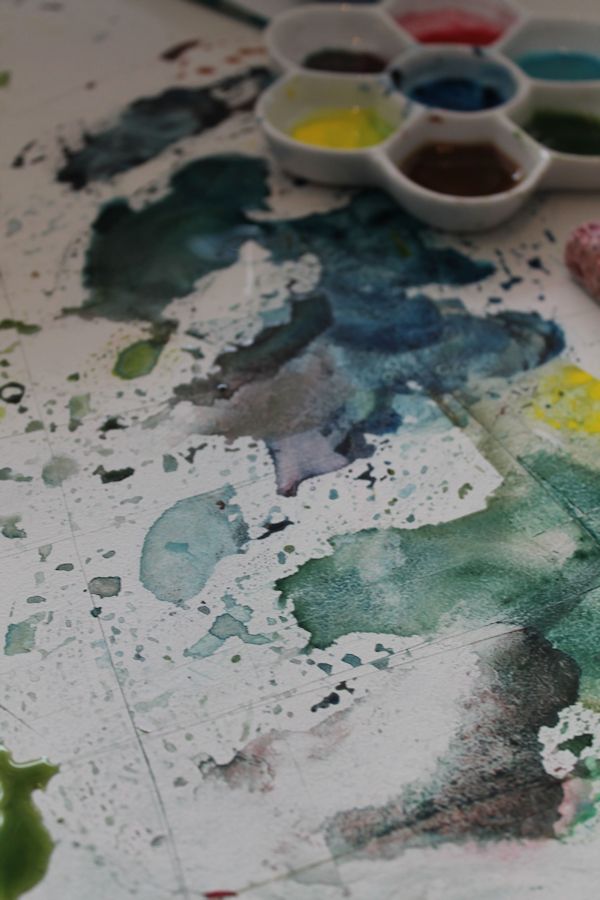
I am mixing my colors directly on my working table, I like a bit of mess when painting 🙂
I am a Blick Art Materials affiliate and I receive a small compensation for sales. That does not effect in any way the cost of the purchaser’s order but it helps me keeping the content of this blog free.

 |
Yarka St. Petersburg Professional Watercolor PansSame palette of traditional colors the great masters used a century ago. Liquid-poured means semi-moist pans respond instantly to a wet brush. 24 pans in plastic case. Also individual pans. – Master Set |
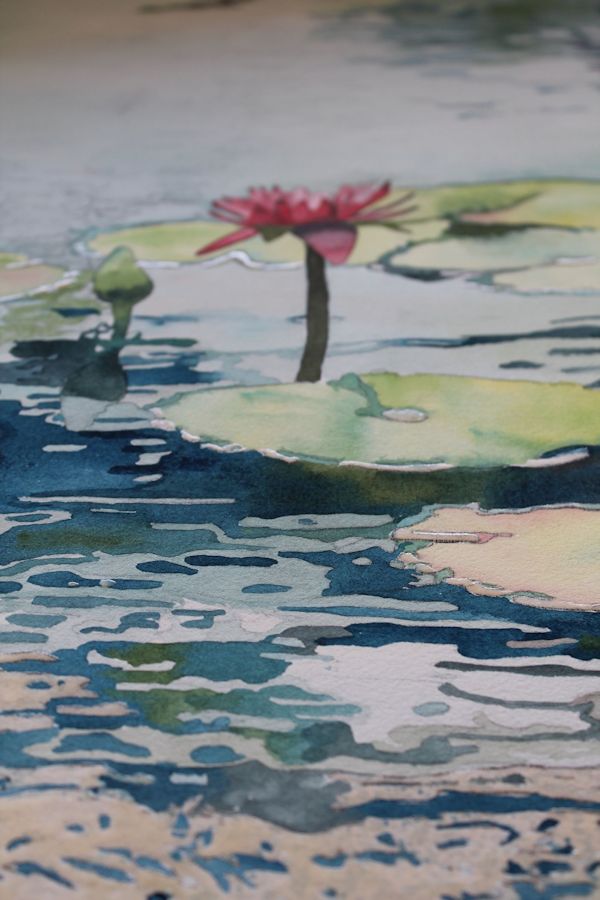
I have a lot of hard edges in some of the water reflections, as you can see on picture above. I will soften them later with a bit of water and a stiff brush
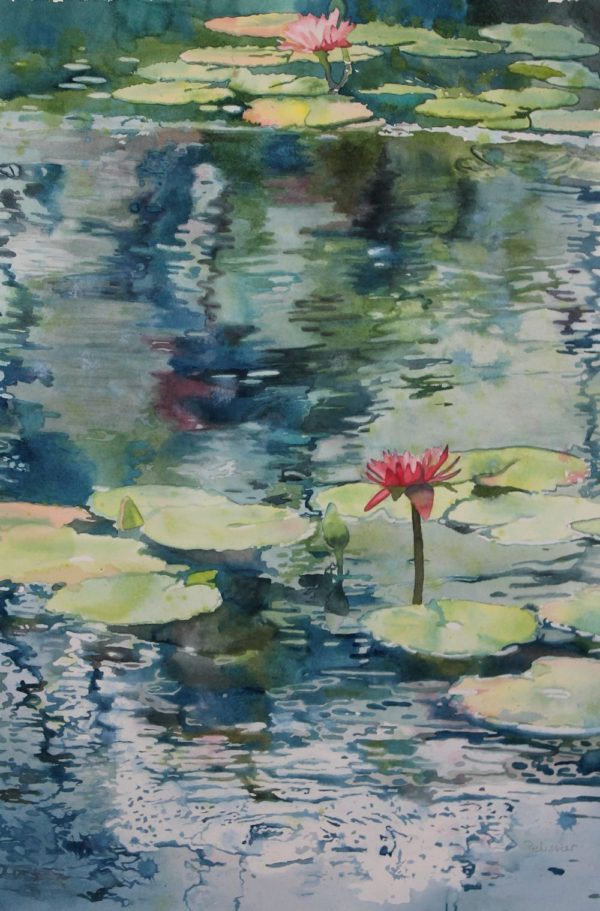
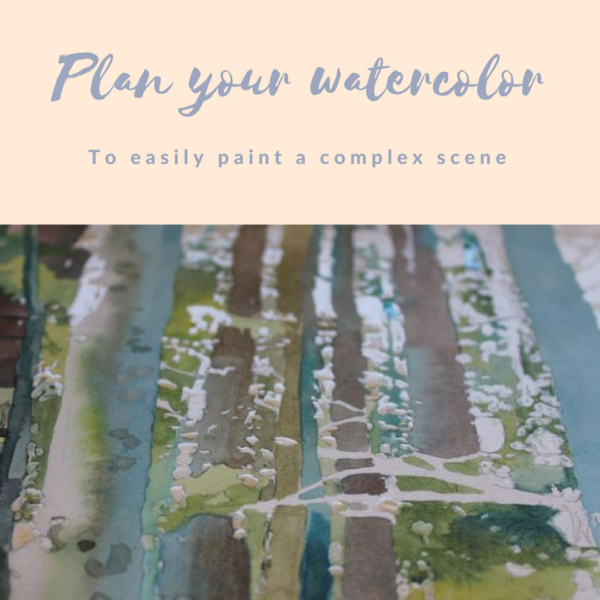
When you take off the masking fluid, you might want to soften some of the hard edges along the areas where the masking fluid was painted. You can do so easily with a stiff brush and a bit of water
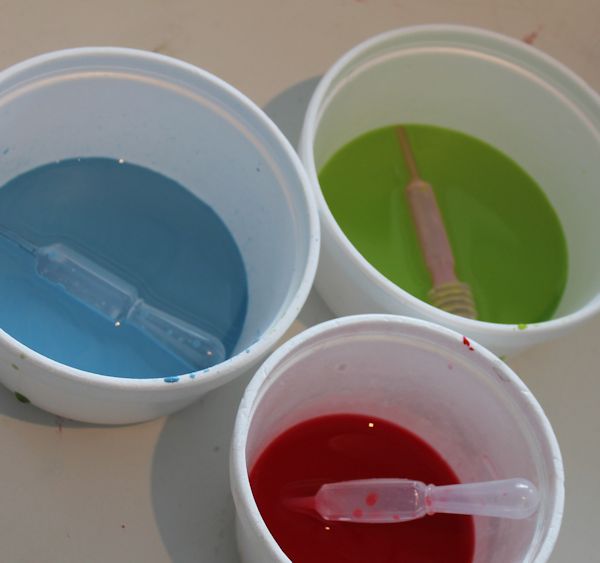
Time to splash! I made 3 light washes mix, the blue wash has a bit of white gouache added to it.
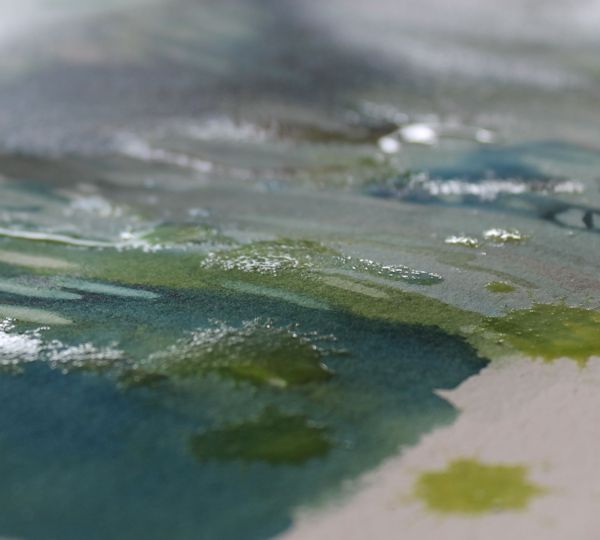
I add splashes of color and spray the painting with water, letting the paint move and taking off paint I don’t want with a tissue paper.
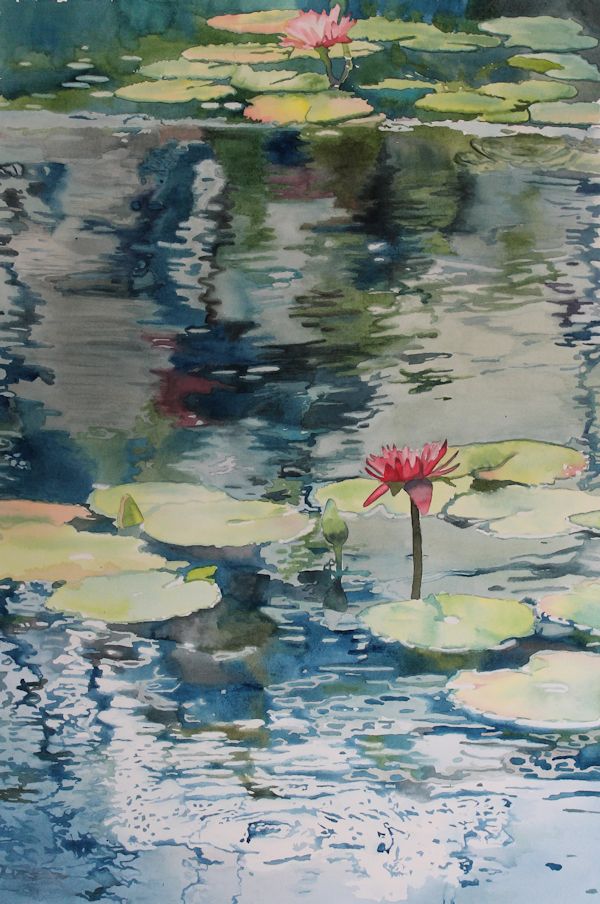
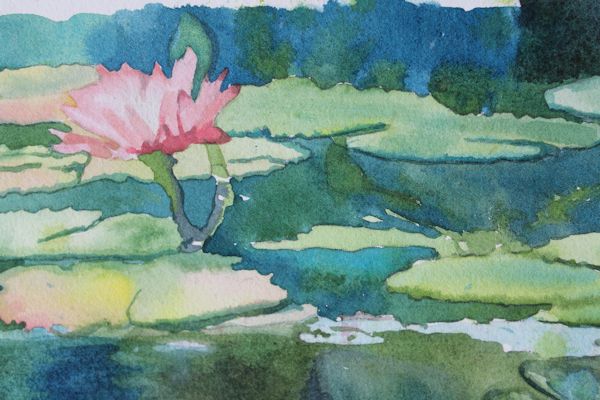
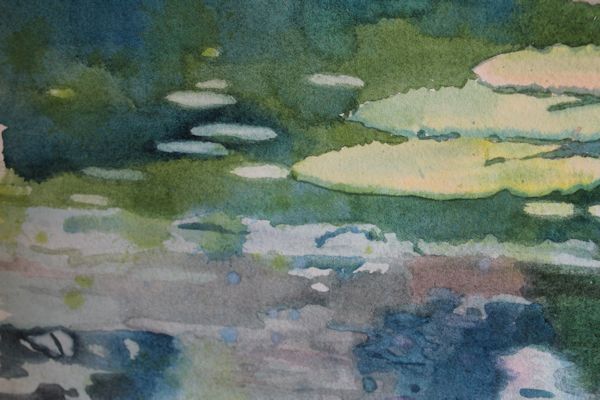
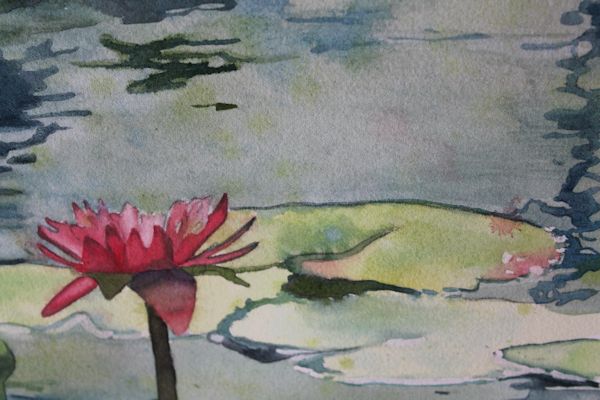
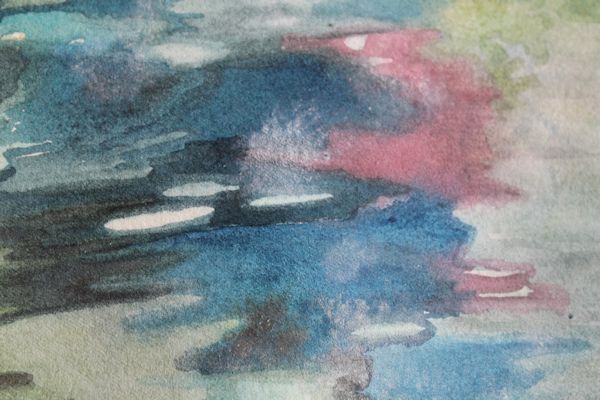
Nymph Echo, watercolor on paper
17 x 29 inches
Here are a few close-up of the finished painting:
Here is a time lapse video,








Comments (29)
Anna
What a gift! While you mention control, the technique seems very loose yet with intense attention to detail. Love the “Pollock-esque” drips at the finish. Allowing us to watch the application of your skill and talent to produce an artwork is very generous (and imposing). The internet is a wonderful thing.
Sandrine Pelissier
Thanks Anna 🙂
Dee Whitney
Absolutely love the light filled reflections of your watercolor! I live by a lake and enjoy watching the ever changing surface in the different lights. Am encouraged to try my own watercolor now that I ‘ve watched your video several times. Thank you so much!
Sandrine Pelissier
Thanks Dee, I am very happy to hear that 🙂
Dee
Love this lily pond painting. I’ve watched the video twice and got so inspired that I’ve started one of my own. I’ve always struggled with water, but your technique makes it come to life, hence why I was so anxious to start. Your work is beautiful, and you’re so generous with the tutorials. Thank you!
Do you ever provide workshops in the states?
Sandrine Pelissier
Thanks Dee, I am very happy to hear that you got ispired to start a lily pond painting 🙂 Yes water reflections ca be tricky but if you take it one step at a time, I am sure you can get good results.
I might teach in the future in the US but nothing is planned for now.
In the meantime, I have two online classes available on the blog: http://www.sandrinepelissier.com/online-classes.html
bobita Saikia
Its nice and helpful. I am trying my hands in water color and your tutorial helps me a lot . Thanks!!
Sandrine Pelissier
Great, Thanks bobita 🙂 I am glad you find this helpful.
Painting lily pads with watercolors : Lily pads on One Mile Lake
[…] Nymph Echo, painting lily pads with watercolor […]
Kay
For some reason the time lapse video does not play! Just the music comes on and very small pictures if I put pointer on the time lapse area. Do you know what is going on and how I may correct this problem?
Thanks, K
Sandrine Pelissier
Hi Kay,
You can watch it from here, it should work: http://www.youtube.com/watch?v=dkSkSkJ8qNM
Thanks
Sandrine
Rosanne
I love your tree paintings and that you used the properties of water to achieve the watery look in this painting. I have painted watercolour seascapes, but not that beautiful reflectiveness of almost still water with just ripples. Yours is a great gift and you have truly caught the light!
Sandrine Pelissier
Thanks Roseanne for your nice words!
Cindy
I just love this painting. You make it look so easy. The color choices are amazing. I’d love to be able to do this.
Sandrine Pelissier
Thanks Cindy!
Neeti Hegde
Watching your demos and tutorial is really motivating me to start working on watercolours. Thanks a lot!!!!!
Sandrine Pelissier
Thanks Neety, I am glad to hear that 🙂
EmmaLeduc
It is SO beautiful. Watercolor looks so easy when we look at your work !
I’ve been thinking about doing seas and lakes for quite a while, watching the video really motivates me !
Thanks a lot !
Sandrine Pelissier
Thanks Emma, I am glad it motivates you 🙂
Engela
You make it look so incredibly easy! Thank you for the step by steps and videos.
Sandrine Pelissier
Thanks Engela 🙂
Linda Kuruzar
I think your paintings are amazing and the videos are fun to watch. I would like to know why you splash with gouach, and if you have always done it or is it a style you adapted for yourself. It is hard to see the difference before splashing and after on the monitor. I am afraid to try it because I’m sure it would make my pictures cloudy or dull. Also, I notice you draw everything in with such detail, even the different tones in water and foliage. Do you find this helps with getting the right tonal values for depth and balance? You make beautiful paintings from beautiful reference photos, but the paintings don’t have that ‘copied’ look. Does the splashing help with that? Oh, and how do you pick the colors you use to splash with?
Thanks,
Linda K
Sandrine Pelissier
Hello Linda,
I am quite controlling and tight when I paint so I splash as a way to introduce some element of chance and also because I like the look of drips. I am choosing the colors depending on the painting, considering what color I would like more of. I think the splashing part helps with the painting looking more like a painting and less like a picture.
Thanks for your question 🙂
Sandrine
Sylvie Allouche
C’est vraiment magnifique Sandrine. Bravo !
Sandrine Pelissier
Merci Sylvie, je suis contente que cela te plaise 🙂
Andrea
Holy Moly! This watercolor is remarkable! Your attention to details with your drawing and then with the way you choose your colors shows how much you love to paint. Would you please tell me how long this one took you from start to finish? I also like the way you use your own style palette…Great to watch you working. Good luck with your entries.
Sandrine Pelissier
Hello Andrea,
I am glad you liked the tutorial, I think when I started gathering all the video material, I had about a bit more than 10 hours, that counts only the hours of painting, you have to have a break once in a while or time to think. I worked on it for 4-5 days at the studio.
Alison Lynch
Its a beautiful watercolour Sandrine, and I loved watching your process in the video.
Good luck with the competitions
Alison
Sandrine Pelissier
Thanks Alison 🙂