Watercolor cityscape tutorial : How to paint a rainy cityscape with watercolors
April 1, 2014 2025-02-09 18:19Watercolor cityscape tutorial : How to paint a rainy cityscape with watercolors
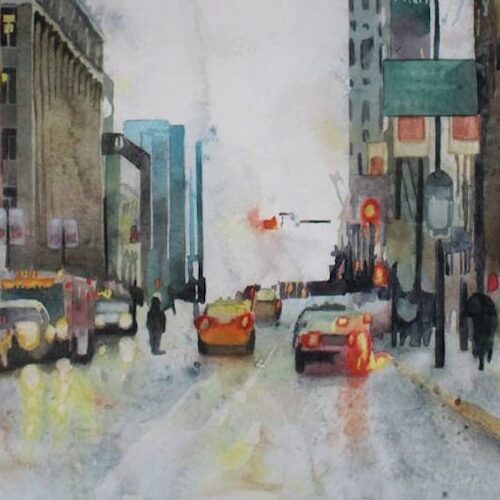
Watercolor cityscape tutorial : How to paint a rainy cityscape with watercolors
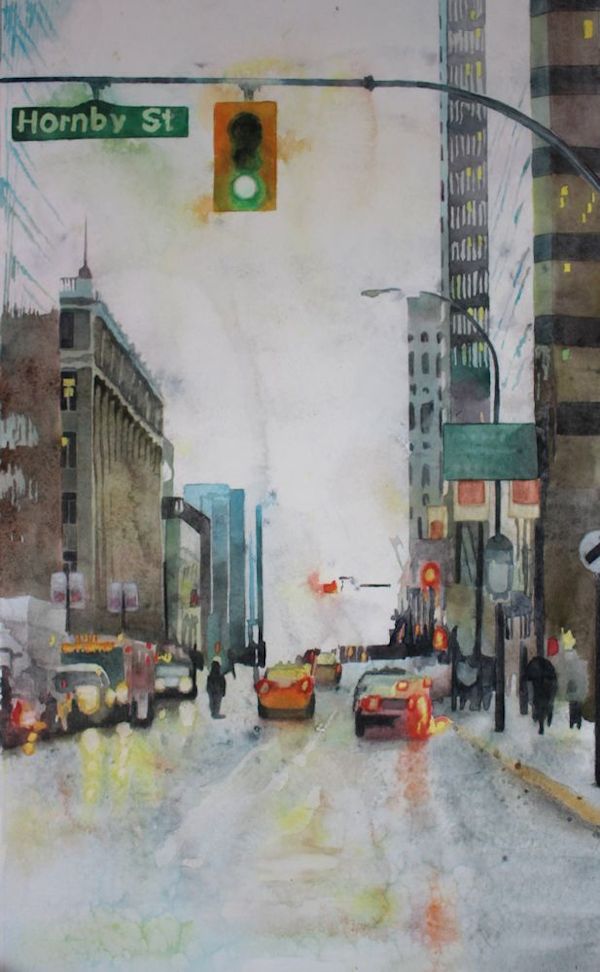
I like how the bright lights of the traffic are visually interesting in Vancouver when it is raining. Here is a watercolor cityscape tutorial that will give you at least a reason to like the rain here 🙂
Watercolor is a great media to convey anything related to water, including rain. Here are a few techniques that you can use to paint a rainy cityscape.
Watercolor cityscape tutorial : How to paint a rainy cityscape
You will need:
- Watercolor paper, I used Arched hot press
- a stretching board
- Watercolors, I used Yarka watercolors
- Masking fluid
- Coarse salt.
I am a Blick Art Materials affiliate and I receive a small compensation for sales. That does not effect in any way the cost of the purchaser’s order but it helps me keeping the content of this blog free.

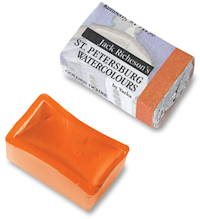 |
Yarka St. Petersburg Professional Watercolor PansSame palette of traditional colors the great masters used a century ago. Liquid-poured means semi-moist pans respond instantly to a wet brush. 24 pans in plastic case. Also individual pans. – Master Set |
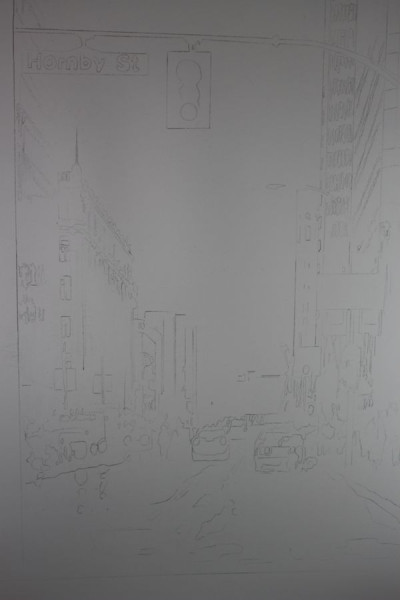
Start by stretching your paper and draw a rough pencil outline of the buildings, cars and lights.
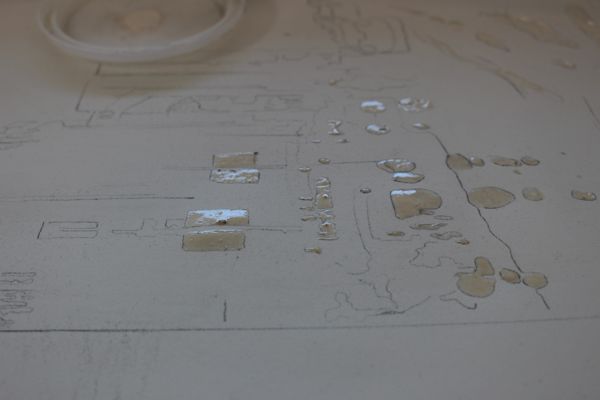
The first step, often when painting with watercolors is to preserve a few white areas with masking fluid, so you can paint fast and confidently around those shapes while preserving the white of the paper.
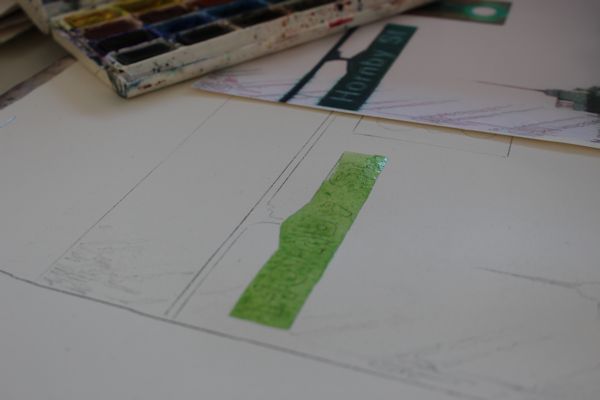
Masking fluid can also be applied on top of an already painted area, like here on the sign. It would be tricky to paint around the letters.
I am a Blick Art Materials affiliate and I receive a small compensation for sales. That does not effect in any way the cost of the purchaser’s order but it helps me keeping the content of this blog free.

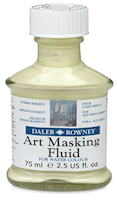 |
Daler-Rowney Masking FluidThis fluid is used to create striking white highlights or to mask areas for overpainting at a later stage. It forms a fast-drying, water-resistant film on watercolor paper and board, and is easily removed when dry. |
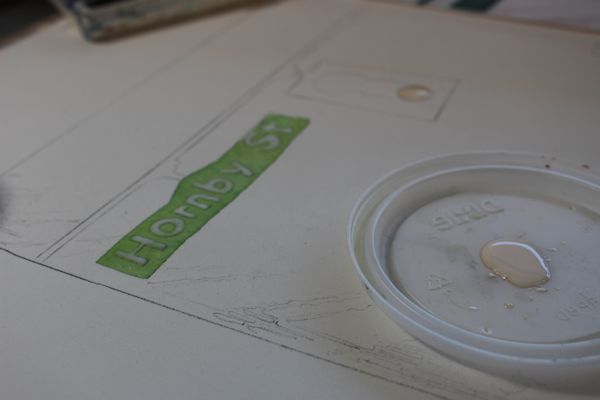
The lighter green seen here will be the green of the letters, a darker shade of green will be painted on top.
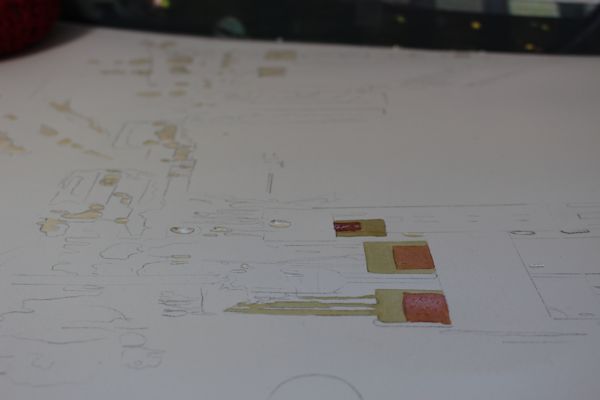
Apply washes of paint on the various elements of the cityscape. Try to add variation by painting some washes flat, some wet on dry as on this picture and some painted wet on wet, letting the colors mix on the paper.
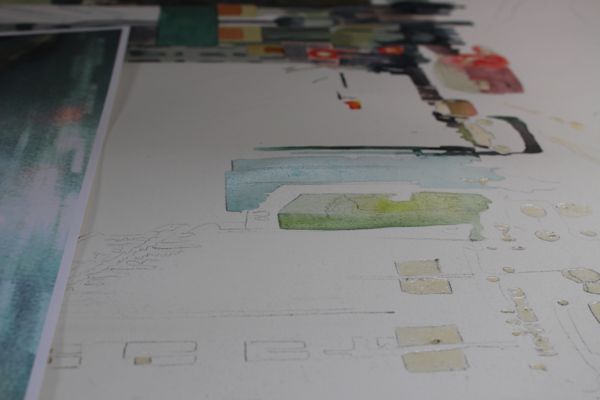
You can also layer several washes in some places starting from light to dark. Like here on the buildings, you can see the first lighter layer.
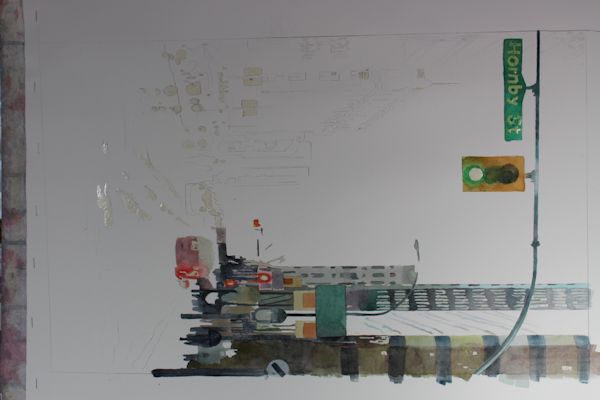
Paint one section at a time moving onto the painting.
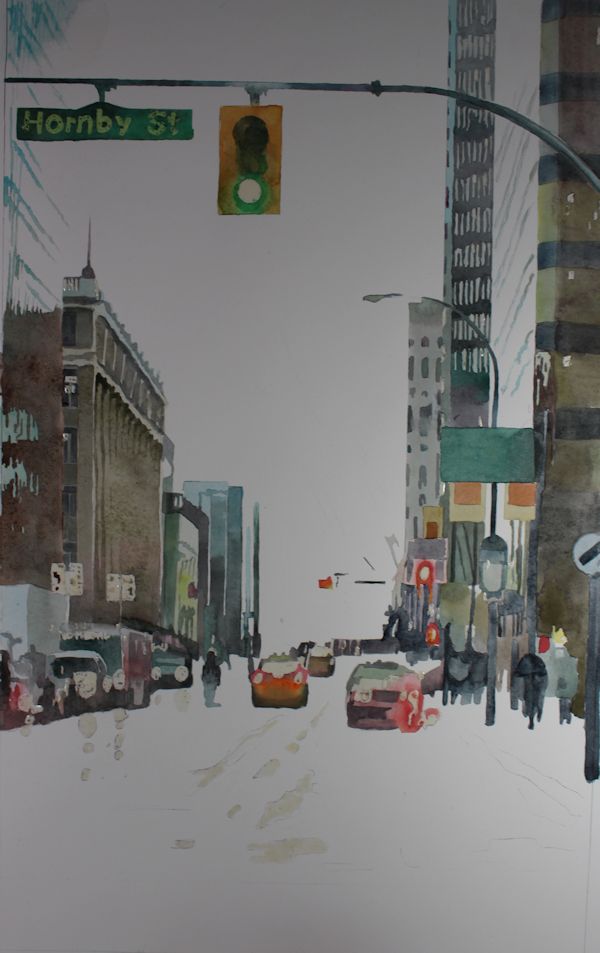
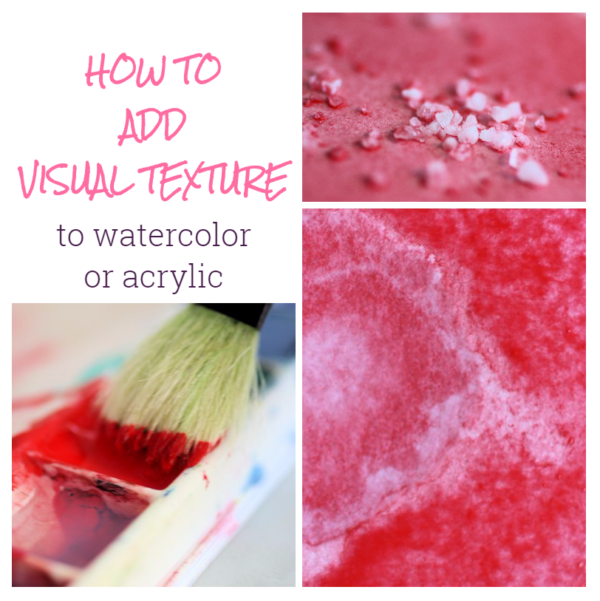
To paint the sidewalk, I am going to lay a wet into wet wash, paying attention to the colors of the reflections on the road and then add some coarse salt for texture.
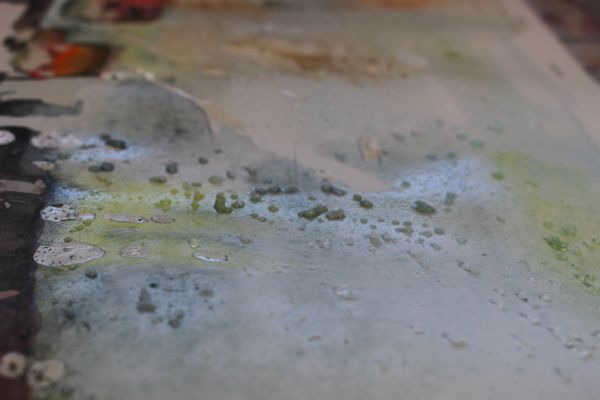
The salt is applied when the wash is still wet but has lost most of its shininess.
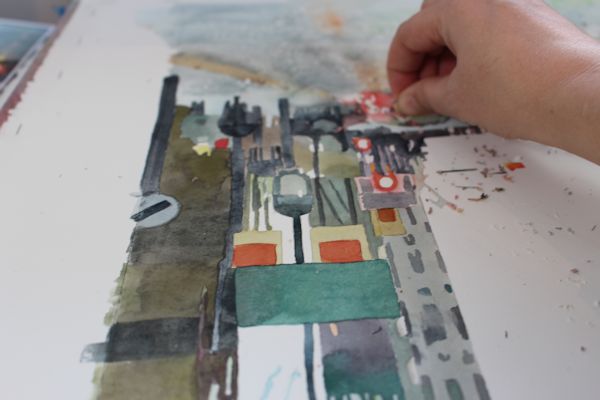
When the painting had time to dry, take off most of the masking fluid with an eraser and all the salt on the surface of the painting. You can soften most of the edges left by the masking fluid as those are often too sharp and unnatural looking.
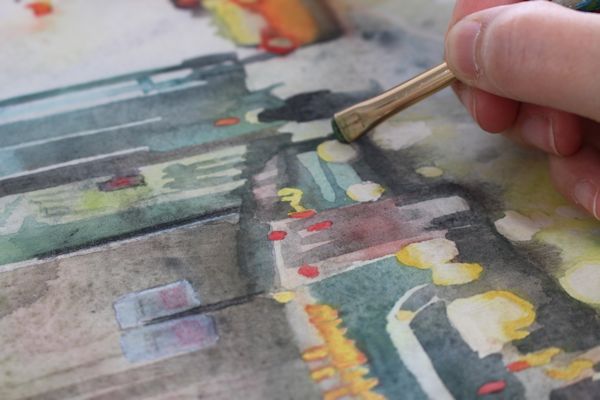
A stiff brush and water are working well to soften the hard edges left by the masking fluid.
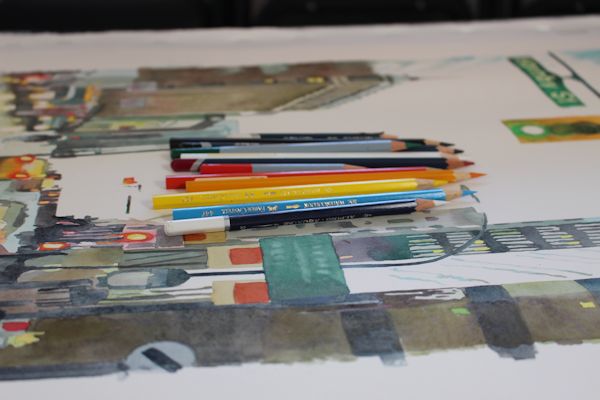
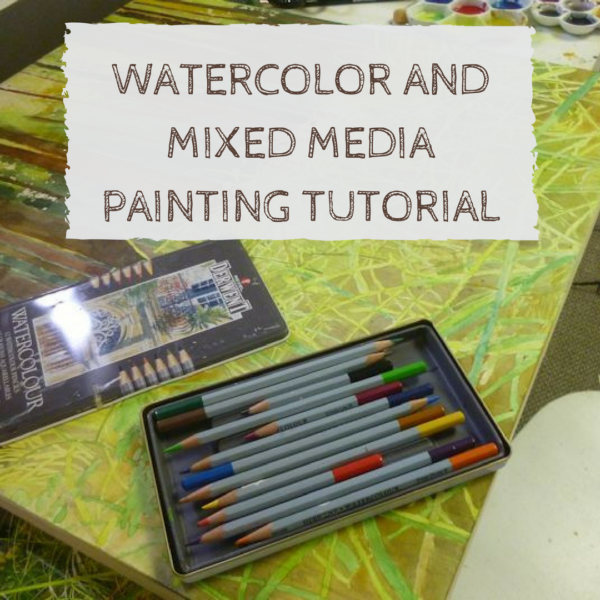
If you want to spray your painting with water to get the effect of a rainy cityscape, you can try adding a bit of watercolor pencils in some places, this will make colors a bit brighter and add a bit more contrast on the painting.
I am a Blick Art Materials affiliate and I receive a small compensation for sales. That does not effect in any way the cost of the purchaser’s order but it helps me keeping the content of this blog free.

 |
Derwent Watercolor PencilsThese professional-quality, water-soluble pencils offer the freedom to switch from drawing to painting in an instant, with no change in tools. Use them to shade on dry paper, then quickly wash over with brush and water to get a blending effect. – Watercolor Pencil Sets |
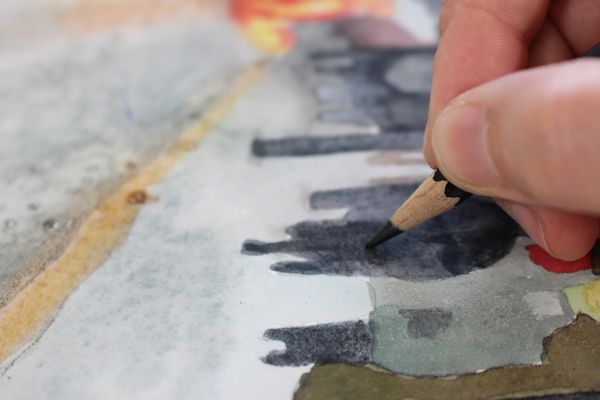
Splashing water will cause some of the colors on the painting to move but not too many, so adding watercolor pencils before splashing is a way to accentuate that effect.
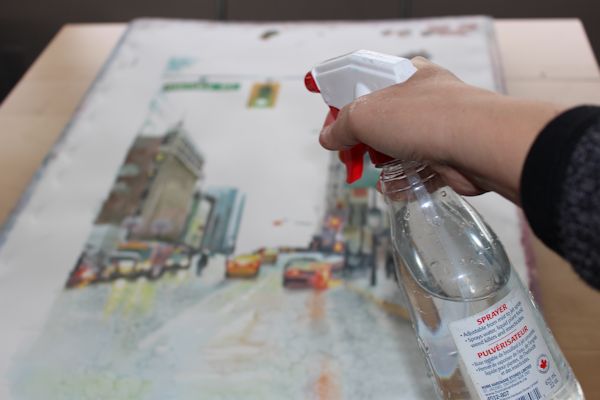
Now the fun begins, you can spray the painting generously with water.
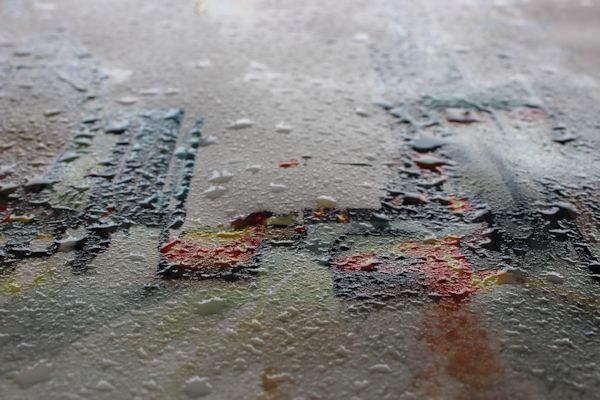
Leave the painting to lay flat as the water will cause some of the pigments to move on the paper.
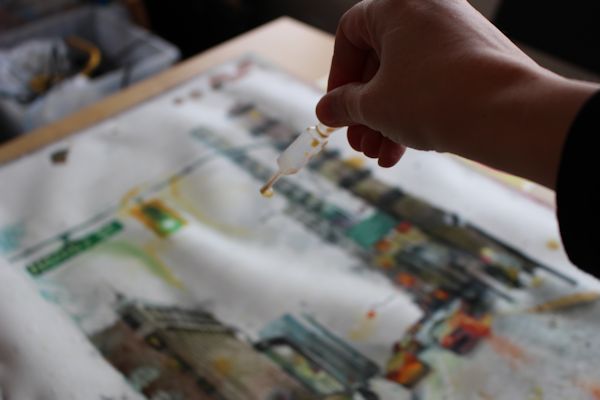
You can also add a bit more colors with a dropper. Any effect that you don’t like can be either removed now with a tissue paper or later when the paint has dried with a stiff brush and water.








Comments (11)
Gina
Do you do videos as well?
Sandrine
Yes, you can find my channel at https://m.youtube.com/user/paintingdemos
Jeanette Weaver
Looks rainy nice result.
Sandrine Pelissier
Thanks Jeanette 🙂
Janis Shunney
It’s advance for my first time doing a street scene,but your method is easy to follow,Thankyou. I’am going to do a village scene , ( Newport R.I.) .but thankyou again.
Sandrine Pelissier
That is great Janis, let me know how it goes 🙂
Paint Tutorials That Are Perfect For Your Home
[…] Rainy City Tutorial via PaintingDemos […]
Tiana
So, this is the first time I’ve ever heard of stretching paper. I had to look it up. Do you let it dry before you start sketching? This painting is lovely.
W/a Smile, Tiana
Sandrine Pelissier
Thanks Tiana 🙂 yes you have to let it dry before starting to paint or to sketch. When dry it should be feel like a drum skin.
sanna
awesome tutorial… really good 🙂
Sandrine Pelissier
Thanks Sanna !