Plan your watercolor paintings to easily paint a complex scene
June 18, 2013 2021-07-03 17:42Plan your watercolor paintings to easily paint a complex scene
Plan your watercolor paintings to easily paint a complex scene
Painting a watercolor from a complex reference picture can be overwhelming, so many details to paint!
Having a plan and dealing with only a few elements at one time can make painting a complex scene way easier and enjoyable.
Here is how you can plan a complex watercolor painting and paint it easily step by step

Start by stretching you watercolor paper on a board or a stretcher, this is important as you don’t want your paper to buckle while you are painting. Buckling makes the paint accumulate in pools on the paper and very difficult to control.
You can do that at least one day in advance as your paper will take a few hours to dry.
Then you need to transfer your drawing. It is better not to draw directly on your watercolor paper as too much erasing would damage it, and it would show on the subsequent layers of paint.
You can make your drawing free hand if it is quite simple and you can use a grid system to transfer your drawing or even a lightbox.
You might also be interested in: How to make your own light box
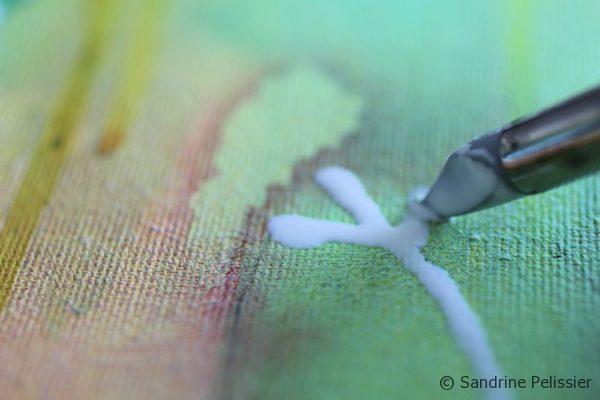
The next step is to preserve all the white areas with masking fluid. This is taking a long time but will allow you to paint freely and faster without having to go around tiny areas of white. You can also carve out some light areas after the painting has been applied but they will rarely be as white as the areas that have been preserved with masking fluid.
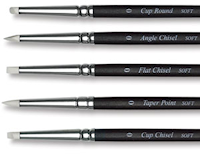
The most convenient tool to apply masking fluid is a silicon brush as you can just peel off the masking fluid from the brush once it has dried.
I am a Blick Art Materials affiliate and I receive a small compensation for sales. That does not effect in any way the cost of the purchaser’s order but it helps me keeping the content of this blog free.

 |
Colour Shapers ToolsApply oil or acrylic straight from tube with a Colour Shaper, then carve back into paint for unusual surface effects. Also for calligraphy. Use the rubber tip shapes to lift or blend paint, draw line, and draw contours. |
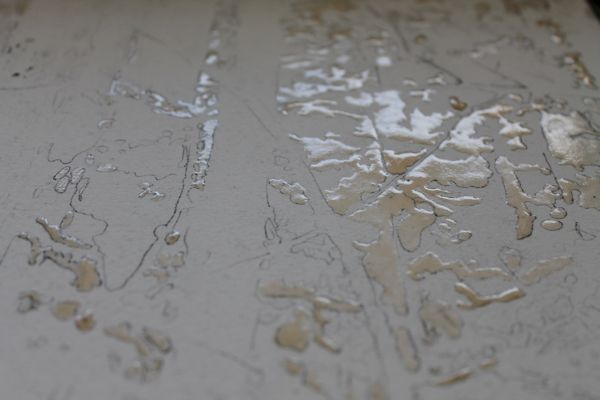
Look at your reference picture and apply masking fluid wherever you see a white area on your picture.
You have to leave the masking fluid to dry naturally as using a hair dryer will bind the masking fluid to the paper and make it very difficult to take off. Once the masking fluid has dried, you will be able to use the hair dryer to dry off the paint without any consequence.
I am a Blick Art Materials affiliate and I receive a small compensation for sales. That does not effect in any way the cost of the purchaser’s order but it helps me keeping the content of this blog free.

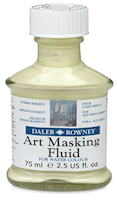 |
Daler-Rowney Masking FluidThis fluid is used to create striking white highlights or to mask areas for overpainting at a later stage. It forms a fast-drying, water-resistant film on watercolor paper and board, and is easily removed when dry. |
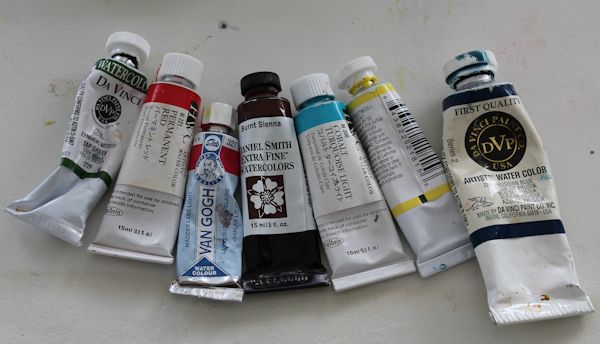
Prepare your painting palette, you usually don’t need so many colors as you will be able to mix most of them, you can start with a tube of each of the primaries (red, yellow and blue), then a few extra colors like a tertiary brown and sap green if you are painting a landscape.
When I paint foliage, sap green is the base color I am using to mix most of my green colors. It is a natural looking warm green, you can just add more yellow, blue or red to obtain many different greens for your painting.

Start to paint, looking at your reference picture but also taking some artistic licence if you feel like it. I see the reference picture as a starting point only.
Pay attention to edges, mixing some colors on the paper wet into wet for soft edges and painting once the other colors had time to dry for hard edges like the ones along the tree trunks.
If you paint from left to right, you will avoid smudging the paint with your right hand.
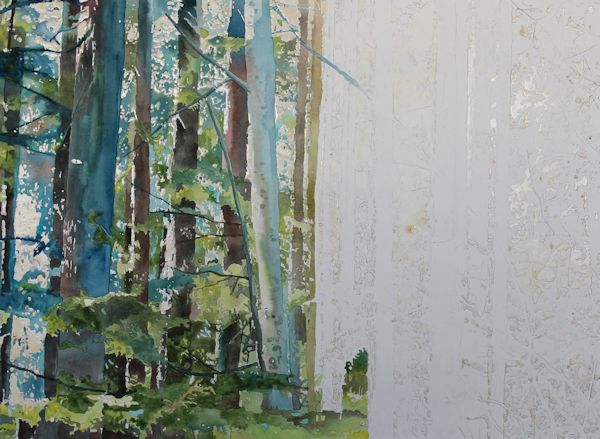
Try to alternate areas that are painted wet into wet with areas that are painted wet on dry, and dry brushed details.
I am a Blick Art Materials affiliate and I receive a small compensation for sales. That does not effect in any way the cost of the purchaser’s order but it helps me keeping the content of this blog free.

 |
Yarka St. Petersburg Professional Watercolor PansSame palette of traditional colors the great masters used a century ago. Liquid-poured means semi-moist pans respond instantly to a wet brush. 24 pans in plastic case. Also individual pans. – Master Set |
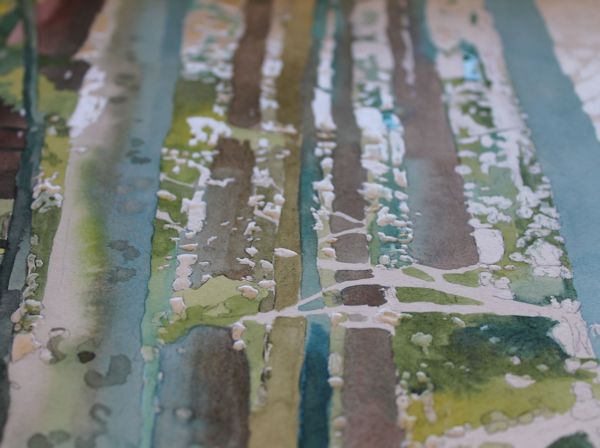
You can build up texture by painting several layers on the same area. Stop once in a while to assess your progress and see if you are happy with the direction the painting is going.
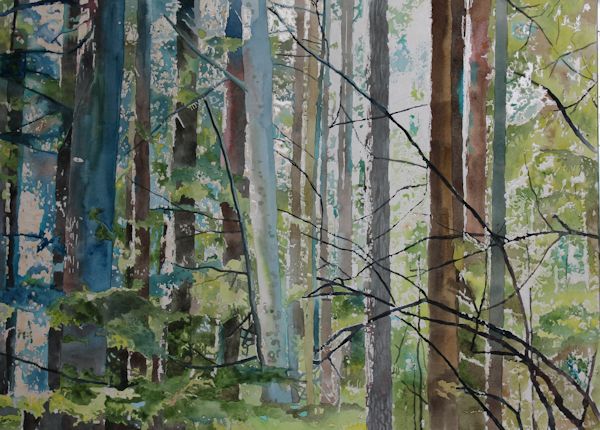
This painting could be considered finished at that point but I like to add an element of chance and a bit of “messiness” so I will splash the painting with a mix of watercolor and paint.
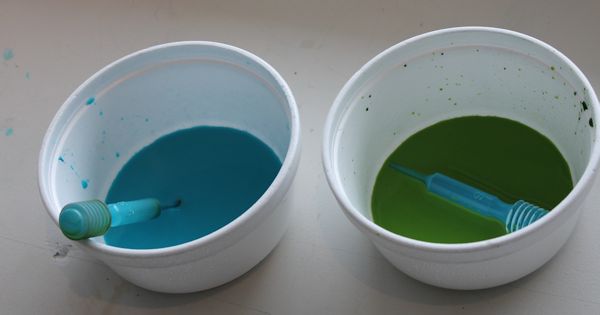
I make 2 watercolor mixes, on light blue wash and one light green wash.
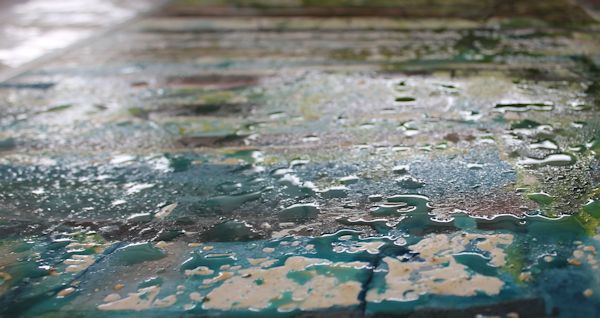
I then splatter the painting heavily using some droppers. This time I am leaving the liquid resist on while I am splattering as I want to keep my white area crisp and well defined. When everything has dried, I am removing the masking fluid and am softening a few edges with a stiff brush and water. The painting is done!
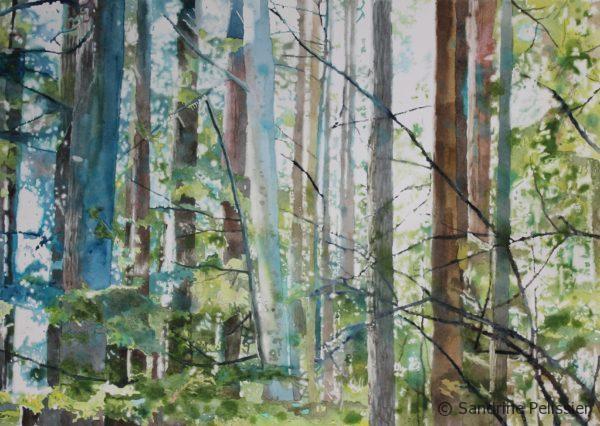
The finished painting: Out of the blue, sold
Original sold- Prints available on Fine Art America








Comments (4)
painting leaves and trees with watercolor, free step by step tutorial
[…] Out of the Bluestep by step painting tutorial […]
Barbara Koepsell
Thanks for the demos – I love to look and see how other artists work and the end results can be
helpful and insightful for future work.
Sandrine Pelissier
Thanks Barbara 🙂
The Trees Place : Watercolor triptych painting tutorial
[…] Out of the BlueWatercolor on paper […]