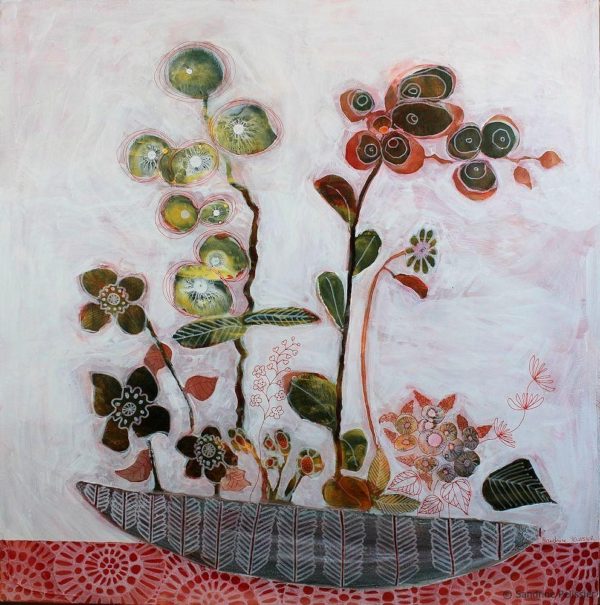
If you like drawing and painting, this could be the technique for you as this is a way to add patterns and draw some shapes on top of a painted abstract background. Painting from imagination can be difficult to do if you start from a blank canvas, but here we are going to use an abstract background as a way to get your imagination going!
Here are the steps you can take to paint a flower still life using a negative painting technique:
1- painting an abstract background
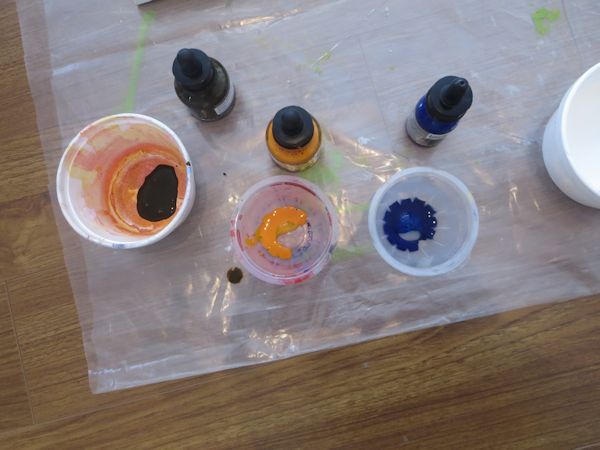
To apply the technique of negative painting, it will be easier if you start with a visually textured background. One way to do this is to prepare a few solutions of fluid acrylic inks, water and gel medium that you will pour onto the canvas. I added water to the gel medium because I wanted a texture a bit more fluid. Adding more than half water to the mix would cause the acrylic to loose its binding properties so I recommend just adding a bit of water ( about 25%).
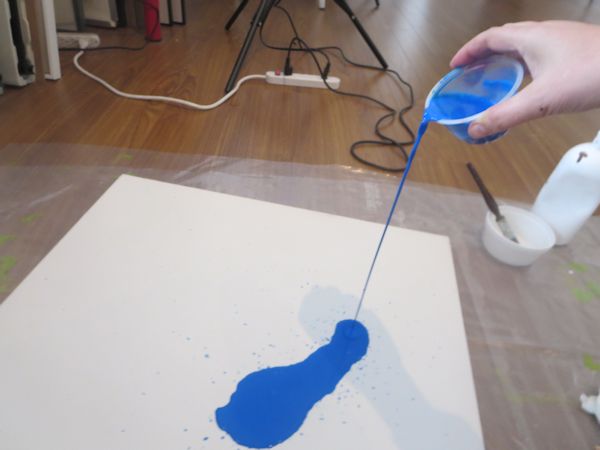
Next, pour the acrylic mixes onto the canvas.
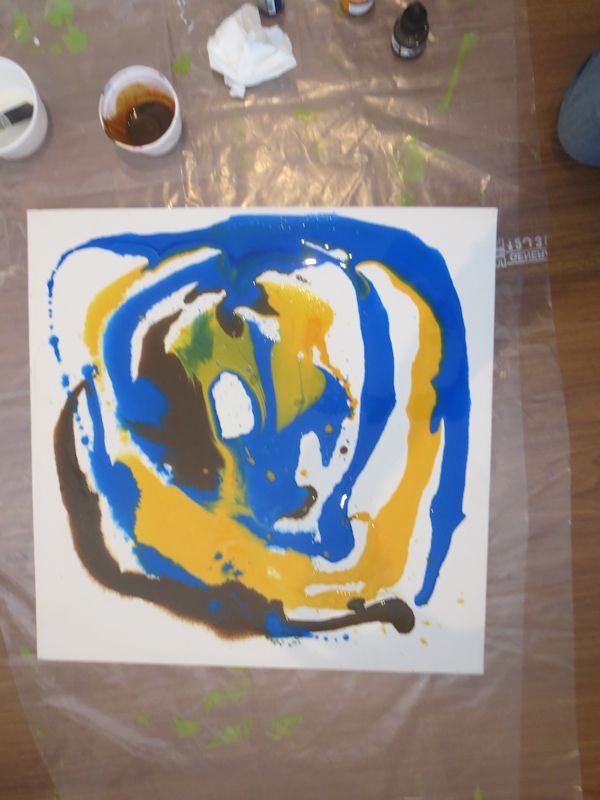
I did mix 3 colors, yellow, blue and brown. Once the colors are on the canvas, rotate the canvas in various directions and angles so the layer of acrylic is evenly distributed.
I am a Blick Art Materials affiliate and I receive a small compensation for sales. That does not effect in any way the cost of the purchaser’s order but it helps me keeping the content of this blog free.
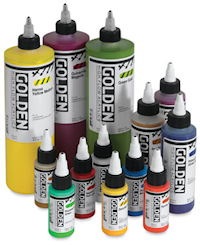
Incredibly flexible, Golden High Flow Acrylics have an ink-like consistency that lends itself to a wide range of techniques painting, drawing, staining, glazing, inking, hand-lettering, airbrushing, and more. – High Flow Colors, Set of 10
You can rework that layer after it is spread all over the canvas, for example here I am adding a few drops of yellow fluid acrylic as I find the background to look a bit too dark.
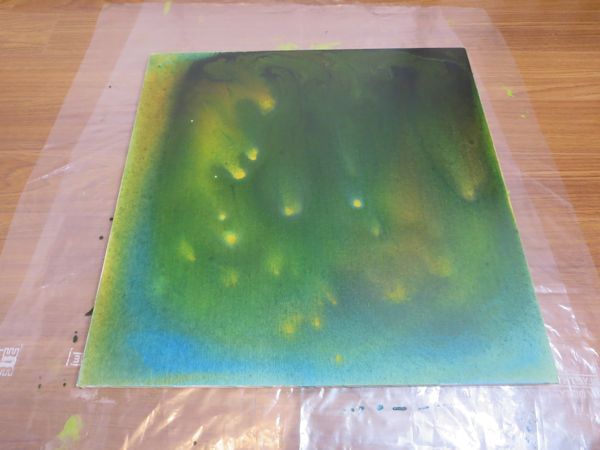
Once dried, the canvas looks like this. It is fine but I am looking for a bit more texture and contrast so I will add a layer on top of that paint, using a different pouring technique.
This time, I am not diluting the gel medium and I am spreading it on the canvas with a painting knife.
Then I am adding drips of fluid acrylic on the medium and spread them around with a painting knife. This time I used only yellow and white acrylic.
I am a Blick Art Materials affiliate and I receive a small compensation for sales. That does not effect in any way the cost of the purchaser’s order but it helps me keeping the content of this blog free.
Gel mediums are ideal for extending a heavy body paint, to create impasto, relief, or sculptural effects. – Gel Medium, Gloss
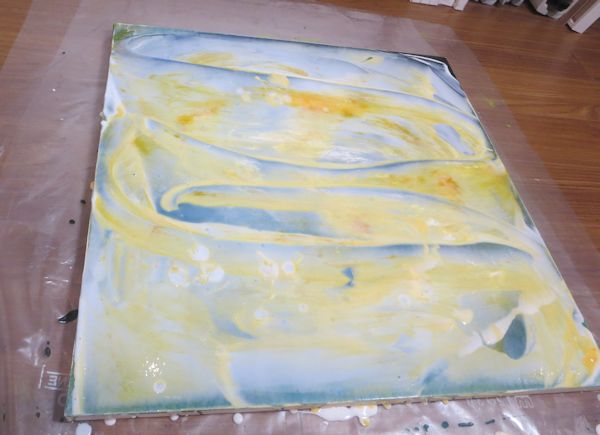
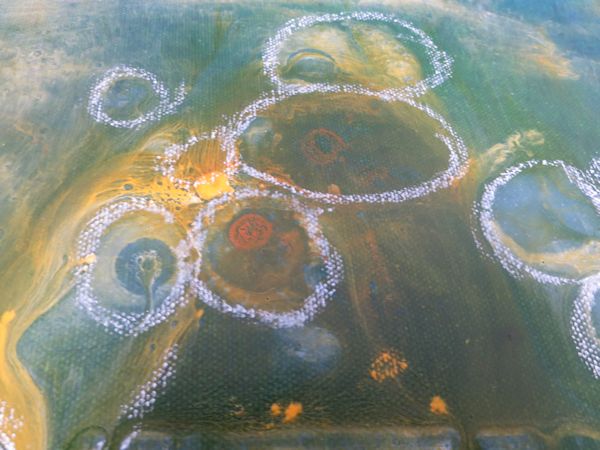
The canvas once dried looks like this, it is a bit more textured and has lighter colors.
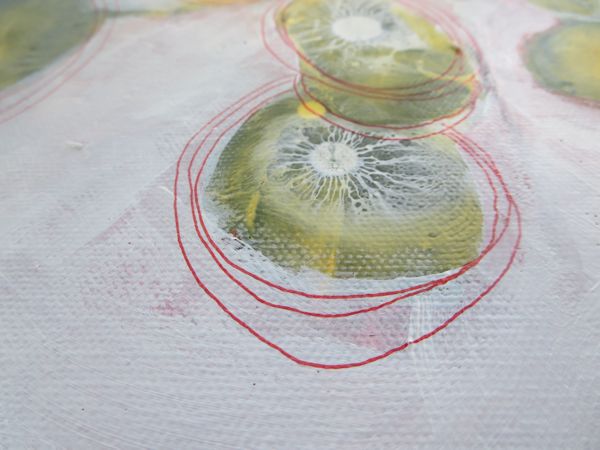
2- Outlining shapes on the abstract background
Now is the fun part, try looking at the abstract patterns to see shapes that could work in a composition. Usually those shapes will look a bit “weird” or whimsical, but this is what is fun about this technique.
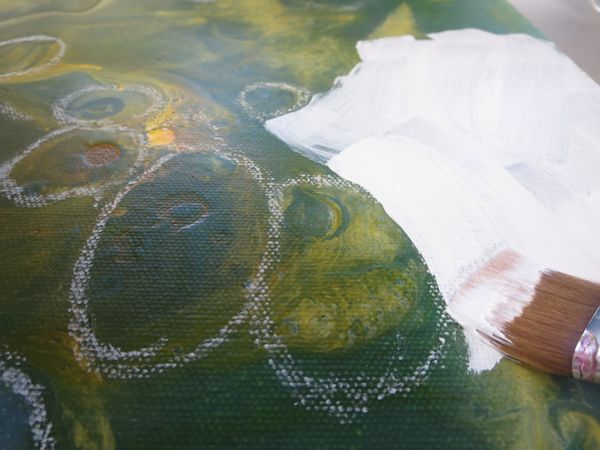
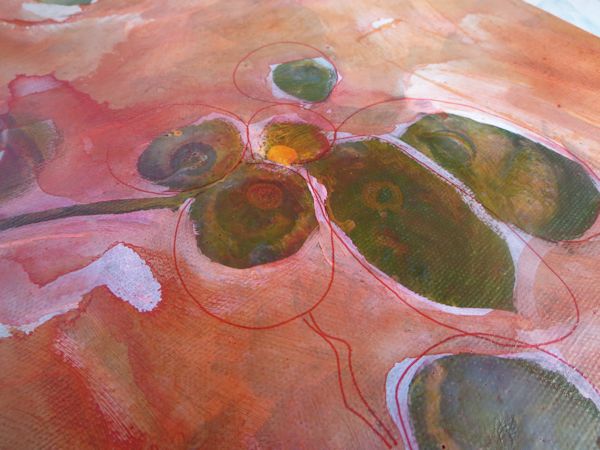
3- painting the negative space with white acrylic paint
Use a chalk pastel to outline shapes you see on the abstract patterns, that way you can add and take off as much as you want until you are satisfied with the composition.
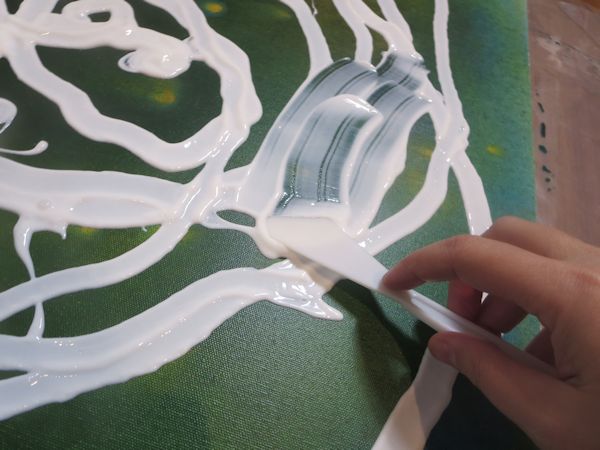
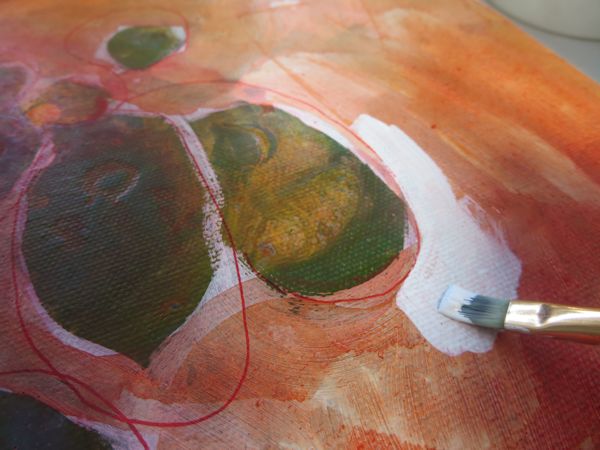
When you are happy with the composition, start the negative painting process by keeping only the inside of the outlines shapes and covering all the rest with white acrylic paint.
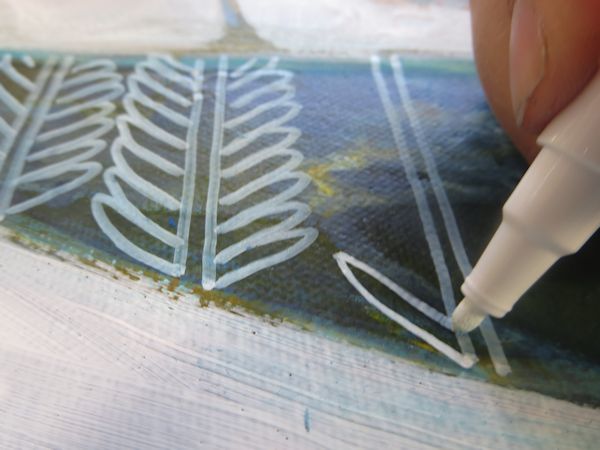
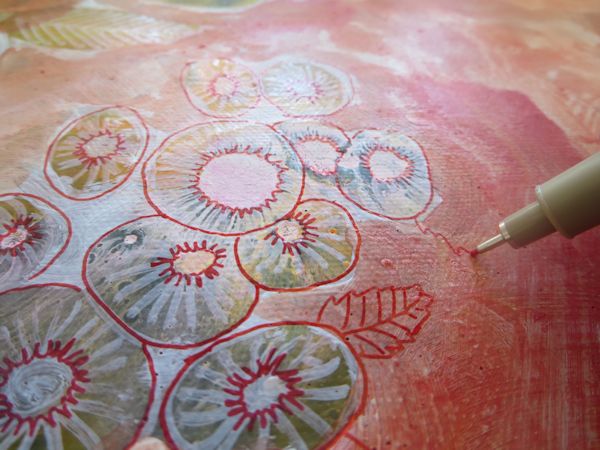
4-Adding details and patterns to the flower still life
Once the layer of white acrylic has dried, start to draw patterns on some of the elements like the leaves.
You can look at zentangle patterns to find inspiration for your designs.
I am a Blick Art Materials affiliate and I receive a small compensation for sales. That does not effect in any way the cost of the purchaser’s order but it helps me keeping the content of this blog free.
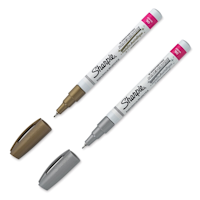
Sharpie Oil-Based Paint Markers are great for touching up wood and metal, personalizing belongings, or adding pizzazz to school projects. Decorate and add accents to a variety of items, even non-porous materials such as glassware and terracotta.
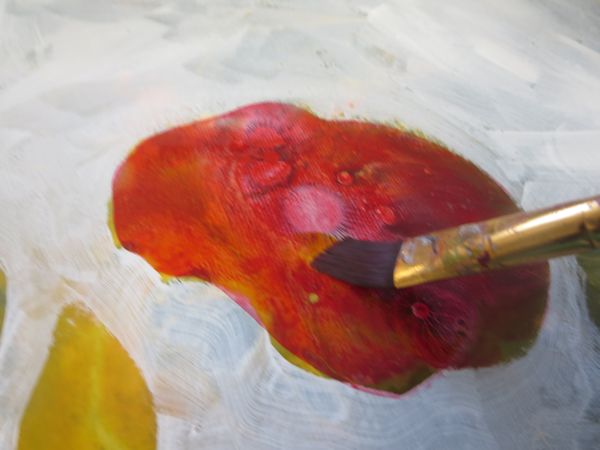
You can rework some areas with a layer of watercolor, like here where I am applying red watercolor on some of the flowers to have a bit more variation. Watercolor is nice here as you can remove it with a wet tissue if you don’t like the result.
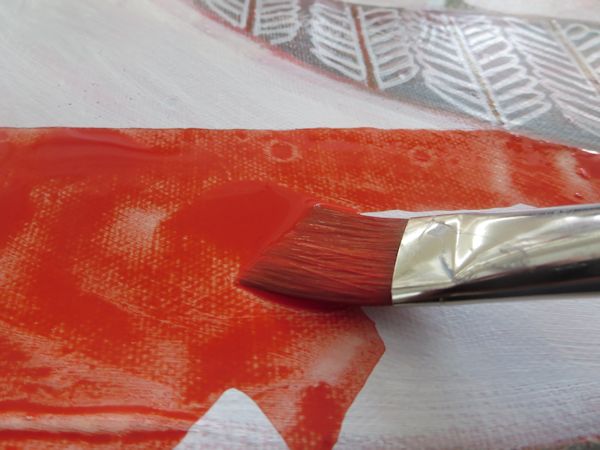
You can also paint on top of the white background, like here, I am mixing an orange tone of fluid acrylic that will be used to paint the next background layer.
I did paint also on top of the vase. I am letting this very fluid layer dry flat.
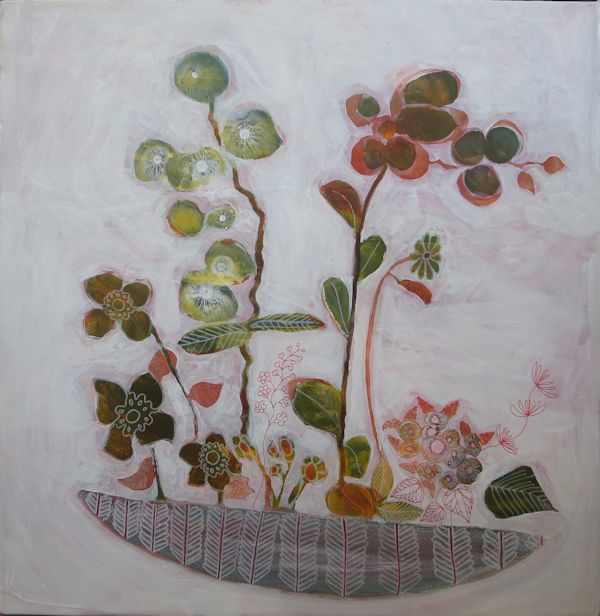
At this stage the painting looks like that.
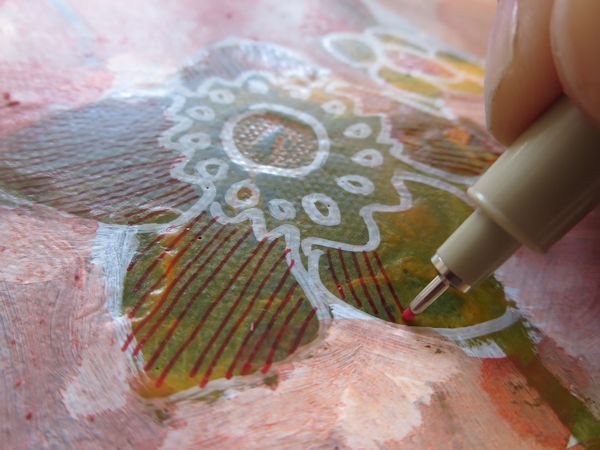
4- Adding details and patterns to the flower still life
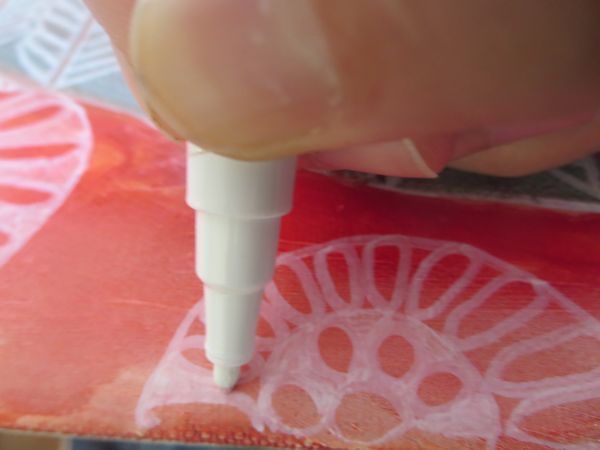
You can use waterproof acid free markers, like Sakura pigma micron markers to add designs on various places in your painting.
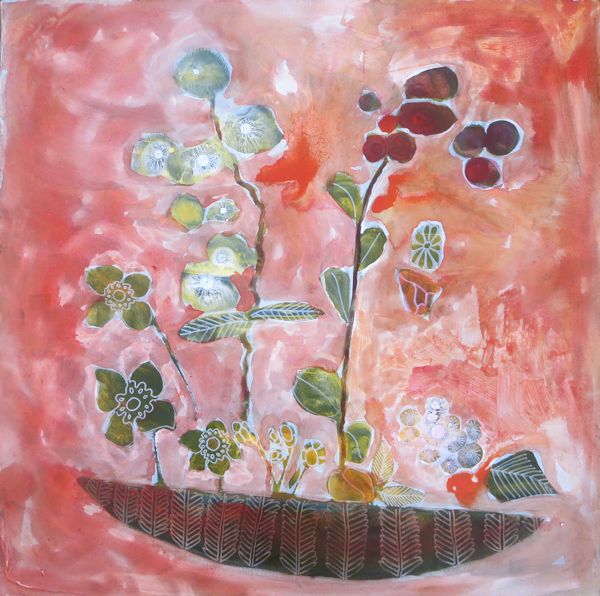
For the last step, I am re-painting the background in white letting some of the red watercolor show around the edges. You could leave your background colored but I wanted a bit more contrast in that case.
The painting looks like this at that stage. I now want to differentiate the vase from the rest of the flowers.
So I am painting over it with the white acrylic I used for the background, a bit more diluted this time. I am also going over the white patterns once again as they became very faint after the white acrylic paint layer. I am adding an extra layer of designs with the red marker, on the white background this time.
Keep on adding layers of designs and painting over various areas on your painting.
Stop from time to time to assess your painting and think about what you could add or modify or if you should stop.
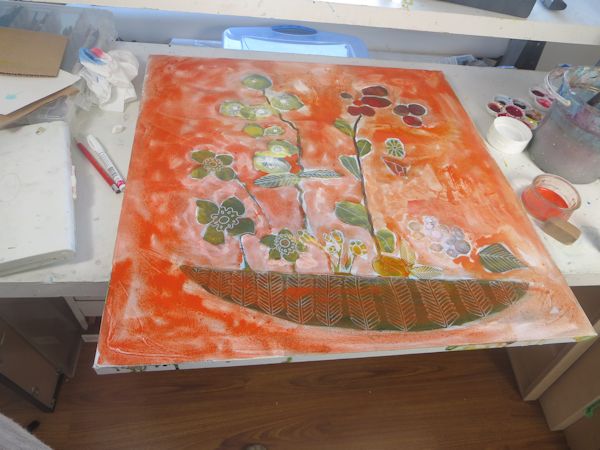
At that point, I feel the composition is missing something so I try a layer of my orange fluid acrylic mix on the lower part of the painting to anchor the vase.
I am adding knitting inspired patterns on that layer with my oil based sharpie pen.
Originally from France, I have been living in North Vancouver, Canada for the past 20 years.
My work has been collected and exhibited extensively in Canada and internationally. I am also part of the Art Rentals and sales program of the Vancouver Art Gallery.
Many of my paintings have been published in Art books and magazines (Artist Magazine, Watercolor Artist Magazine, Acrylic Magazine, International Artist Magazine). I wrote 2 art instruction books with North Light/F+W Books.
I have been writing for the last 5 years for my blog: paintingdemos.com, that has a mailing list of about 10 000 subscribers and about 20 000 visitors per month.
I am an active member in the community, as a co-founder of the North Shore Art crawl, a co-founder of a weekly life drawing group, a board member of the North Vancouver Arts Council, and have been invited as a juror for public art, art grants and juried exhibitions. You can read more about my collaborations here.
Thank you for this tutorial! I have some fluid acrylics and am looking forward to experimenting with this negative space technique. I like the intuitive nature of the project. It looks relaxing.


Comments (8)
Ian
Thankyou Sandrine,
Such beautiful work. I find it so inspiring.
Nada
Sandrinne, thank you for this magic inspirating video!!! I’ll try some paintings…
Sandrine Pelissier
Thanks Nada 🙂
Ajay shimpi
It’s good to work with this tech.ique
Sandrine Pelissier
Thanks Ajay 🙂
Lillian Connelly
Thank you for this tutorial! I have some fluid acrylics and am looking forward to experimenting with this negative space technique. I like the intuitive nature of the project. It looks relaxing.
Sandrine Pelissier
Thanks Lillian, I hope you will enjoy it 🙂
Painting Flowers from Imagination: Orange Bouquet
[…] Still life in red- Mixed media painting tutorial […]