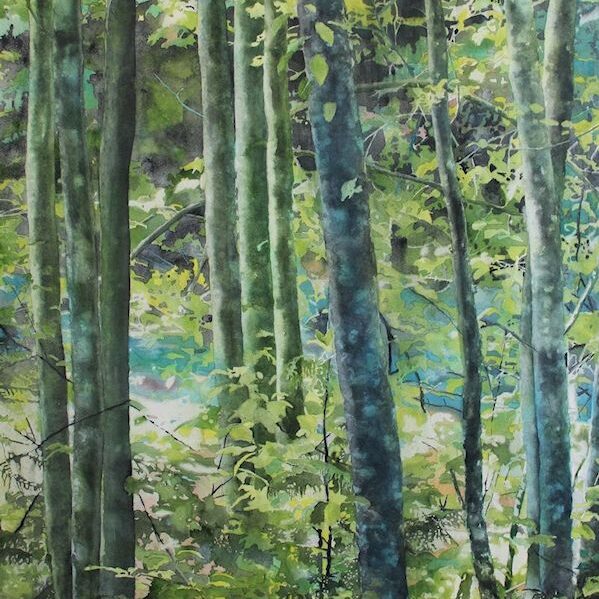
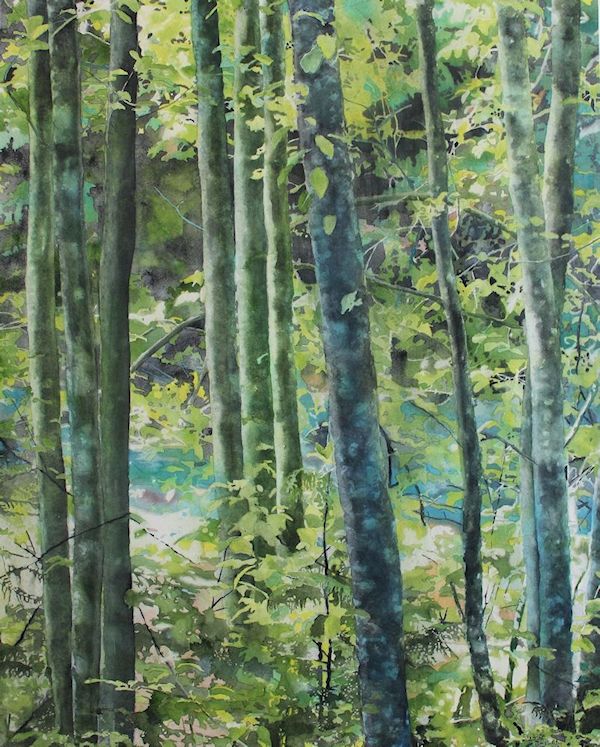
Painting watercolor trees and leaves can seem challenging because of the amount of details you need to render to make them look realistic. Here is how you can do it step by step
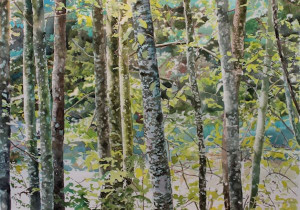
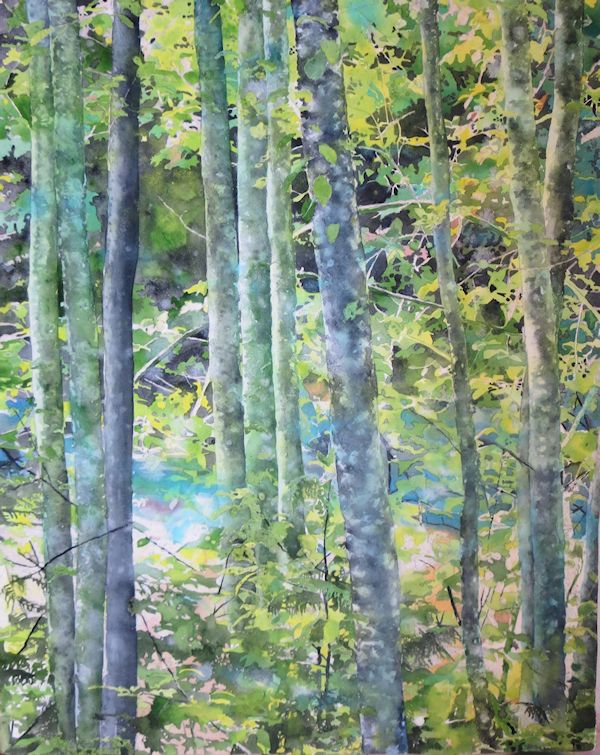
This painting is a new version of a painting I made a few months ago: “On either side of the River”
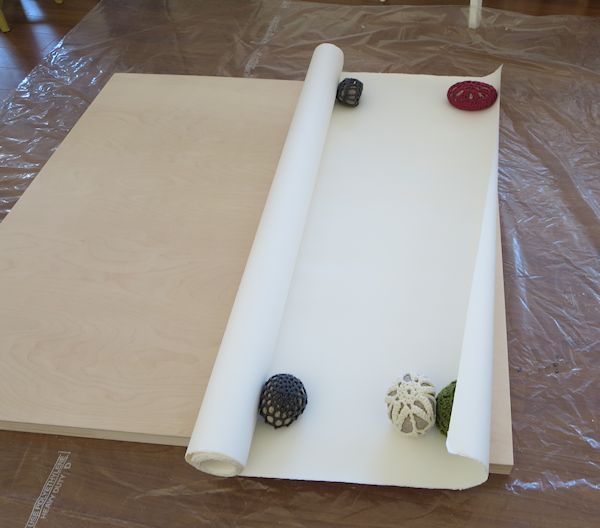
I wanted a larger version of it, mounted on board and also I wanted to try a different composition. I did mount my paper on board before starting to paint as this is the way I like the best but you could also mount your painting after it is done.
To mount the paper on board, I am using big rocks (that I did cover with crochet) as weights as my paper was in a roll and needs to be flattened.
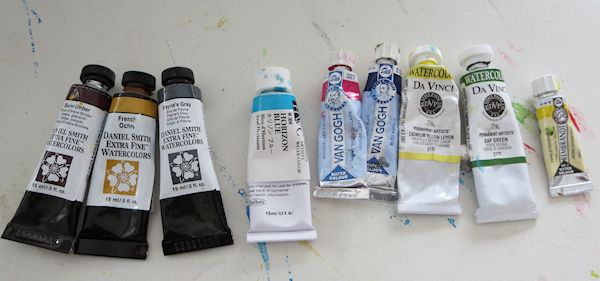
This is the painting palette for this watercolor painting. Daniel Smith: Burnt Umber, French Ochre and Payne’s Gray, Holbein Horizon Blue, Van Gogh Madder Lake Light and Phtalo Blue, Da Vinci Cadmium Lemon Yellow and Sap Green, Rembrandt Perm Lemon yellow.
Porcelain flowers trays are great to use as a palette , start by adding a bit of paint and then will fill the wells with water. You can also use a butcher tray to mix paint or you might, like me , not be able to resist the temptation of mixing colors directly on your table 🙂
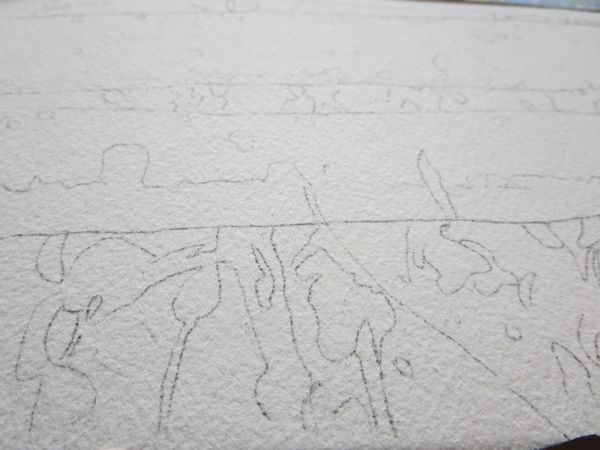
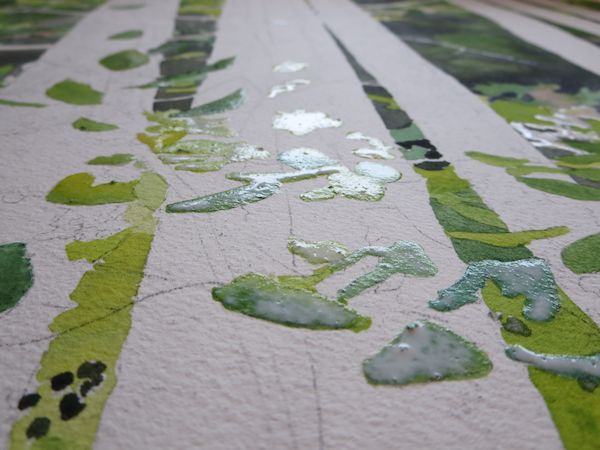
Once your drawing has been transferred to your watercolor paper, the first step will be to reserve a few whites with masking fluid. You then have to wait for the masking fluid to air dry as you can’t dry it with a hair dryer, it would make the fluid adhere strongly to the paper and become almost impossible to take off.
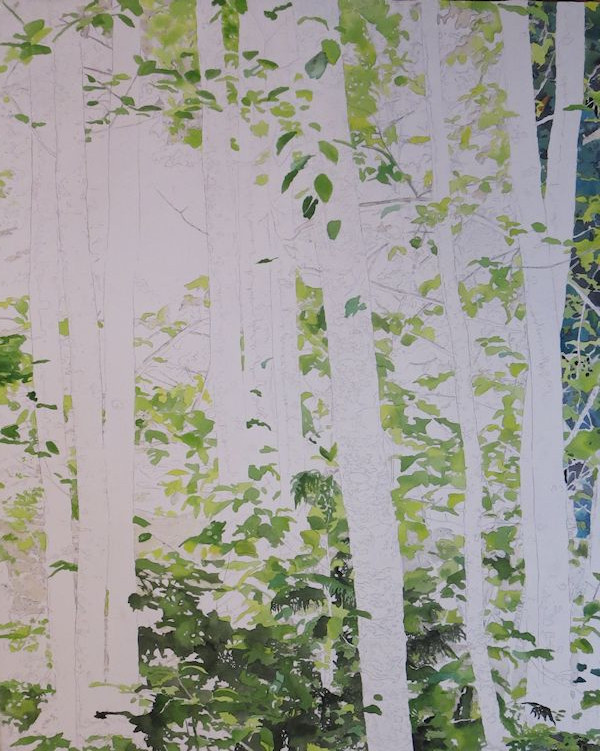
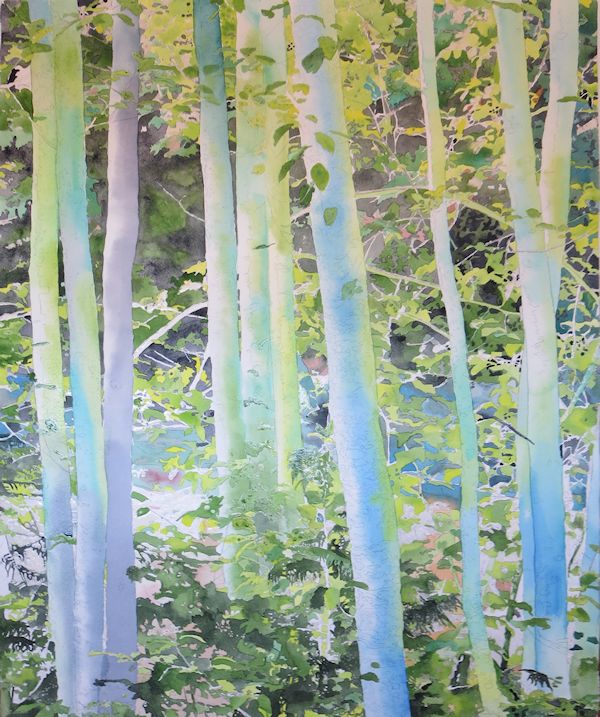
Start painting the leaves. They are thousands of shades of green in nature and finding the tight mixes for your greens can be tricky. An easy way, and this is what I am doing in most of my paintings is to start from a green basis and then modify it by adding yellow, blue, red, brown… I like sap green as a basis color as this is a natural looking green a bit on the warmer side.
Most greens in nature are warm green, if you paint your leaves with cold green only like Phtalo green, they are going to look unnatural.
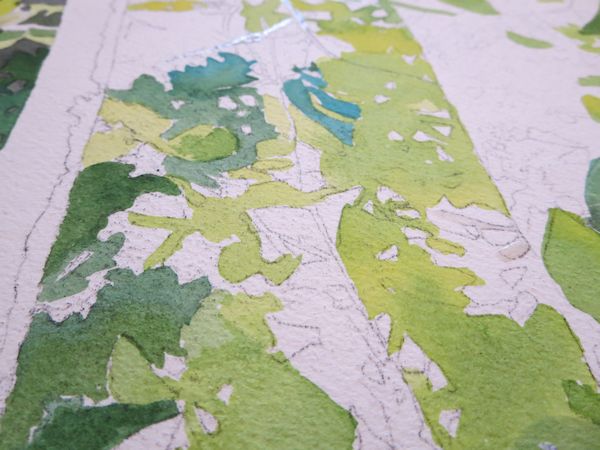
Paint the leaves using a mix of wet in wet technique leaving soft edges and wet on dry techniques leaving hard edges. As a general rule you want a variety of edges in all of your paintings, so it is a good idea to mix some colors wet into wet and to leave a few hard edges as well.
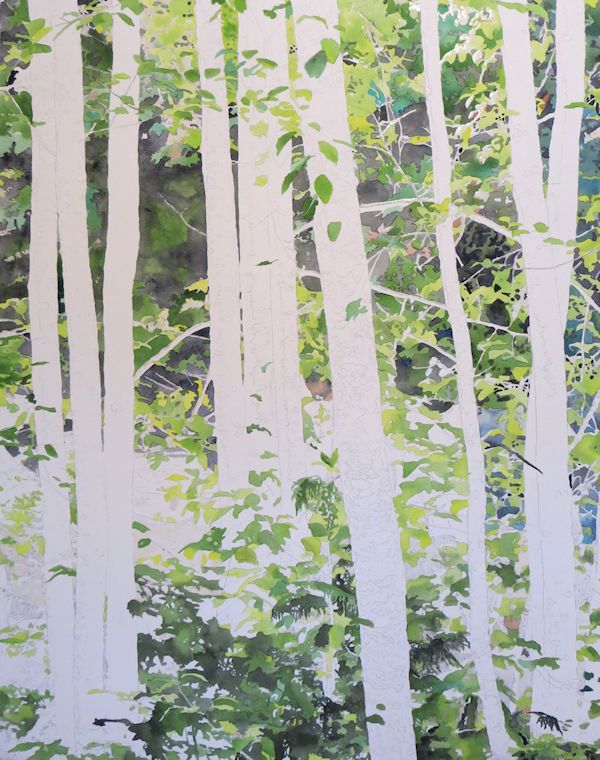
Then work on the background using your reference picture to decide what color to paint.
When you are done with most of the leaves and the background, mask the leaves that are situated on the trees trunks so you can focus on painting the trunks without having to paint around them.
I am a Blick Art Materials affiliate and I receive a small compensation for sales. That does not effect in any way the cost of the purchaser’s order but it helps me keeping the content of this blog free.
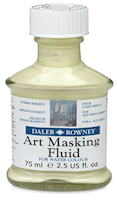
This fluid is used to create striking white highlights or to mask areas for overpainting at a later stage. It forms a fast-drying, water-resistant film on watercolor paper and board, and is easily removed when dry.
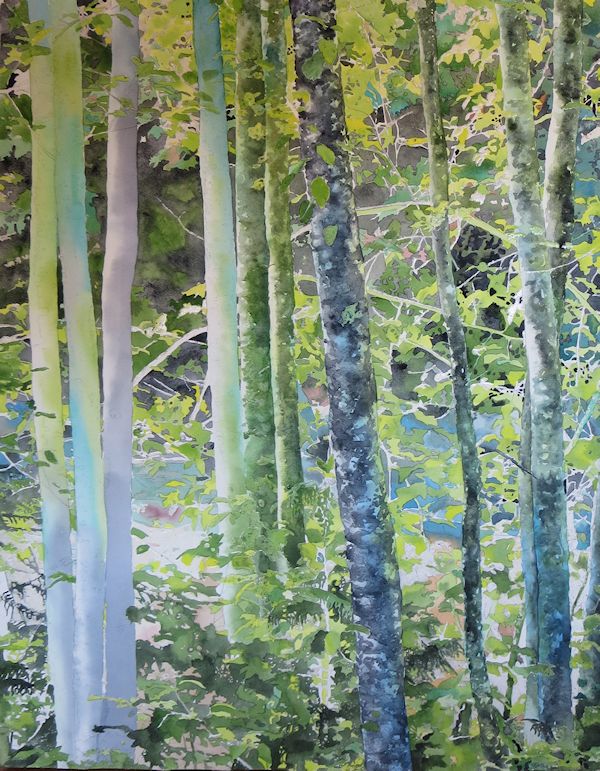
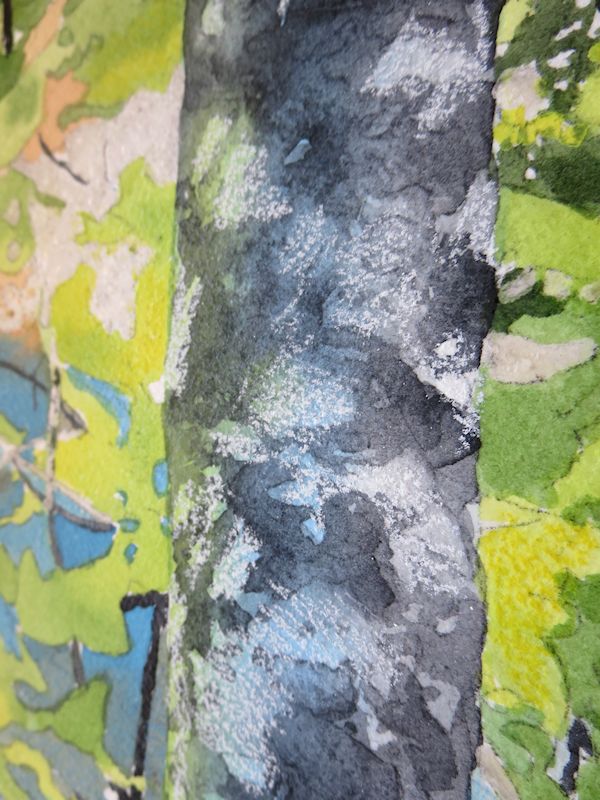
Paint a first wash that correspond to the lighter tones you can see on the trees trunks.
Then start painting the trees bark texture using a scrumbling painting technique.
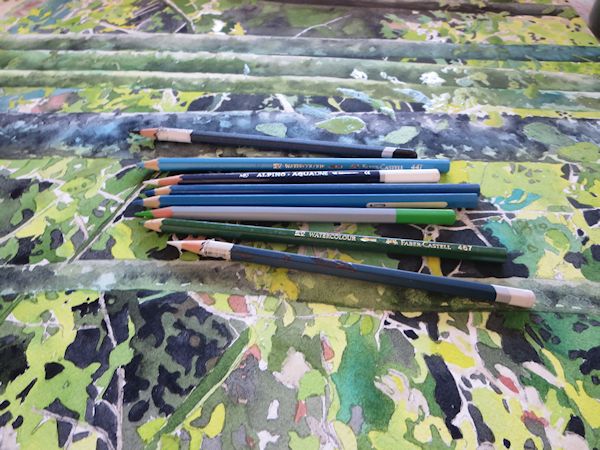
If you like to use a bit of splatter on top of your paintings, you can try using some watercolor pencils to draw on some parts of the painting so that when you will add water, their water soluble pigments will move and hopefully make interesting textures.
I am a Blick Art Materials affiliate and I receive a small compensation for sales. That does not effect in any way the cost of the purchaser’s order but it helps me keeping the content of this blog free.
These professional-quality, water-soluble pencils offer the freedom to switch from drawing to painting in an instant, with no change in tools. Use them to shade on dry paper, then quickly wash over with brush and water to get a blending effect. – Watercolor Pencil Sets
You can also add lighter tones by drawing with white pencils.
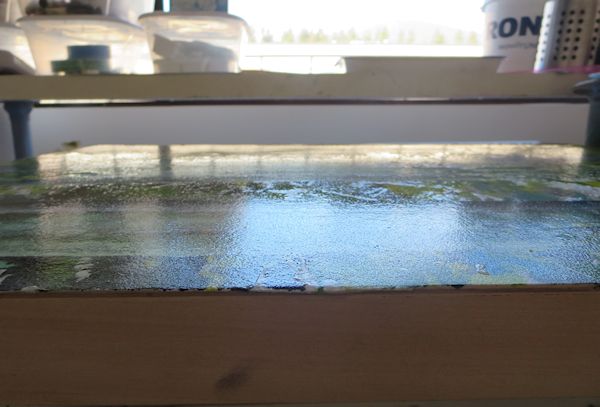
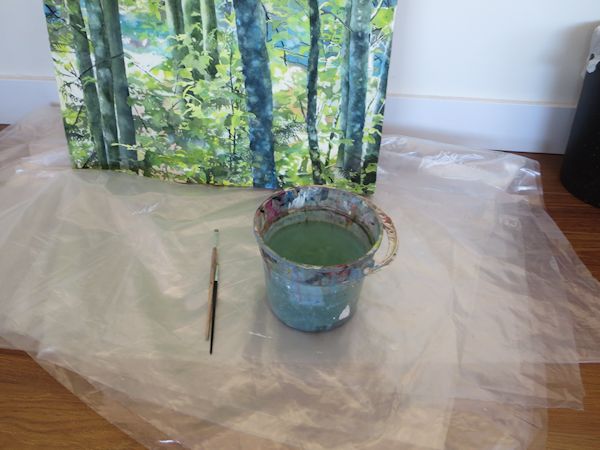
Time to splash! I used a spray bottle to get the whole painting wet and then I also splattered some paint (blue and yellow) with a dropper.
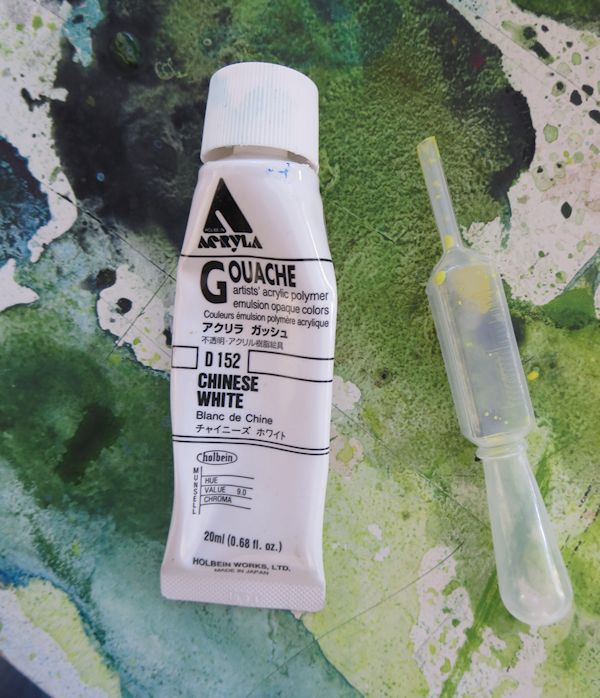
I am also splattering with white china gouache diluted in water with a dropper.
I am a Blick Art Materials affiliate and I receive a small compensation for sales. That does not effect in any way the cost of the purchaser’s order but it helps me keeping the content of this blog free.
Acryla Designer Gouache is a fast-drying, opaque acrylic based watercolor paint. It’s water soluble while wet, and water-resistant, matte and opaque, even over dark surfaces. Great for grounds and layering.
After splashing, you can take a bit of time to assess your painting. At that stage my painting looks like that, I decide that I need more contrast and darker colors on the trees trunks as they became too light with the splashing.
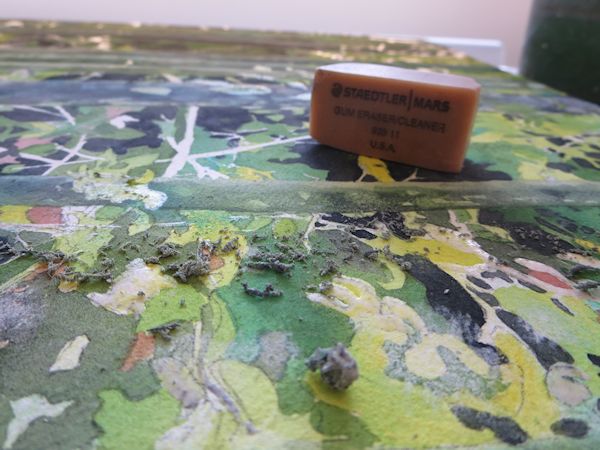
Don’t forget to remove the masking fluid, you can carefully pull on it with your fingers or use an eraser.
After the masking fluid has been removed, they are usually some hard edges that are very visible on the painting and could make it look almost like a collage. You can easily soften those edges with a stiff brush and some water. Here is a picture of a before/after softening edges of a leaf.
You can also scrub off a bit of paint with a stiff brush and some water where I want to lighten a bit the painting, mainly on the left side of the trunk as this is the direction the light is coming from.
Originally from France, I have been living in North Vancouver, Canada for the past 20 years.
My work has been collected and exhibited extensively in Canada and internationally. I am also part of the Art Rentals and sales program of the Vancouver Art Gallery.
Many of my paintings have been published in Art books and magazines (Artist Magazine, Watercolor Artist Magazine, Acrylic Magazine, International Artist Magazine). I wrote 2 art instruction books with North Light/F+W Books.
I have been writing for the last 5 years for my blog: paintingdemos.com, that has a mailing list of about 10 000 subscribers and about 20 000 visitors per month.
I am an active member in the community, as a co-founder of the North Shore Art crawl, a co-founder of a weekly life drawing group, a board member of the North Vancouver Arts Council, and have been invited as a juror for public art, art grants and juried exhibitions. You can read more about my collaborations here.
I’m kind of ridiculously excited to try this. Thank you for saying you like and use sap green, I hear so many times “I only used mixed greens, I never use sap green” but I like it and do as you do, add colors to modify.
I also use and love my rigger brush, lol!
Jeanette Weaver
Hi there,
Just learning from your great tutorials. Maybe I will try to paint a bigger size ans see how that works. This week I will be in my first judged plein aire here in the midwest. Thanks again.
Thanks Jeanette 🙂
Good luck in your first plein air competition!
misuk goltz
I just came across with your website. I was looking for “dandy handy” materials to teach “expressive edges in watercolor” this morning. I’ve been painting so I have quite a bit resources filed, but I always find something interesting from other teachers. I enjoyed your blog and you are such a patient, dedicated, talented and generous teacher. I learn something special today. Thank you.
Misuk
Thanks Misuk for taking the time to post your kind comment, I really appreciate it 🙂
Sandra
Thank you very much for the generous pdf and your wonderful, inspiring website. I found you via pinterest and absolutely love your work. You’ve made me get out my paints to play!
cheers from Australia
Thanks you so much Sandra, this is what I like to hear:)
CG
is there a video to go with this? I love the step by step done here, but really need to see some specifics, for example, after putting down the light color, do you mask those large areas over to paint a wet on wet dark area in and around it? Would be neat to see it as its being done, would be such a help, thanks!
Hello CG,
Unfortunately I didn’t shoot a video for this one but am happy to reply to your questions.
For this painting I did paint the area around the trees trunks first without masking the trunks as their shape was straight enough to paint around them. I only used masking fluid in a few tiny areas that I wanted to keep white, and also before painting the trunks on the few leaves that were overlapping this area as it would have been a bit tricky painting around them.
I am trying to avoid masking very large area, first because it is time consuming and second because I find that when you remove the masking, it is lifting a bit of paint and it is also changing a bit the texture of the paper underneath.
Hope this help, feel free to post any question you would have in the comments 🙂
Hi there,
I just love the way you paint trees with water colour. I work with oils and I have a problem with watercolours. I have tried but I struggle with it. Oils are just so forgiving. I do however use acrylics too from time to time. For my modern paintings. Just for a different media.
I am blank at the moment, so waiting for my nex insperation to do my next painting. I am busy with a semi nude male at the moment for a friend. And am so enjoying it. And a modern take on roses on a paletted backround. I get all my insperation when I should be sleeping. Then I jump up and run to my studio and then write down what I am thinking of. Then start it the next day. I do go to classes. but I also paint at home.My art teacher says can I please give my brain a rest for a whie and finish one painting at a time. I can’t I have to have projects at home. I do some scrapbooking painting on wood frames doing them up. and do kids paintings for their rooms too. So different but so interesting. I would love to try watercolours again sometime though. I love different media. I love mixed media paintings too.
Thanks Anne 🙂
You might like working with watercolors as they dry fast and for some techniques you have to be fast as well, you might enjoy that feeling:) Once you get the basics it is a much more easy and forgiving medium that we usually think it is.
I see you are very creative, keep up on painting 🙂


Comments (13)
Meredith DeVoe
I’m kind of ridiculously excited to try this. Thank you for saying you like and use sap green, I hear so many times “I only used mixed greens, I never use sap green” but I like it and do as you do, add colors to modify.
I also use and love my rigger brush, lol!
Jeanette Weaver
Hi there,
Just learning from your great tutorials. Maybe I will try to paint a bigger size ans see how that works. This week I will be in my first judged plein aire here in the midwest. Thanks again.
Sandrine Pelissier
Thanks Jeanette 🙂
Good luck in your first plein air competition!
misuk goltz
I just came across with your website. I was looking for “dandy handy” materials to teach “expressive edges in watercolor” this morning. I’ve been painting so I have quite a bit resources filed, but I always find something interesting from other teachers. I enjoyed your blog and you are such a patient, dedicated, talented and generous teacher. I learn something special today. Thank you.
Misuk
Sandrine Pelissier
Thanks Misuk for taking the time to post your kind comment, I really appreciate it 🙂
Sandra
Thank you very much for the generous pdf and your wonderful, inspiring website. I found you via pinterest and absolutely love your work. You’ve made me get out my paints to play!
cheers from Australia
Sandrine Pelissier
Thanks you so much Sandra, this is what I like to hear:)
CG
is there a video to go with this? I love the step by step done here, but really need to see some specifics, for example, after putting down the light color, do you mask those large areas over to paint a wet on wet dark area in and around it? Would be neat to see it as its being done, would be such a help, thanks!
CG
Sandrine Pelissier
Hello CG,
Unfortunately I didn’t shoot a video for this one but am happy to reply to your questions.
For this painting I did paint the area around the trees trunks first without masking the trunks as their shape was straight enough to paint around them. I only used masking fluid in a few tiny areas that I wanted to keep white, and also before painting the trunks on the few leaves that were overlapping this area as it would have been a bit tricky painting around them.
I am trying to avoid masking very large area, first because it is time consuming and second because I find that when you remove the masking, it is lifting a bit of paint and it is also changing a bit the texture of the paper underneath.
Hope this help, feel free to post any question you would have in the comments 🙂
Anne Haynes
Hi there,
I just love the way you paint trees with water colour. I work with oils and I have a problem with watercolours. I have tried but I struggle with it. Oils are just so forgiving. I do however use acrylics too from time to time. For my modern paintings. Just for a different media.
I am blank at the moment, so waiting for my nex insperation to do my next painting. I am busy with a semi nude male at the moment for a friend. And am so enjoying it. And a modern take on roses on a paletted backround. I get all my insperation when I should be sleeping. Then I jump up and run to my studio and then write down what I am thinking of. Then start it the next day. I do go to classes. but I also paint at home.My art teacher says can I please give my brain a rest for a whie and finish one painting at a time. I can’t I have to have projects at home. I do some scrapbooking painting on wood frames doing them up. and do kids paintings for their rooms too. So different but so interesting. I would love to try watercolours again sometime though. I love different media. I love mixed media paintings too.
Keep well and keep up your amazing work.
Anne Haynes.
Sandrine Pelissier
Thanks Anne 🙂
You might like working with watercolors as they dry fast and for some techniques you have to be fast as well, you might enjoy that feeling:) Once you get the basics it is a much more easy and forgiving medium that we usually think it is.
I see you are very creative, keep up on painting 🙂
Barbara Tibbets
Love your method of painting and you are brave with mounting on boards! Thanks so much for sharing.
Barbara in AZ
Sandrine Pelissier
Thanks Barbara for your nice comment 🙂