Lily pads on One Mile Lake: Painting lily pads with watercolor
July 30, 2013 2025-02-09 18:06Lily pads on One Mile Lake: Painting lily pads with watercolor
Lily pads on One Mile Lake: Painting lily pads with watercolor
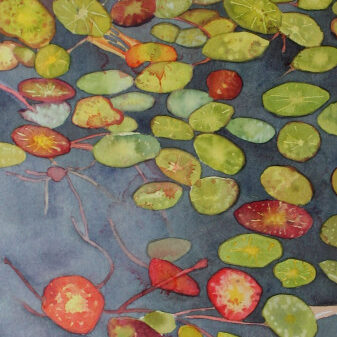
Lily pads are an inspiring subject for a painting, so many colors and then the reflections on the water! Here is how to paint lily pads with watercolor.
This painting has been painted from a reference picture I took at One Mile Lake near Pemberton (BC, Canada), a magnificent lake with colorful lily pads and pretty boardwalks.
What I like about this painting is that although I used a reference picture, it could also be seen as an abstract pattern.
I painted this painting on watercolor paper mounted on board, but you could also paint on stretched watercolor paper.
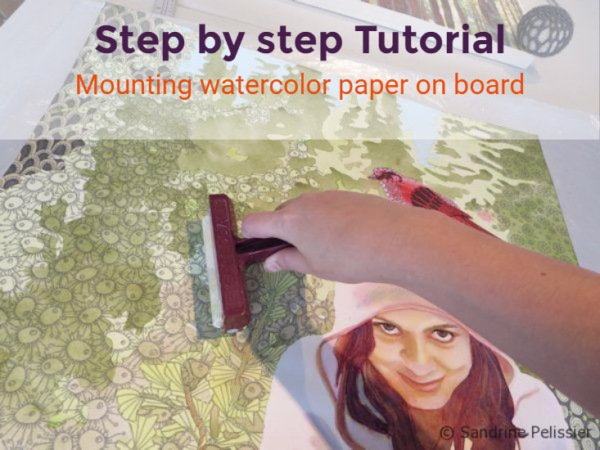
You might also be interested in: Mounting watercolor paper on board
Here are the steps you can take to paint lily pads with watercolor:
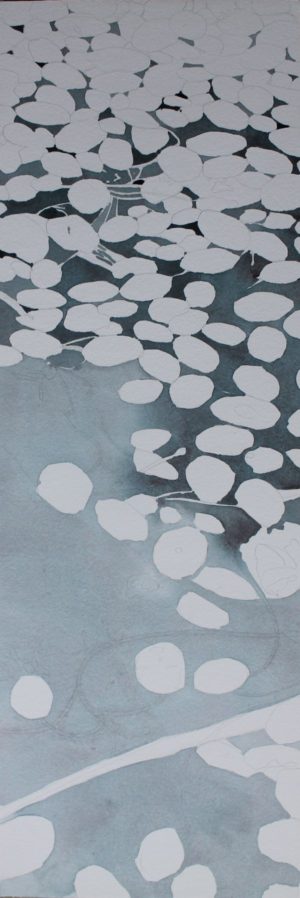
After making a basic drawing of the outlines with pencil, I paint a light wash of ultramarine Blue and burnt sienna in the background. As you van notice, I made the wash a bit darker in the upper part of the painting. This is the palette I used for the whole painting: : Daniel Smith Burnt Sienna, Reeves Payne’s grey, Holbein Cobalt Turquoise, Da Vinci Prussian blue, sap green,permanent red and cadmium lemon, Van Gogh Madder Lake Light.
I am a Blick Art Materials affiliate and I receive a small compensation for sales. That does not effect in any way the cost of the purchaser’s order but it helps me keeping the content of this blog free.

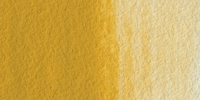 |
Da Vinci Artists’ Permanent Watercolors, 292 Yellow Ochre, 15 mlDa Vinci paints are exciting, intense, and rated among the best in the world for quality. The paints are permanent, with the highest tinting strength and pigment concentration available, and a creamy consistency for smooth, easy dispersion with water. |

I then start painting the lily pads one by one, starting by the lower area of the painting. I am just looking at my reference picture, trying to reproduce the patterns and the colors I am seeing on the picture.I am paying attention to the area where the lily pads are touching the water as this translate into a darker outline around the lily pads.

I am mixing colors wet in wet for interesting effects and to avoid too many hard edges inside the lily pads
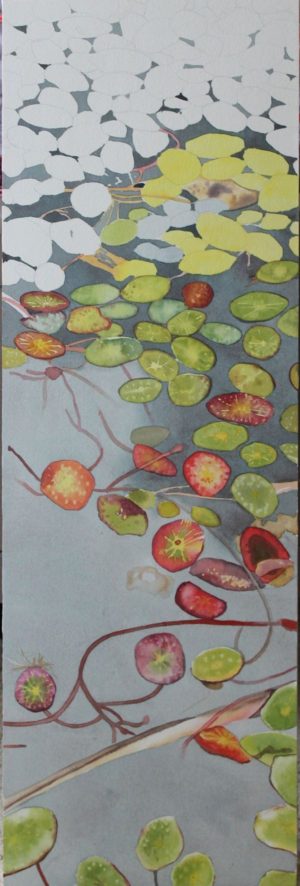
I am also adding a darker outline on some areas of the lily pads to help with the illusion of the pads floating on the water.

On most lily pads, I start by painting a light wash before painting the green of the lily pad.I am painting either a yellow or blue layer first depending on the final color of the lily pads: yellow for warmer greens and blue for colder greens. This helps with unifying all the colors of the painting.

When all the Lily pads are painted, I am painting a yellow or red glaze on the lily pads to make them more vivid as I thought the painting lacked a bit of contrast and would need brighter hues. I will splash the painting once it has dried with lots of water and some red watercolor wash to make it more interesting
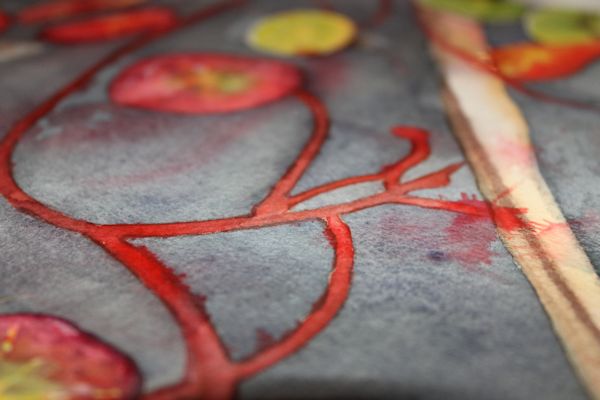
The splashing produces interesting textures on the painting.
Here is a side view of the painting once varnished.
You might also be interested in:How to finish and display your paintings on paper : A few options
Here is a time lapse video showing the painting process:







Comments (9)
lilly
They’re both made for different uses.
Watercolor painting on canvas with zentangle designs
[…] Painting lily pads with watercolors : Lily pads on One Mile Lake on Lake Louise, mixed media on board painting tutorial […]
Raquel
Muy bonito. Gracias por tus videos. It’s very nice, thanks for your videos!!
Sandrine Pelissier
Thanks Raquel !
Gloria
Very clear explanation. Your paintings are amazing. Congratulations!
Sandrine Pelissier
Thanks Gloria 🙂
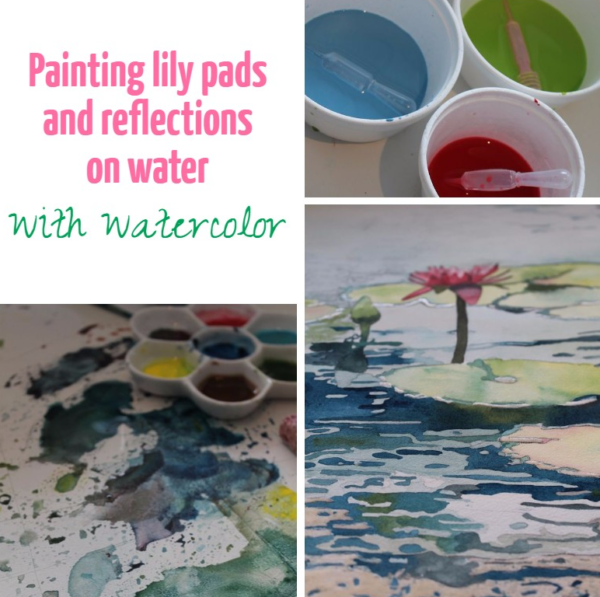
Nymph Echo : Painting lily pads and reflections on water with watercolor
[…] Lily pads on One Mile Lake: Painting lily pads with watercolor […]
Joyce Geyer
I really like this video-
the actual speed in the beginning technique and finally speeding up to complete
each area that was first demonstrated.
It allowed me to see the process and understand how you did it.
Beautiful
Sandrine Pelissier
Thanks Joyce, I am glad you liked the video 🙂