Scaling your drawing: The grid method
May 11, 2015 2019-02-06 12:10Scaling your drawing: The grid method

Scaling your drawing: The grid method
Artists might work from imagination or from reference pictures, sometimes mixing a bit of both. When working from a reference picture, you might need to scale your drawing so it fits on your canvas and you have a few options to do that:
- You can use a projector
- You can print a full size version of your picture and trace your drawing on the canvas with carbon paper
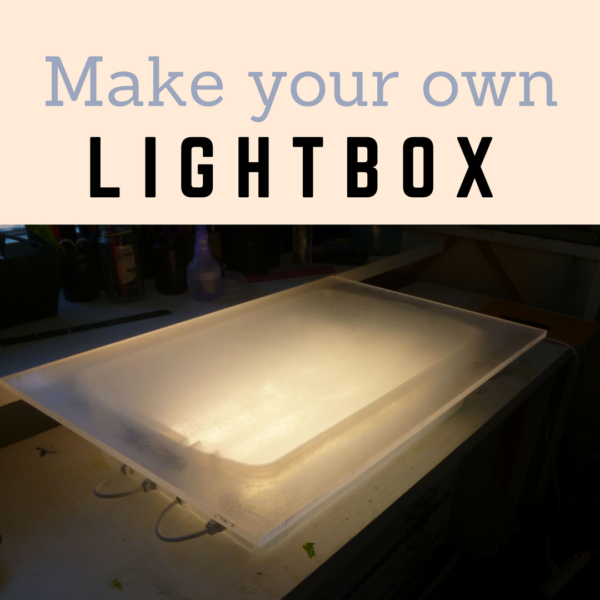
- If working on paper, you can use a lightbox (Click here to see how you can build your own lightbox)
- You can use the grid method
- You can draw free hand
I tried all of these methods and the one that I like the best is the grid method : It is easier than a free hand drawing because I get some guidelines, and it feels more personal than tracing or using a projector.
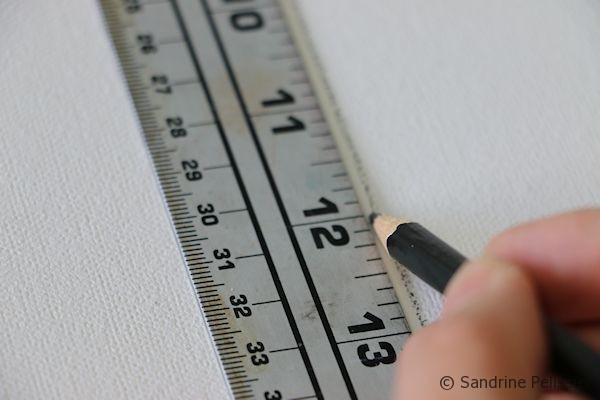
How to scale your drawing and transfer it to your canvas: The grid method.
The first thing to do is to print your reference picture on paper, making sure that it has the same ratio width/length as your canvas. You don’t want to draw the grid on beautiful photo paper. Sometimes I will print a black and white version of my picture for the grid so I can focus only on the drawing and not be distracted by colors. Some software like Paint Shop Pro or Photoshop will allow you to print the picture with the grid already on it, you can modify the grid properties for each picture.
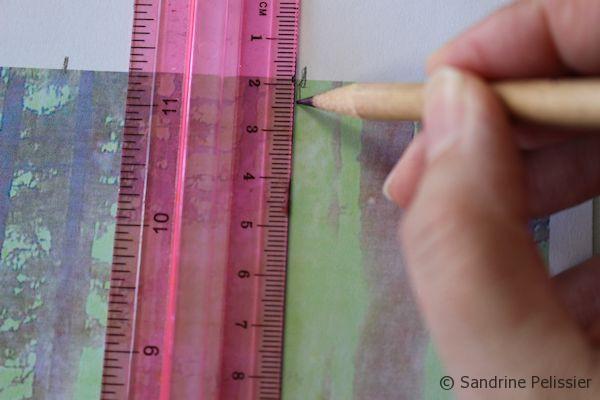
For landscapes with trees I will use fewer squares, precision is not that important.
You could also draw a grid on a piece of acetate and fix it with tape on top of your original picture.
You then need to choose the number of squares you want on the width and length of your reference picture and canvas. You don’t want too many squares as you will end up counting them and it might be confusing, but you want enough squares so you can precisely transfer your drawing.
Of course your reference picture and your canvas will need to have the same proportions and the same number of squares.
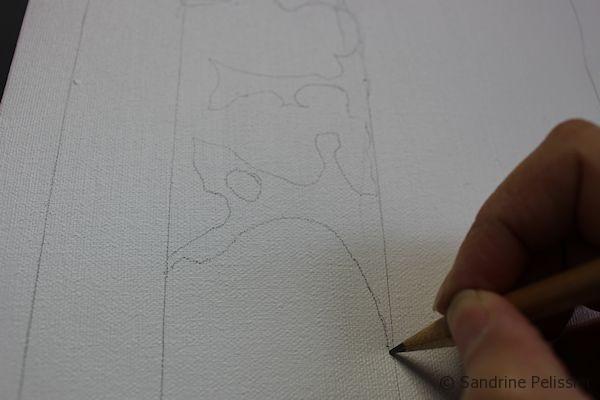
When drawing, pay attention to the areas when lines are crossing.
For drawings that don’t need lost of precision like landscapes with trees, I will use fewer squares than for a portrait drawing for example, it won’t really matter if a tree is a tiny bit more on the left, it will still look like my reference picture. If you have a large number of small squares, you can add numbers and letters on the sides.
I am usually drawing the grid on the canvas with a very light graphite line, so it will be easy to remove and on the reference picture with either graphite or marker so I can see it better.
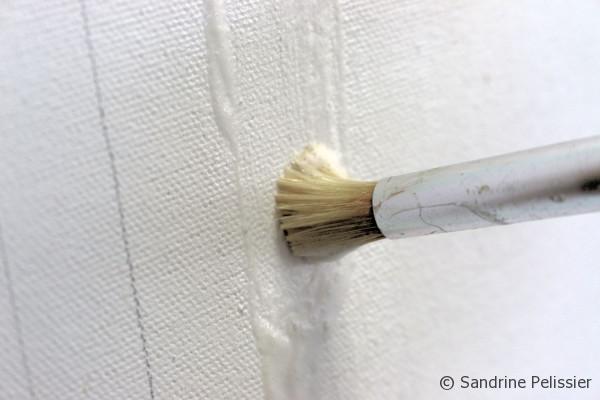
You can remove graphite marks on canvas with soap and a stiff brush, with mineral spirits and a soft cloth or with a kneaded eraser.
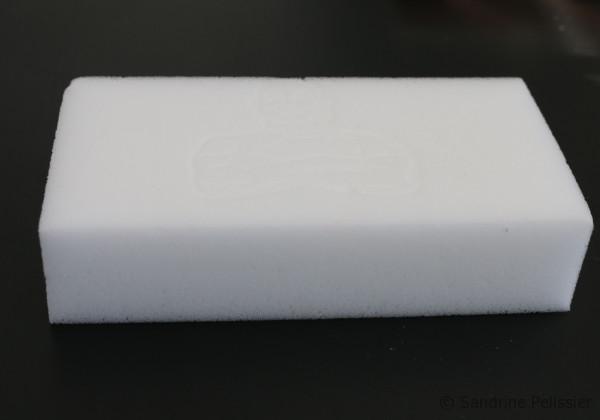
You can also try Mr Clean magic eraser for stubborn marks. Mary Radtke gave me that trick on Facebook and it works like a charm:) Thanks Mary!
It is also safe for the canvas as there is no chemical in Mr Clean Magic Eraser, The main ingredient is melamine foam and the texture of the foam gives the eraser its properties.
Once your grids are drawn on the reference picture and the canvas, start to transfer your drawing, paying extra attention to the areas were your grid and the lines of your picture are crossing, Are the lines meeting halfway through the square, at 1/3, 1/4? Look at positive and negative spaces.
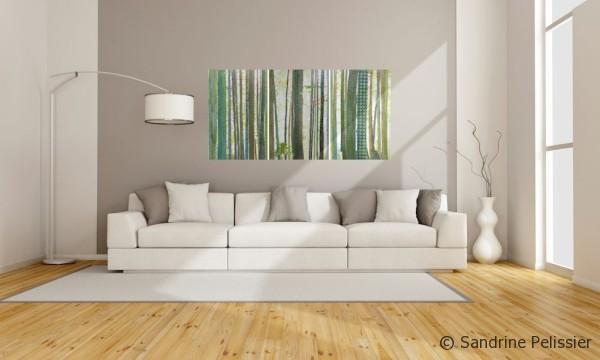
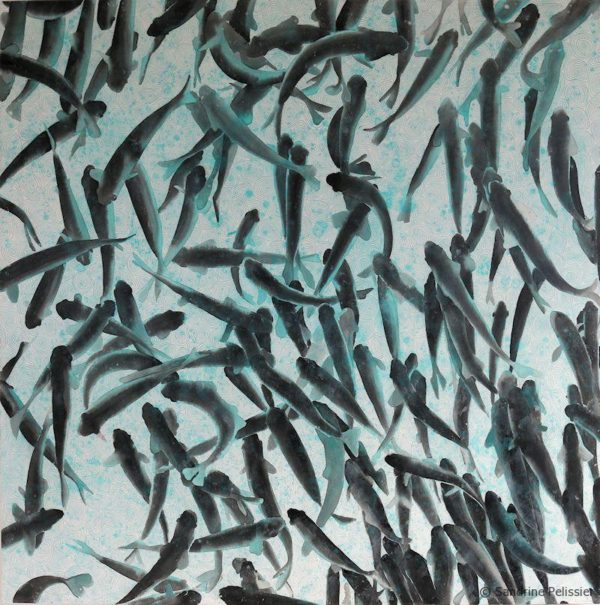
Imagined Reality, acrylic on canvas.
A grid is very useful when transferring complex drawings like this fish painting I worked on recently.
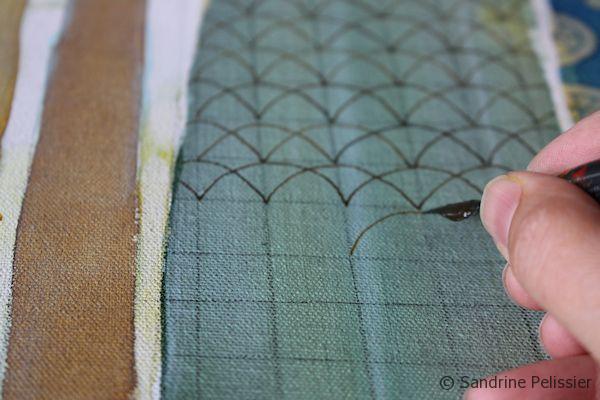
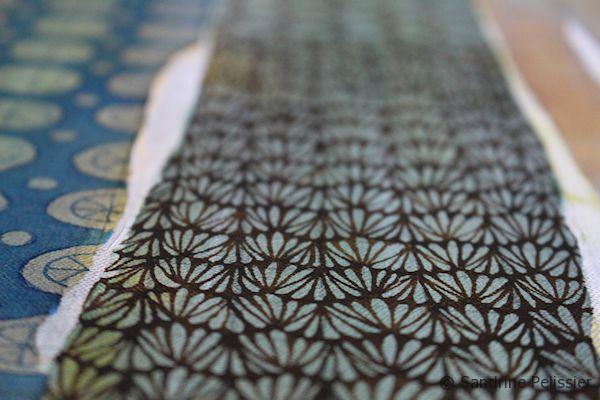
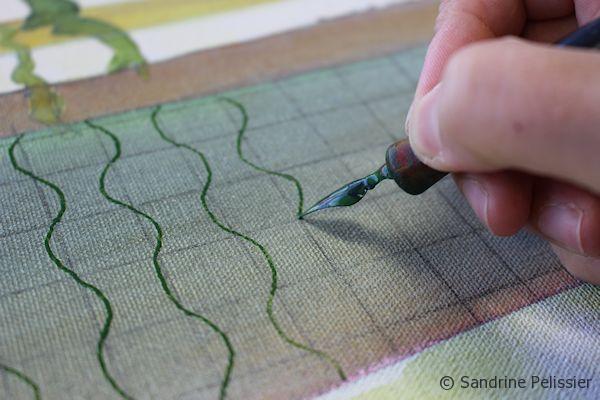
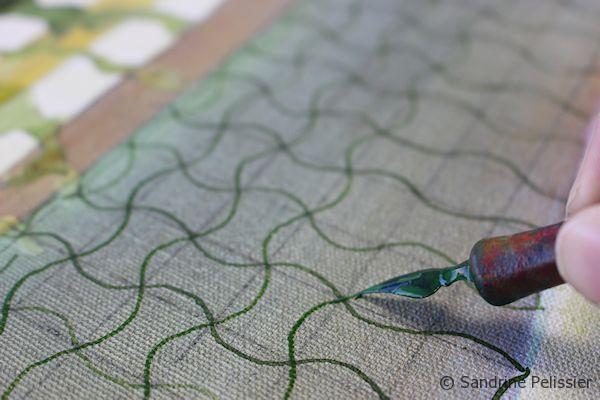
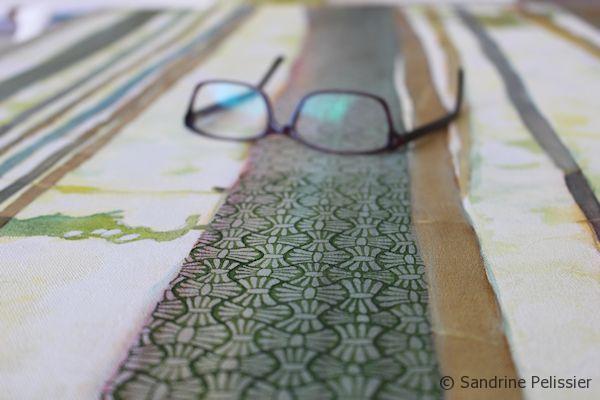
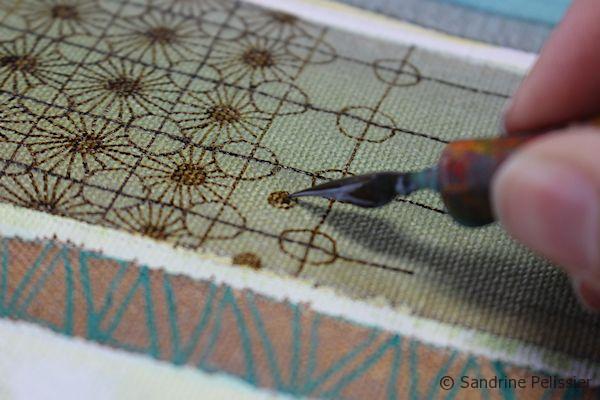
Using a grid method to draw patterns.
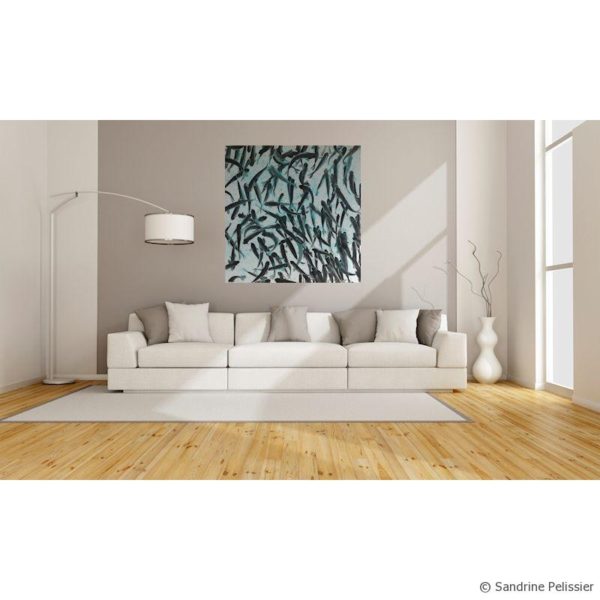
You can also use a grid to draw patterns on your paintings. I am very interested in my work in mixing drawn and painted parts in the same painting. Some of the patterns I am drawing are very geometrical and in that case I will often work from a grid.
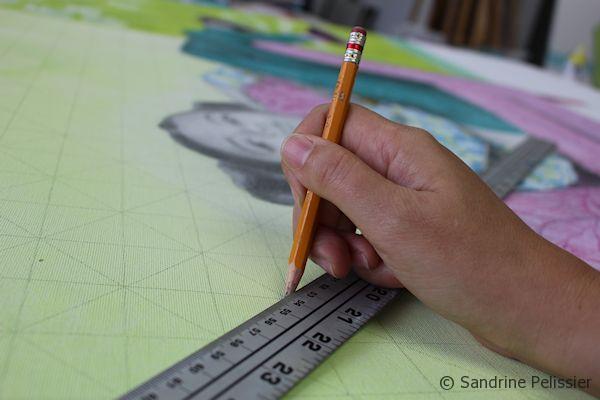
When I want a precise look, I will draw the grid with a ruler, when I want a more organic look, I will hand draw the grid.
I am a Blick Art Materials affiliate and I receive a small compensation for sales. That does not effect in any way the cost of the purchaser’s order but it helps me keeping the content of this blog free.

 |
Speedball Sketching Project SetThis calligraphy pen and nib set gives you the tools needed to create beautiful works of art. Ideal for drawing, crosshatching, lithography, and fine details. Includes two plastic pen holders and six nibs. |
Click on any picture to see a larger version.








Comments (11)
lesleyjeffreys85326500
When I want an exact transfer I sometimes use a light-box. If I need just a rough outline I use the ‘old fashioned’ method. I trace (or photocopy) the picture, cover the back by scribbling with a soft graphite pencil, and then carefully draw over the lines with a biro to make an impression on the paper underneath.
Jeanine
I am SOO excited to have found your blog! I am looking into your course in drawing flowers from imagination. I have so many ideas in my head but need to practise & learn how to draw them. Somehow they dint usually turn out how I picture them in my mind. Plus you’re Canadian artist so I support that! Cheers
Sandrine Pelissier
Great !! Thanks Jeanine 🙂
Thinking, Watercolor and Pencil Crayon step by step painting tutorial
[…] You might also like : Drawing with a grid […]
Adding patterns to an acrylic Forest painting : Discovery Walk
[…] You might also be interested in: Drawing with a grid […]
Patty Henderson
I love to use the grid system also! When I use it for watercolours, I use a watercolour pencil in a very light colour, such as grey. I use it very lightly on the paper, then after I’m done my drawing in graphite, I use a wash of water to remove the grid! The same thing can be done on canvas, I’m sure.
Sandrine Pelissier
That is such a great idea! I had a “why didn’t I think of that” moment:)
Thanks for sharing Patty.
Diane
I’ll have to try the magic eraser idea! I usually use the grid system. Helps speed things along so I can get to the painting part quicker 🙂 Just recently started using grids on photo references via photoshop. That also is a time saver.
Sandrine Pelissier
Yes, the magic eraser works like a charm, I am getting more and more excited about all the possibilities of the magic eraser like lifting up watercolor!
Pam MacPherson
Thanks for sharing all your wonderful works of art and demos. I also cut my magic eraser into wedges to lift highlights . Works like a charm with colored pencil work as well. Happy painting my friend. 😀
Sandrine Pelissier
Thanks Pam 🙂